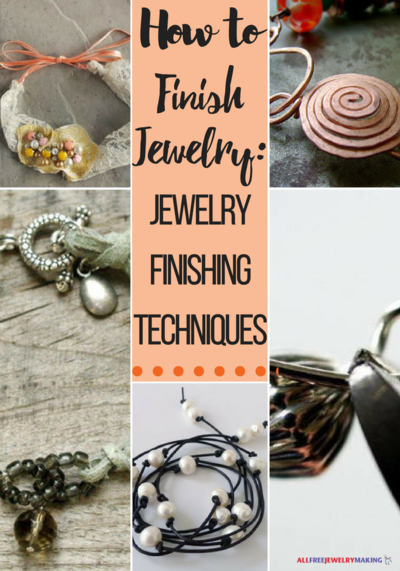
How to Finish Jewelry: Jewelry Finishing Techniques
Finish your DIY jewelry project off with a bang with one of these DIY fasteners, lariats or knots!

Learn how to finish your jewelry pieces with various clasps, knots and jump rings with these various tutorials. You can take your necklace or bracelet from a 10 to a 20 by crimping on a cute clasp, beautiful ribbon or a wacky wire. These DIY fasteners are the cherry on top to any jewelry piece!
It’s all about the details when it comes to jewelry. Some people forget about the endless clasp options that exist in the jewelry world: lariats, wires, crimps and more. The finishing touches are sometimes the most important. Think about it, when you have your hair up in a ponytail or have a short bob cut look, whatever fastener you choose to complete your necklace will be showing. You want that detail to make a statement, right!? Right!
It’s such a rewarding feeling when you are minutes away from finishing your necklace or bracelet and all you need to do it attach some sort of fastener. Most people grab the average lobster claw clasp that’s seen on many jewelry pieces to finish off their necklace, bracelet or whatever it may be. But, why not make your fastener as creative and unique as your jewelry piece in front of you?
Lovely Lariats
You don’t need to be a cowboy to rock the lariat.
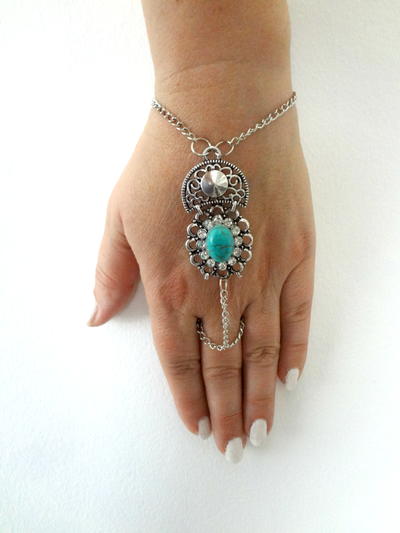
Think of a lasso rope when picturing a lariat necklace. Your necklace will truly be taken to the next level if you incorporate this timeless detail into it. Lariat necklaces date way way back. This loop and knot fastener is a very popular detail when it comes to Western wear.
These necklaces can either be on the longer or shorter side. There’s no right or wrong way to make one! So how do you strut your stuff while rocking a lariat necklace? According to Styling on the Edge, it “is often worn draped multiple times around the neck… Or it may be worn doubled over with the ends passed through the loop formed in the middle.”
This necklace type would look best with a low cut shirt or a shirt with a deeper V. But of course, the lariat necklace will look just as stylish with a normal swoop neck.

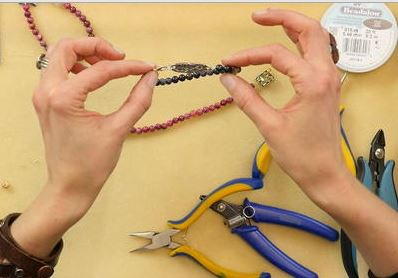
Classic Clasps
There’s nothing wrong with sticking to the basics. But, what if there was a way to spice up the average clasp?
Well, you’ve scrolled to the right section if you’re crazy about clasps but want to amp them up a little bit for your next jewelry project! While the lobster claw is a fan favorite, try jumping out of your comfort zone when adding a clasp to your next beaded bracelet.
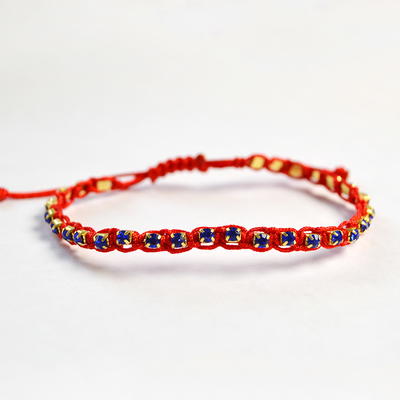
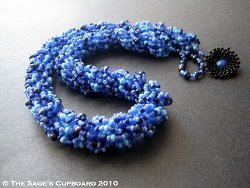
Just changing the size of your clasp can instantly jazz up your jewelry project! You know what they say, the bigger the better. This beaded toggle clasp is definitely a statement detail that your necklace or bracelet needs.
Not too sure on how to attach a clasp to the ends of your bracelet or necklace? Not to worry! These clasp tip and tricks will help you get started on your jewelry endeavors.
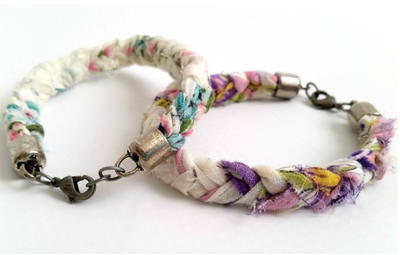
Lots and Lots of Knots
Although knots aren’t fun to make when you’re tying your shoes, they’re certainly a fun detail to add when you’re adding the finishing fasteners on your project.
Knots are mostly used in leather or fabric jewelry because, I mean, who would want to tangle up a bunch of chain? I know I wouldn’t. When making a leather bracelet, adding a knot to secure around your wrist is an easy and simple way to finish it off.
The amount of knots you can make are endless: the simple knot, turkish knot, square knot, royal knot, looped knot and more! A sliding knot is a very popular knot type because you can easily adjust it to fit on your wrist. If you’re interested in learning this unique technique, check out the steps so you can create your very own sliding knot.
No crimps or pliers needed for this fastener type! All you need are your fingers.

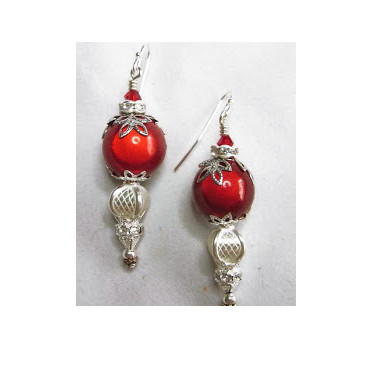
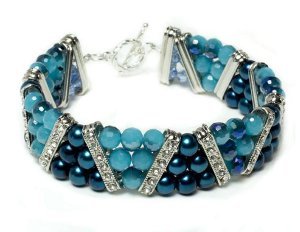
Rockin' Ribbons
The most girly finishing touch of them all: a ribbon.
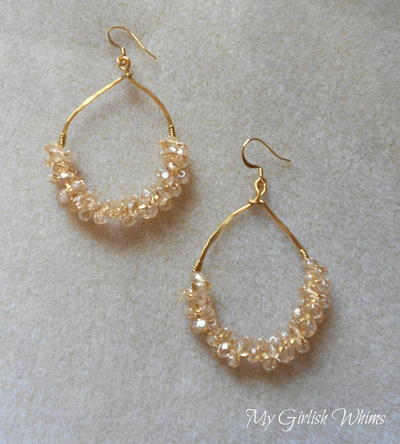
Adding a sleek and elegant ribbon and tying it in a perfect pristine bow will dress up any necklace or bracelet. A shiny ribbon looks best with a fresh strand of pearls. You can't get anymore glam than that. Am I right?
If you want to ribbon-ize a bracelet, take two beaded pearl bracelets and two ribbon strands of your color choice. Loop through and tie each ribbon on the bracelets, then tie in a bow to secure on your wrist! You can wear a bow bracelet to a wedding, banquet or just on an everyday basis.
If you make a ribbon necklace completely out of fabric, why not make your life easier and tie the ends in a ribbon to secure? No need to get out the pliers and tools to secure a clasp on there. Ribbons and bows are the way to go!

Jump Rings for Joy
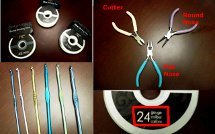
It’s very hard to make a piece of jewelry these days without a jump ring. These handy dandy little metal circles are making hanging pendants, connecting clasps and extending the length of your jewelry piece a million times easier! All you need are some skinny pliers to open and close the ring.
There are all different types of clasps and fasteners you can connect to a jump ring. Using a pair of pliers, open the jump ring and insert your DIY fastener and then close the ring to secure it. The process is fairly simple and jump rings are very inexpensive to purchase. Can you say win-win?
Here are some projects and guides that will help you learn the ins and outs of jump rings:
-Shimmering Jump Ring Bracelet
-Jump Ring Coil Bracelet
-How to Use a Jump Ring Opener
-How to Open and Close a Jump Ring
-How to Make Your Own Jump Rings
-Jump Rings 101: DIY Jewelry Making Guide
-Woven Jump Ring Bracelet
Crazy Crimps
If you don't have a crimp, then you can't clasp your clasp!
A crimp is the little circle that your average lobster clasp would hook onto. This is an essential to have on your necklace or bracelet if you're not using ribbon, a lariat or knots to fasten your piece of jewelry. You'll definitely need one of these bad boys to finish off your jewelry at some point.
There are also beads called crimp beads, which cannot only be used to accessorize your crimped beaded bracelet, but to tighten and loosen it as well. Depending on the material that you're threadint through the crimp, you'll want to make sure you have the right size.

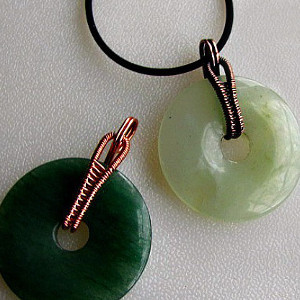
Wonderful Wires
Copper wire here, gold wire there, silver wire here, wire everywhere! Wire is a great and hefty material to use when creating jewelry pieces. You can bend the wire how you want and twist it into unique shapes. This Garden Gate Clasp is proof that you can bend and transform wire in any which way. If you're looking for something more simple,a classic wire hook clasp will suit your needs.
Here's how you can create a unique wire "S" clasp:
- Bend one end over slightly, and flatten using your flat nose pliers. This way there are no sharp ends.
- Using your round nose pliers, shape the wire to look like this:
- Cut the wire, and bend the sharp end over in the same way you did at the beginning. Your clasp should look like this:
- One side of the clasp should be closed. First, slide this side over the jump ring, and close it with flat nose pliers (as shown). The other opening of the clasp should be just slightly open, enough to slide the jump ring on and off.
- The jumpring that will be used to slide on and off of the clasp should be a larger, oval jumpring.

How do you like to finish off your jewelry? With a hook? A knot? Or a clasp?
Thanks for your comment. Don't forget to share!
Weberme
Aug 26, 2017
For anyone just starting to make jewelry this is a must read because there are 2 videos that actually explaining how to close jump rings the right way and another showing how to make some clasps that are so neat. you can make some very attractive jewelry using these techniques. The videos make you more confident on how to make them the right way. Anyone else need to see the videos?
EditorLP
Aug 23, 2017
I love beaded toggle clasps! They are surprisingly simple to make, look fancy, and keep your closure secure.
Report Inappropriate Comment
Are you sure you would like to report this comment? It will be flagged for our moderators to take action.
Thank you for taking the time to improve the content on our site.