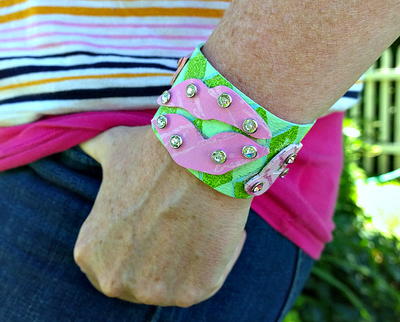
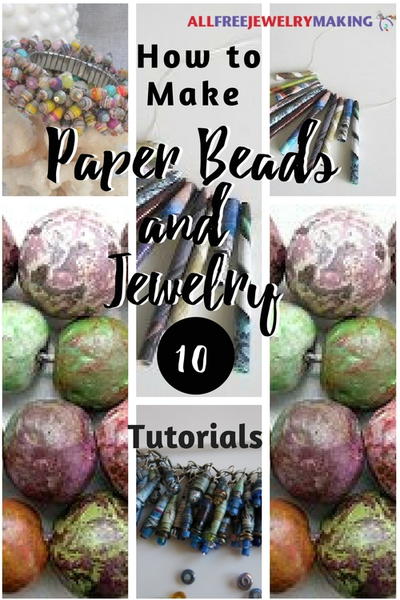
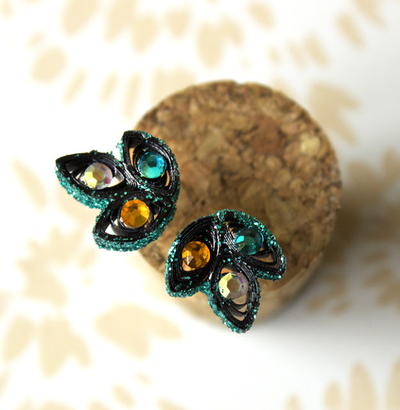
Pucker Up Cuff

Get ready for a totally gnarly piece of DIY jewelry! The Pucker Up Cuff is a retro revival of the adventurous colors and prints that defined the 1980’s. Featuring paper punches of puckered lips, this flirty DIY cuff is pure fun. The combination of pink and green elements in this DIY cuff bracelet is spunky yet feminine. If you like your jewelry to sparkle, a rhinestone accent is just the thing to take this throwback bracelet pattern to the next level. You will love this beautiful cuff.
From the blogger: "Pink and green are always a winning combination and they’re sure to please with this Prep School Cool Cuff from Margot Potter of Cocktails Cupcakes Crafts for AllFreeJewelryMaking. If these colors don’t rock your boat, change it up to suit your style. This bracelet is so fun and easy to make, you can whip up a wrist full in a rainbow of colors."
Project TypeMake a Project
Time to CompleteIn an evening
Bead Project TypeBracelet

Materials List
- Bracelet Blank Die
- Lips Dies
- Tim Holtz Grungeboard
- Mint Green Baker’s Twine
- ImpressArt Crystal Rivets
- FolkArt Paints in Parisian Pink, Tickled Pink, Coastal Blue, Green Sea, Cut Grass
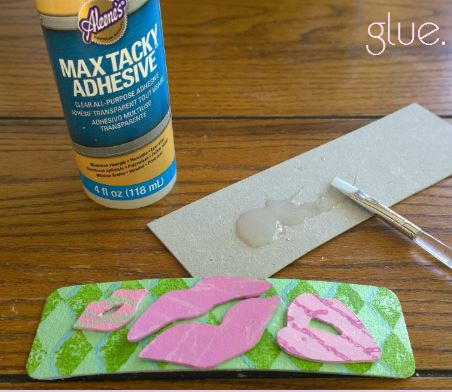
- Aleene’s Max Tacky Adhesive
- Stampin’ Up Harlequin Stamp
- Hero Arts Old Letter Writing Stamp
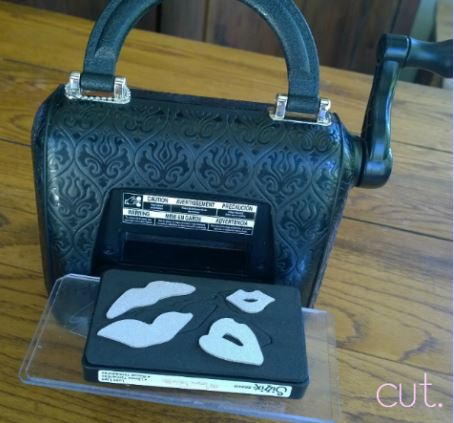
- Sizzix Sophisticut or Big Shot Die Cutting Machine
- Crop-a-dile Tool
- Paint Brushes
- Rivet Setting Tool and Rubber Mat
Instructions
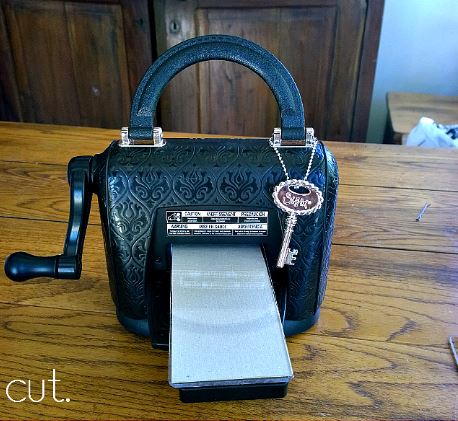
-
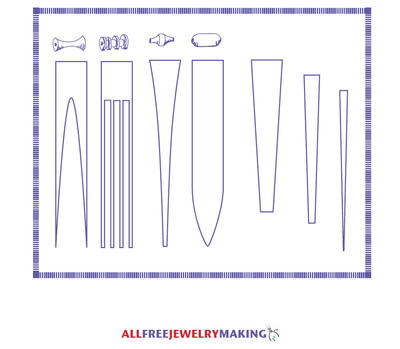
Cut bracelet using die machine. (If you don’t have a die cutting machine and dies, cut a bracelet with scissors and use the Crop-a-dile to add holes for string.)
-
Cut lips using die and machine. (If you don’t have a die cutting machine and dies, you can print silhouettes of lips sized to fit bracelet and hand cut.)
-
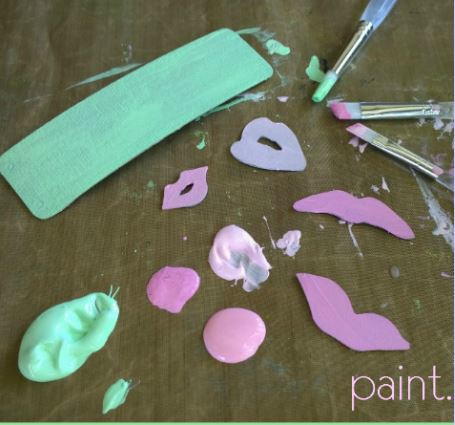
Paint the bracelet with Green Sea.
-
Paint Lips with Parisian Pink and Tickled Pink. Let dry.
-
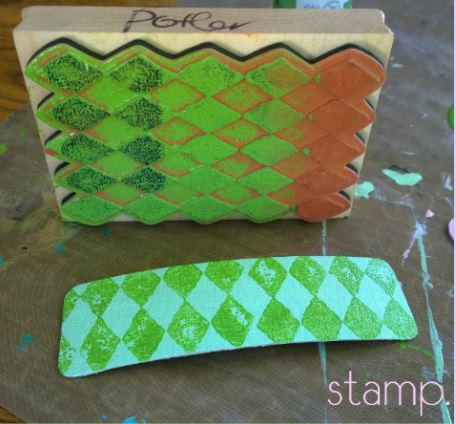
Stamp Cut Grass on bracelet with harlequin stamp.
-
Stamp Parisian Pink and Tickled Pink (use the opposite of the first layer) on lips using text stamp. Let dry.
-
Use adhesive to adhere layers together. Place something heavy on top and let the glue cure.
-
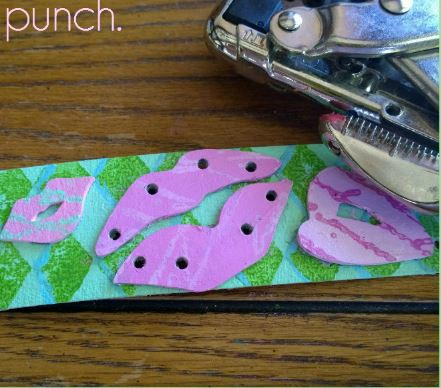
Pierce holes in large center lips using the 1/16” punch.
-
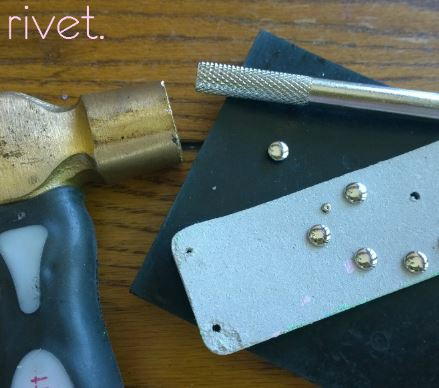
Set crystal rivets using tool and rubber mat.
-
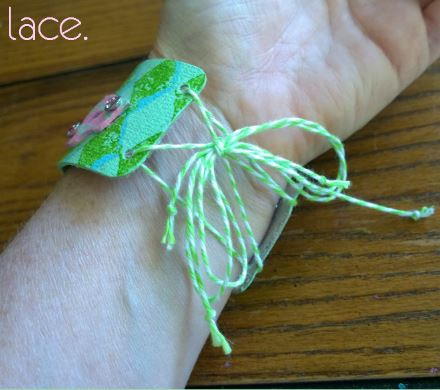
Thread string into ends of bracelet as shown.

Read NextRolled Duct Tape Bead Bracelet