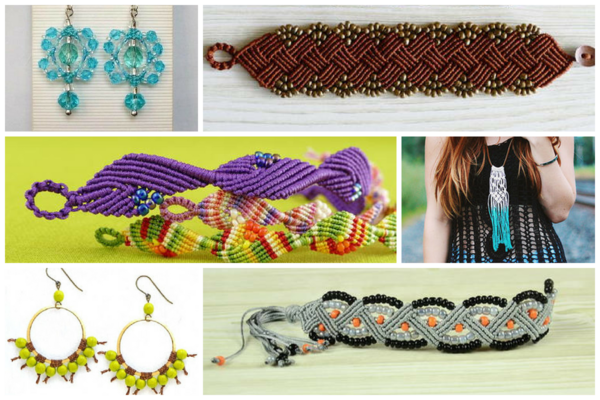
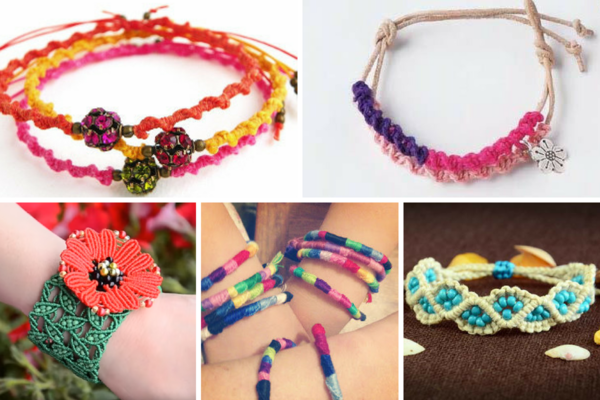
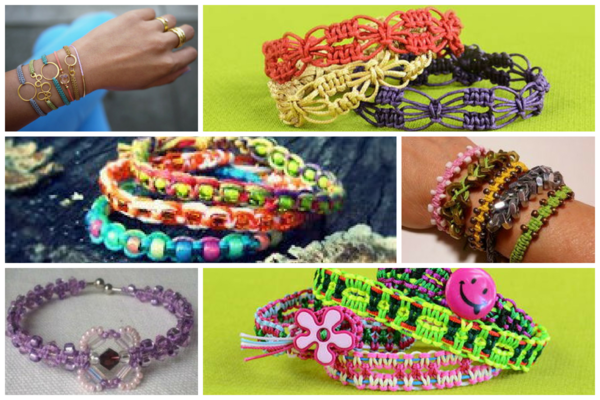
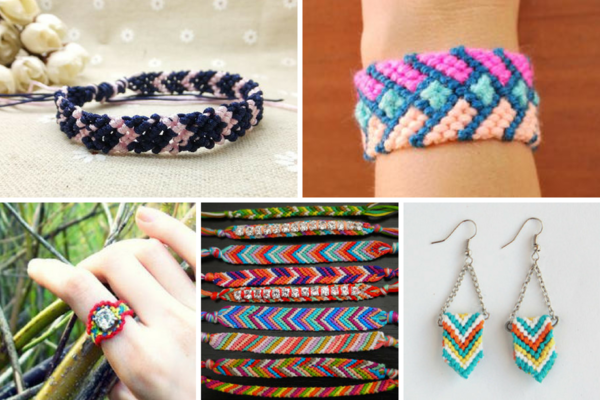
How to Macrame: 7 Must-Know Knots
7 Basic Macrame Knots to Get You Started and 3 Ways to End
Macrame knots can be an extremely intimidating DIY jewelry technique at a first glance. If you are one of those people that have been swooning over the look of macrame patterns, but you're a little too nervous to venture into the unknown territory, then you have to check out these super simple macrame knots. This guide on How to Macrame: 7 Must-Know Knots will be your best jewelry friend. These knot patterns will take you from not knowing your knots to macrame master! Once you have the tactics for how to macrame down, you can create any macrame design you put your mind to. In order to achieve these beautiful knotted patterns though, it is essential to master the basics and the terminology.
Knotting can be tricky, especially when you're first starting to learn. However, with these steps and hidden DIY jewelry tips, you will be able to do macrame in your sleep. Whether you're hoping to create stunning macrame bracelets or attempting something a little more simple, these basic macrame knots are where you need to start.
Understanding and perfecting your macrame technique can be useful for numerous reasons. For example, you will never run out of different DIY friendship bracelet patterns, and you will become increasingly more patient with every DIY macrame project you do. Plus, we've also explained different ways to end macrame projects in this article, too. You can start your first macrame piece knowing that we've got you covered from start to finish!
Join our crafting community! Sign up for our free eNewsletters today!
Lark's Head Knot
For starters, it does not get more basic than this. This specific knot will be a staple in almost every bracelet you could make. Plus, this macrame technique is essentially used in order to connect your macrame cord to your dowel. This dowel could be a chopstick, a knitting needle, or anything similar in shape.
You are going to start this knot by folding it over your dowel, so that it makes a pretzel shape. From there, you pull the cord through the loop you made and pull the string tight. If you continue to do this you can create an easy breezy beginner bracelet.
Check out these images for how to tie a Lark's Head Knot for further guidance.

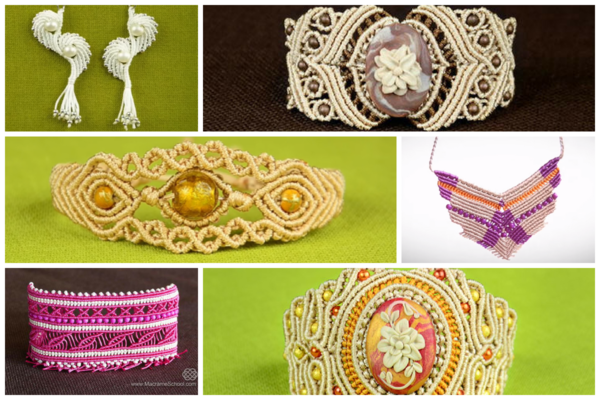
Projects Using the Lark's Head Knot
Half Knot
Now that you have that larks head knot down pretty easily, you can learn how to do the half knot, also called the spiral stitch. This knot is slightly more challenging because you are going to be using four cords. This means that you will be completing two larkshead knots on your dowel before you begin.
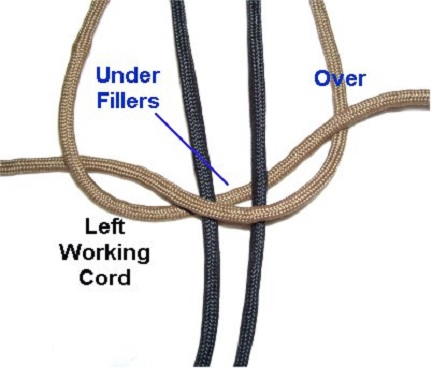
Ready to go with your two outer cords, also known as cord A and D, and your two inner cords, also known as cords B and C. You will start by taking cord A and pull it to the right over cords B and C and under cords D. Once you have that complete, you will then take cord D and pull it to the left under cords C and B and then over cord A. Then, you simply pull to secure. If you continue this pattern, your macrame bracelet will begin to twist on its own.
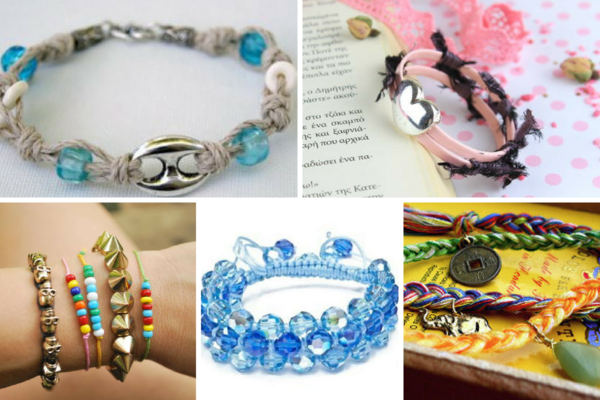
Projects Using the Half Knot
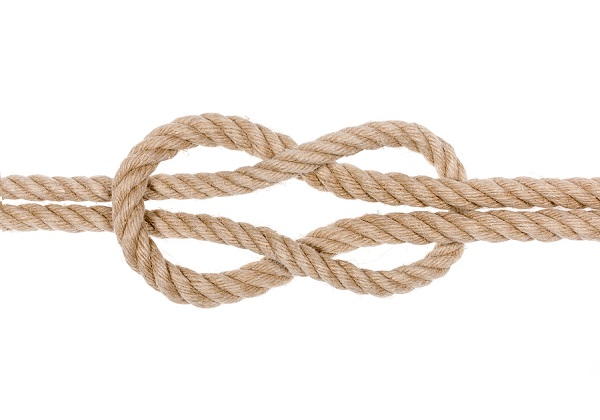
Square Knot
Continuing further, you are now going to work off of that half knot that you have mastered. This specific macrame pattern is a continuation off of the half knot you have already learned; so, it will be easiest for you to accomplish this knot once you have mastered that one.
Begin by making the half knot. After you have made one loop of the half knot, you are going to do that pattern again, but in reverse. Now, you will start with cord D, instead of cord A, and bring it over cords C and B and under cord A. Next, you will take cord A and bring that under cords B and C and over cord D. You will then pull to secure and start from the beginning performing a regular half knot again.
Add a twist onto your new skill by creating this Studded Leather Macrame Bracelet.
Projects Using the Square Knot
Half Hitch Knot
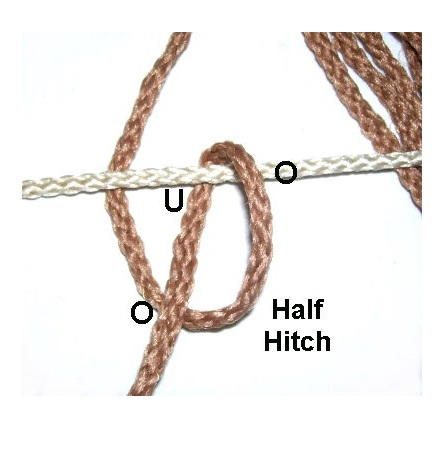
This is another one of the staple knots that is then altered to create numerous patterns. Plus, this is another super easy macrame knot to master! Also, it is best to start practicing this pattern with two different color cords to keep them separate.
Using only two cord, let's say one pink and one blue, you are going to take the pink cord, which started on the left side, over the blue cord and make a loop. You will then pull the pink cord through the loop and tighten it. From there, you will take the blue cord and hold it tightly in place. Then, you will take the pink cord and loop it around the blue cord, pulling the pink cord through the loop you just made. You then push the knot upwards to tighten it, and then continue to repeat.
Want more information on this handy knot? Check out Free Macrame Patterns, a fantastic resource for everything macrame!
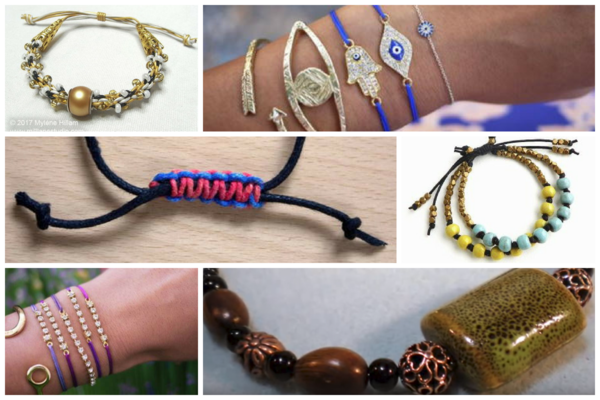
Projects Using the Half Hitch Knot
Double Half Hitch Knot
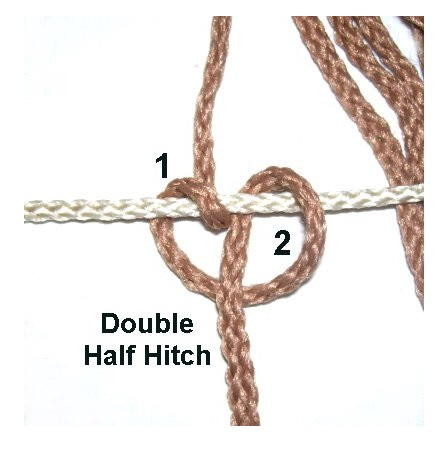
By far, this specific macrame design seems much more challenging. However, since you are becoming a macrame master, you will have this down in no time at all! This knot also has numerous macrame pattern variations to it that you can test out and work your magic on once you have mastered this.
You will start by having four to six cords that you will be working with. Start by taking cord number one and pulling it horizontally across the other cords. Pin that cord down so that it stays taught. From there, you will tie two half-hitches around this vertical cord and pull it tightly to secure the knot. Continue this will the rest of the cords, and you have completed one row of double half hitch knots.
For more guidance on the double half hitch knot, check out this helpful article from free macrame patterns!
Once you have mastered this step, try different variations of this macrame knot. There are numerous variations of more challenging double half hitch knots.
Projects Using the Double Half Hitch Knot
Pro Tip!
If your macrame cords are becoming unruly and tangled, go over them with a straightener to tame them! It's a super simple and quick tip. Plus, it keeps you from having to deal with tangled cords.
Overhand Knot
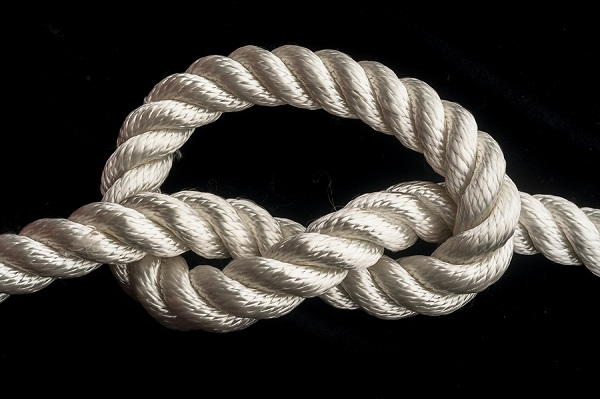
This is also one of the easiest macrame knots, perfect for beginners. While it can help prevent the bracelet from unraveling, your best bet is to use some glue, too, to make sure that it stays put.
If you have two or more strings: Make a loop with two of the strings. Take the ends of those strings and pass it through the hoop from below. Tie the leftover cords in a knot over the loop. Superglue to secure, or, if you are using beads, use the E6000. Trim the tails of the strings.
If you have just one string: Make a loop and taking the free end of the string, pass it through the hoop from below. Apply glue.
For pictures and more about the overhand knot, check out this guide.
Projects Using the Overhand Knot
Adjustable or Sliding Closure
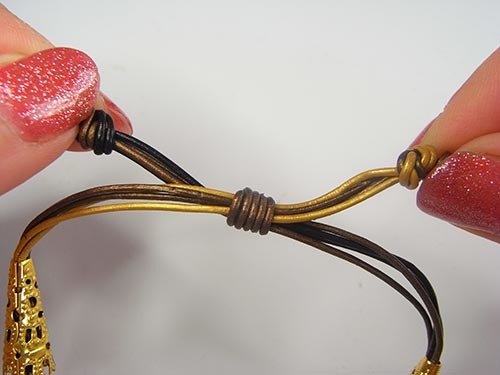
The best part about this closure is that you can adjust the macrame bracelet or necklace! You don’t even need a clasp, but it is still easy to take off, put on, or tighten. There are several ways to make an adjustable closure, but here are some of the simplest:
1. Say that you have a pink cord and a blue cord. Take end A of the blue cord and loop it several times loosely around one of the ends of the pink cord. Then, wrap it around end B of the blue cord. Take end A again and stick it in through the wraps that you just made and tighten.
2. Another way that you could do this sliding closure is to attach the second cord with an overhand knot and make several square knots. Then, finish with an overhand knot again and some superglue.
Projects Using the Sliding Knot
Using a Bead
Here is a professional macrame tip from Lia Griffith!
"Our simplest tip for finishing a macrame necklace would be to thread a bead onto the cord, tie and knot, snip the ends with scissors then pop a little fray check on the ends.” - Lia Griffith
Check out some of these awesome DIY macrame jewelry projects from Lia Griffith:
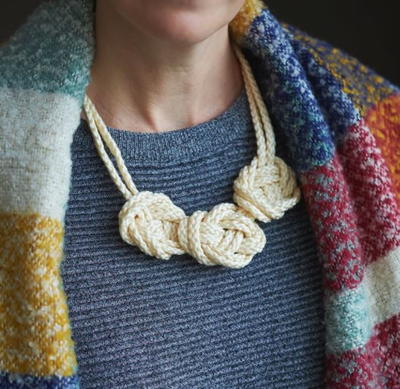
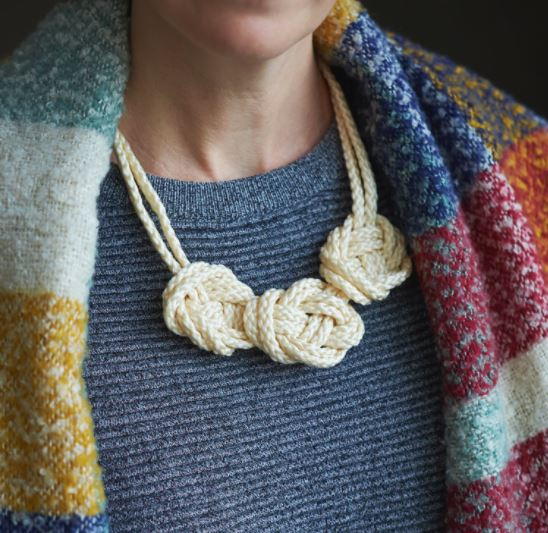
- Stunning Simple Macrame Knot Necklace (featured below)
- Square Knot Macrame Necklace Tutorial
- for even more jewelry projects from this fantastic site, click here!
Macrame beginners: what questions do you have about macrame?
Read NextInverted Square Knot Bracelet
Your Recently Viewed Projects
mulberrygalprinces s
Feb 19, 2018
After I print out this ebook it is going into the pouch on the arm of my sofa. Even though I have been doing macrame for years I still get confused on certain stitches. This has them all and they are beautifully illustrated. This is my little macrame backup book!
Kaylee Renae
May 17, 2017
I realllly love smaller macrame bracelets. The big, thicker bracelets are a bit much for me.
Report Inappropriate Comment
Are you sure you would like to report this comment? It will be flagged for our moderators to take action.
Thank you for taking the time to improve the content on our site.


