How to Wire Wrap Pendants on Necklaces, Bracelets and Earrings

Who would've thought to make a piece of jewelry made from a wire? Believe it or not, we use and see wire being used almost every day. From electrical uses to wire hangers, wire is everywhere, even on our bodies hanging as decoration.
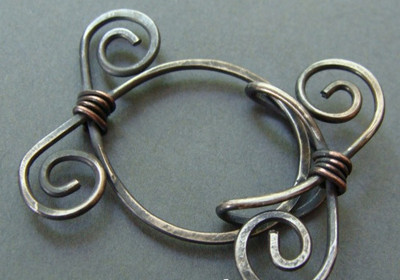
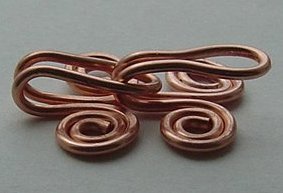
The art of wire wrapping jewelry is so simple, yet so elegant. The material is basic and kind of dull in a way that one wouldn't think to incorporate it into their jewelry. This type of method is used on all sorts of jewelry- bracelets, necklaces and rings. A popular and current Bohemian trend is wire wrapping large crystals or gemstones onto a piece of jewelry. This style is seen at popular music festivals such as Coachella and Spring Awakening.
When it comes to the wire wrapping process, the technique is extremely similar when wrapping a pendant on a bracelet, necklace or ring. The purpose of the wrapping is to make sure the pendant stays in place and doesn't fall out of the piece of jewelry you are placing it in. Not only is this wire useful in keeping any large gems in place, but the wire adds a boho artsy feel to the overall article of jewelry. Keep reading to find out How to Wire Wrap Pendants on Necklaces, Bracelets and Earrings.
Wire Wrapping Bracelets
Who doesn’t enjoy having a big, fat beautiful stone on their wrist to show off to others? To ensure that precious stone doesn’t accidentally fall off, it’s important that you secure it well when placing it onto a bracelet. This Wire Wrapped Crystal Bracelet (pictured below) not only has the pendant wrapped with wire, but the bracelet itself. When fastening the pendant into the wire, use pliers to bend the wire in any design you want around the pendant tightly. Then attach it to a bracelet.
Take advantage of using unique stones when creating these DIY bracelet patterns such as the ones used in this Easy Wire Wrapped Gemstone Bracelet. You can create so many stunning wrist accessories when you have the technique down.

Wire Wrapping Necklaces
It’s so easy to create a statement necklace with a beautiful bright colored jewel and metallic wire wrapping around it. From chokers to dangling or swoop necklaces, wire wrapping pendants can be performed on any necklace. If you’re going for a choker style, make sure the choker isn’t super tight because you don’t want the end of the wire to cut your neck. This gorgeous Mermaid Crystal Choker has different stones wrapped in silver wire. It contains the perfect sized pendants to have on a necklace.
If you’re not feeling the choker trend, this Wire Wrapped Beaded Crystal Necklace is for you. It's a longer length and contains a single crystal wire wrapped at the end. Whatever DIY necklace pattern you choose to create with a pendant, it will look absolutely marvelous.

Wire Wrapped Rings
Who needs a large diamond engagement ring when you have a wire wrapped pendant one? Connect a pretty pendant onto a ring using the wire wrapping strategy. Because your finger isn’t as strong as your neck or wrist, don’t pick too large of a stone. If you’re all about the wire wrapping trend, you can make the ring itself from wire along with the wire wrapped pendant.
For a little inspiration, this Wrapped Peach Aventurine Ring contains a wire wrapped peach pendant with a tinted gold wire band. Another wired out ring that has a little bit of class to it is this Swarovski Pearl Wire Wrapped Ring. These dainty metallic rings will shimmer in the sun as you strut them on your finger!

Instructions
1. Choose a stone
A good stone to use is one that’s irregular in shape. You can wrap any size stone. It doesn’t need to be a perfect square or circle.
2. Material
For this project, you’ll need:
-2 pieces of 24 gauge wire that are 5 inches long (measurements are for a stone that is ½ inch wide by 1 inch tall)
-Wire cutters
-Chain nose pliers
-Round nose pliers
3. Twist wires
At the midway point, cross the two wires and twist together. Hold the wire close to the intersection and twist your wrist ½ turn. The wires should twist around each other.
4. Center wire on stone
Hold the twisted wire along the stone’s side and place the stone between the two wires. Smooth the wires across the front and back of the stone.
5. Make a basket
Twist the wire on the other side of the stone to secure it. Finish twisting the wire until it’s the same length as the other side. This basket will hold the stone in place while more twists go up the sides.
6. Secure the stone
While holding the stone in place, separate the wires by taking one wire from each side and joining them in front and back.
7.Twist wires together on front and back
Twist the wires on the front and back to hold the stone in place. Keep twisting until you have an inch of twisted wire.
8. Secure the wire
Bend one wire at a 90 degree angle and wrap it around the other wire.
9. Trim the ends
Wrap the wire at least once around the other twisted wire. Trim the end in a place that’s not noticeable.
10. Make a wrapped loop
With the other wire, secure it by wrapping it under the loop. Wrap the new wire over the wrap securing the other piece of wire.
11. Adjust wires and add chain
Adjust the wires to make the stone is secured and nothing is poking out. Attach a necklace chain to finish it off.

What's your favorite way to rock a wire wrapped pendant?