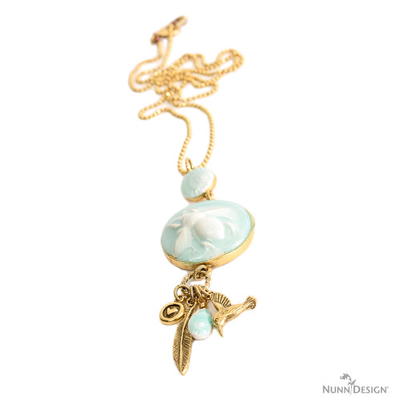
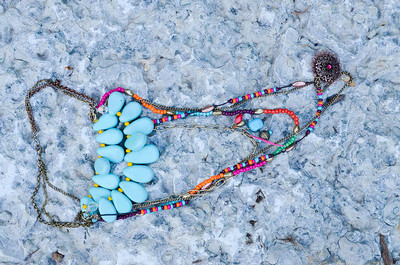
Drop Dangle with Excess Crystal Clay

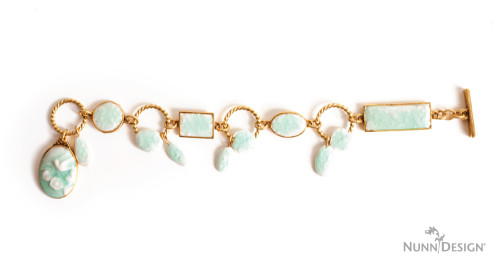
Got extra clay after your latest DIY jewelry project? Make this Drop Dangle with Excess Crystal Clay! These little drop dangles add extra interest to your jewelry projects and make it so that you don't have to waste any jewelry making materials. You can texturize and colorize your drops any way that you want and use them in just about any jewelry design. For example, create two similar clay dangles, put them on earring wires, and you have drop earrings! Or, create a DIY pendant that perfectly matches the bracelet you just created. The possibilities are endless.
Project TypeMake a Project
Time to CompleteWeekend project
Bead Project TypeOther

Materials List
- Crystal Clay
- Headpins
- Castin’ Craft Opaque Pigments
- Nunn Design 2-Part Resin Kit
- Clay Squishers
- Baby Powder
- Wet wipes
- Toothpicks
- Business Card
- Gloves
Instructions
-
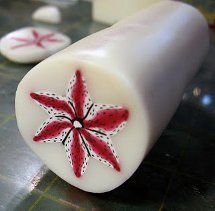
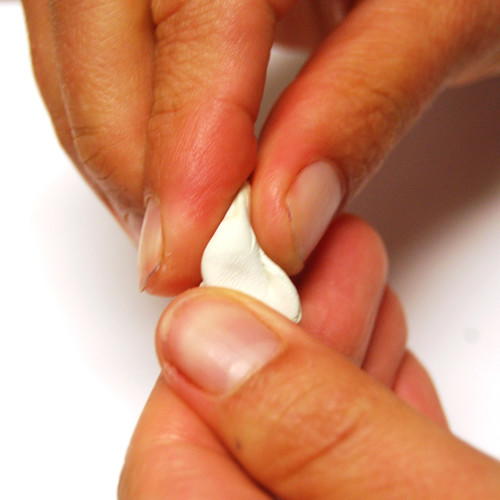
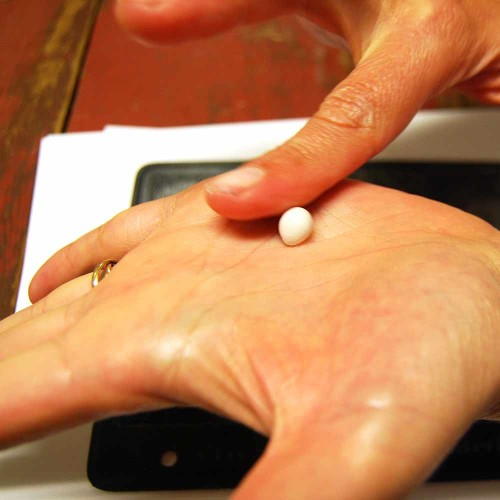
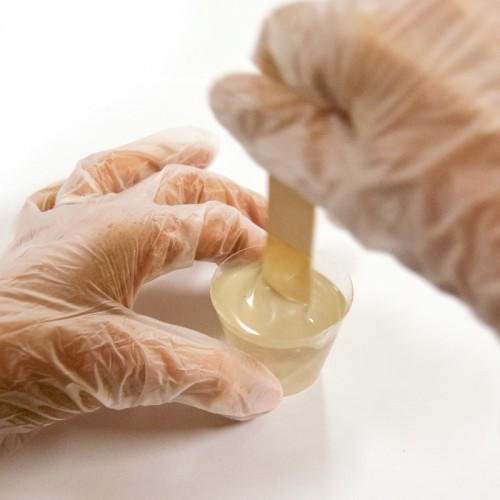
Follow the manufacturer’s instructions for the handling and mixing of the Epoxy Clay-Crystal Clay. While wearing gloves, pinch off two equal sized balls of Part A and Part B and blend together fully until the clay is no longer marbled and uniform in color. You have approximately 90-120 minutes of working time before the clay starts to harden, so take your time. Once the clay is thoroughly mixed, remove your gloves to make it easier to work with the clay.
-
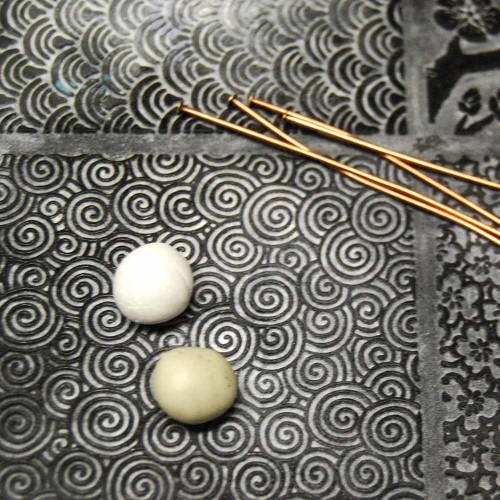
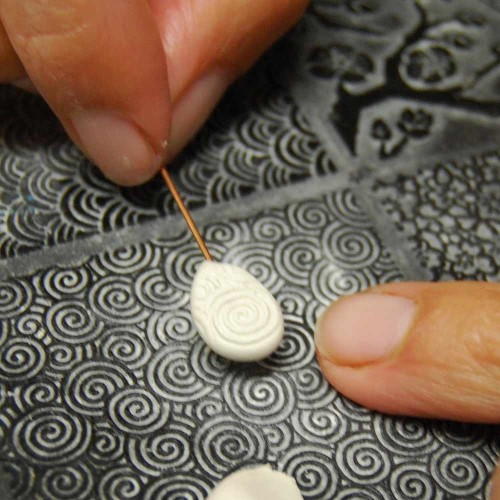
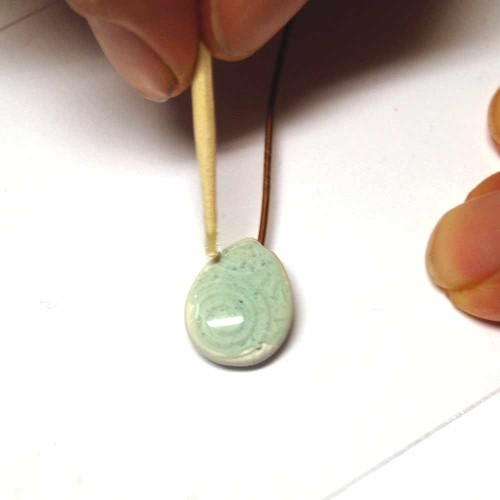
Pinch off a small ball of the clay and roll it in the palm of your hands until smooth and round. Any creases in the clay will be more challenging to smooth out later, so roll until it is nice and smooth.
-
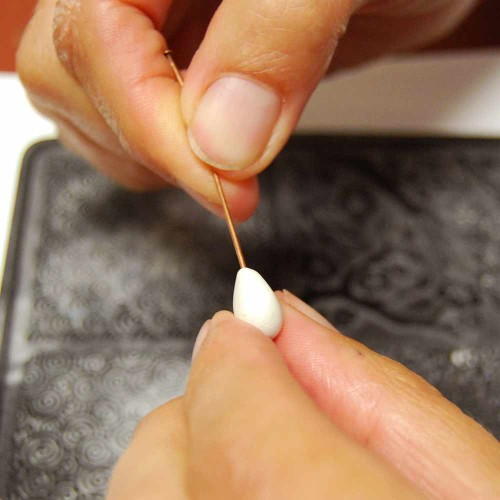
Poke the end of the headpin into the ball of Crystal Clay. Use your fingers to gently sculpt a round ball around the headpin.
-
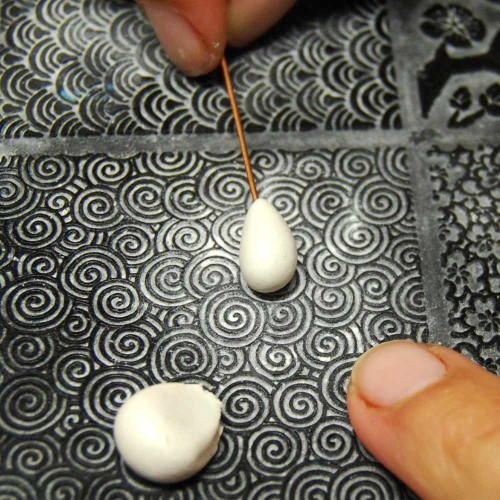
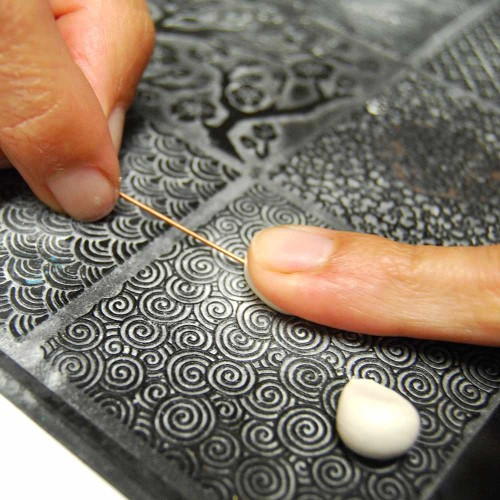
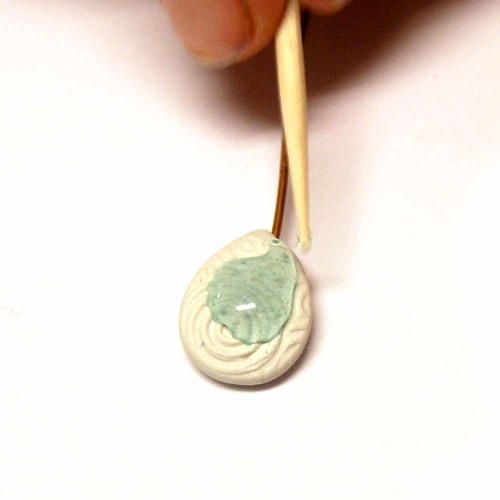
Now, let’s make an impression in our epoxy clay. Sprinkle or rub a wee bit of the baby powder over the surface of your Clay Squisher or texturing source. The baby powder will help the clay not stick to your surface. Place your Crystal Clay headpin ball over the texturizing pad and squish down with equal force. You can use another Clay Squisher on top to create a pattern on both sides.
-
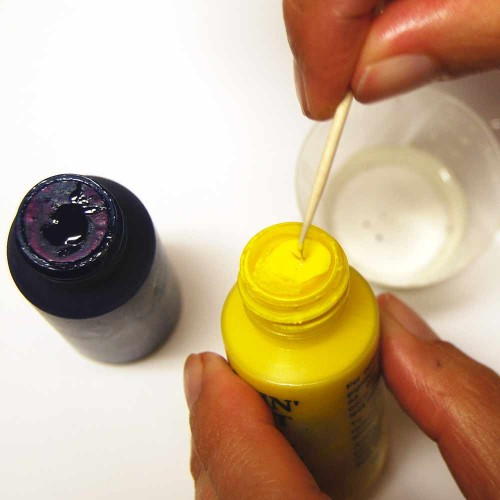
Now we are ready to colorize the Nunn Design 2-Part Resin with Castin’ Craft Opaque Pigments. Read the resin instructions for safety concerns regarding working with the Nunn Design Resin. When I work with resin, I always:
1. Place a large plastic bag over my work surface and tape it down.
2. I make sure I have ventilation in my workroom.
3. I wear gloves.
4. I wear glasses (readers because I can’t see anymore. Plus it protects my eyes!).
5. I have a pile of wet wipes handy. -
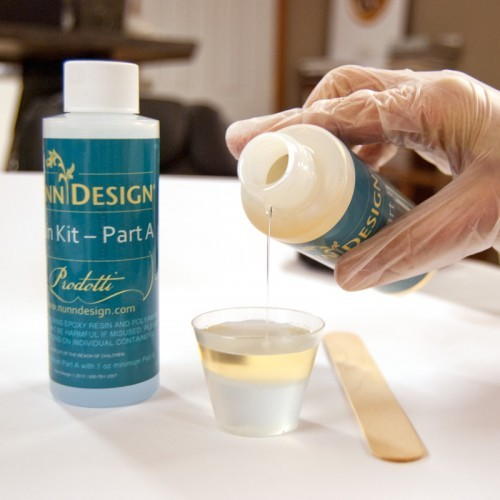
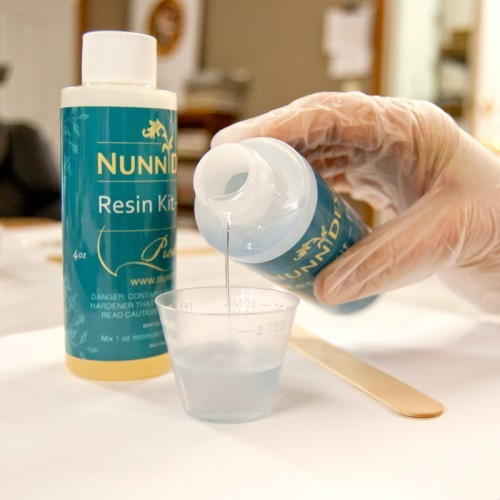
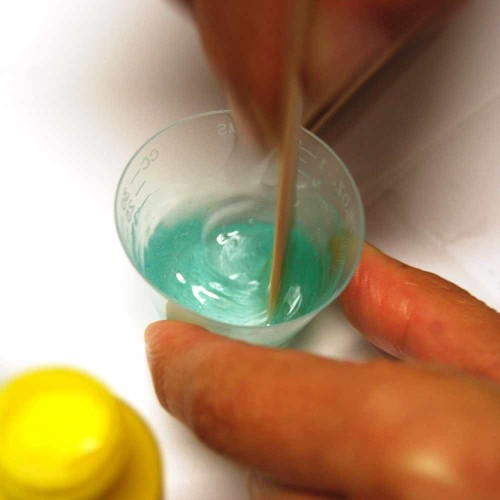
Mixing your resin: Place one cup (included in the Nunn Design Resin Kit) onto your table. For curing purposes, it is very important that the resin be an exact 1 to 1 ratio of Part A and Part B. I suggest getting your eyes level with the resin so you can see the lines on the measuring cup. Pour Part A of your resin kit up to the ½ fluid ounce mark on your measuring cup. Pour Part B of your resin kit into the same cup until it is filled to the 1 fluid ounce mark. It is important to pour Part A first and then Part B. It is some chemical thing about the part B being heavier or something.
-
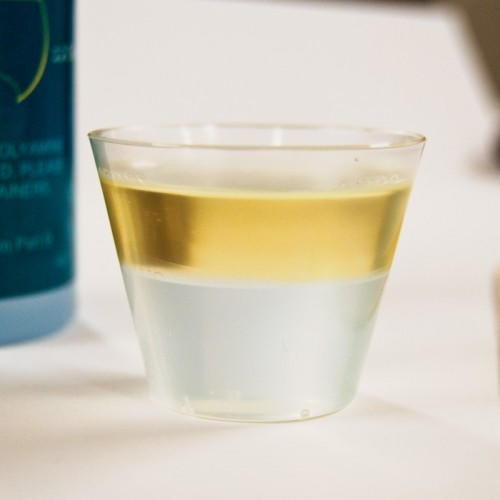
Set your timer for 2 minutes. Using the stir stick from your kit (a popsicle stick or coffee stir stick will work great too), slowly and carefully stir your resin scraping the sides as you stir. Stir for the full 2 minutes. After 2 minutes, scrape both sides of your stir stick on the edge of your resin filled cup. Set the mixture under a warm lamp for 5 minutes. I like the lamps with the adjustable arms that can get right down next to the resin. This aids the air bubbles in the resin to rise to the surface and pop.
-
After your resin has been under the lamp for 5 minutes, pour a small amount of the mixed resin into a measuring cup. Add in a toothpick tip of the Castin’ Craft Opaque Pigment Yellow and Blue to give the resin a slight teal color. If the resin isn’t as opaque as you would like, add in a toothpick tip of the White Opaque Pigment. You can mix the full 1 fluid ounce of resin if you want, but I transfer the resin into smaller cups because it is easier to stir and less messy to move around when less full. Tip: Be sure that the colorant does not equal more than 10% of your resin as having more than 10% could cause issues with curing!
-
Place a Ziploc bag onto the business card to prevent your pieces for getting stuck to the paper if you have any overflow (which you probably will).
-
Once the piece is cured, create a loop to attach to your jewelry creation.

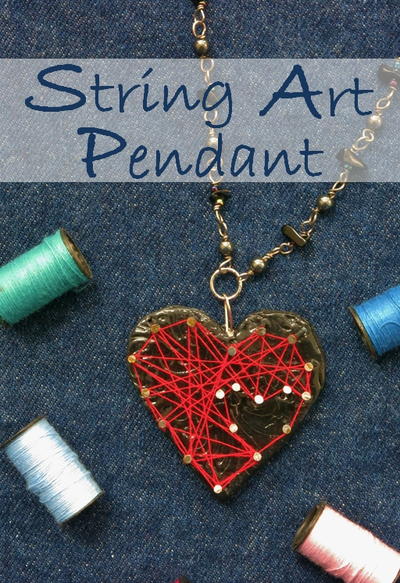
Read NextString Art Pendant or Brooch