Easy Green Glass Bead Necklace

Want to learn how to make an Easy Green Glass Bead Necklace with just a few easy steps? This video will show you how to do just that! It's a great beginner's jewelry project to take on if you're just starting out!
Project TypeMake a Project
Bead TypeGlass, Metal
Time to CompleteUnder an hour
Bead Technique UsedStrung
Bead Project TypeNecklace

Materials:
- Beading wire
- Toggle clasp
- 2 crimp beads
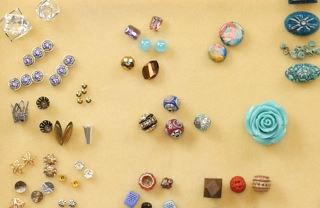
- 6mm glass beads
- 4mm silver filigree beads
- Crimping pliers
- Wire cutters
Instructions:
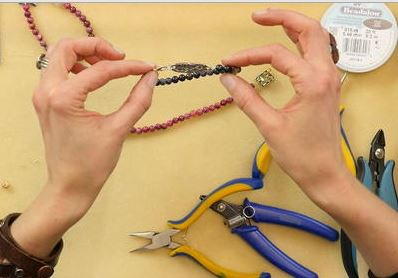
- Thread one end of the beading wire through one of the crimp beads and one end of the toggle clasp.
- Loop the wire around and thread the tail of the wire back through the crimp bead. Leave a little bit of room as shown for there to be flexibility for the clasp to move around.
- Now it is time to crimp. Place the crimp bead on the back, half moon shaped channel of the pliers.
- Crimp down on the bead with the pliers until the crimp bead takes on the shape of a half moon crescent. Do not put too much pressure or the crimp bead will split.
- Now you are ready for the second step of the crimping process. Hold the wire with the dented side of the crimp bead facing away from you, so that you are looking at the smooth rounded side. Place this in the front channel of the crimping pliers.
- Once you have completed this step, give a light tug to the wires to make sure that your crimp bead is secure.
- You are now ready to add your beads. This particular design features a pattern of 3 green round 6mm glass beads, then one silver 4mm filigree bead, and repeat. Start the pattern out with one of the green beads. Thread on the first bead and make sure that the wire and the short tail of the wire both fit through the bead. Continue to thread both wires through the first three beads, and snip the excess tail wire. This will contribute to the strength and integrity of the necklace. If you find that both wires won’t fit through the holes, use a bead reamer to enlarge the center of each bead slightly. Continue the pattern until you have reached the desired length. Be sure to end with three of the green round glass beads.
- Now it is time to attach the other toggle and complete your necklace. Thread the second crimp bead onto the wire, and proceed to thread the second part of the toggle clasp onto the wire. Loop the wire around and thread it through the crimp as you did for the first steps, and thread the wire through the three 6mm round green glass beads.
- Slightly move the beads and the crimp bead down the wires with a light tug until no wire is showing between any of the beads. Remember to leave a small loop as you did the first time to allow the clasp flexibility. Hole everything in place and snip the excess tail of the wire. Repeat crimping, and ensure the crimp bead is secure.
Read NextWrap Bead Bracelet Video
Your Recently Viewed Projects
Thanks for your comment. Don't forget to share!
mulberrygalprinces s
Feb 18, 2018
This is a project that I am going to share with my friends who are learning to make jewelry. It's very easy, the instructions are very well written and easy to follow. That a a great help. And they can use any beads they want. All in all a great project.
deborahwade54 7536 751
Feb 01, 2014
Best crimping instructions I have ever seen. A very simple necklace and pattern. But the instructions for the crimp tubes was great. thanks for the added attention to the beginning and ending of this necklace.
Report Inappropriate Comment
Are you sure you would like to report this comment? It will be flagged for our moderators to take action.
Thank you for taking the time to improve the content on our site.