This project was submitted by one of our readers, just like you.
Gemstone-dangle Hoop Earrings

Gemstone-dangle Hoop Earrings
"Make a pair of striking gemstone hoop in less than an hour! These earrings are actually quite simple to make, and do not require any advanced techniques. We have used natural Amazonite and the feature bead, with small Rhodonite gemstone chips, freshwwater pearls and 4mm crystal beads. But the colour combinations are endless - any feature bead 10-15mm wide will work for the center, and any smaller beads 4mm - 7mm will work for the dangles. "
Project TypeMake a Project
Bead TypeCrystal, Gemstone, Pearl, Wire
Time to CompleteUnder an hour
Bead Technique UsedChainmail/Wirework
Bead Project TypeEarrings

Materials List
- 2x Amazonite Faceted Nuggets 15mm wide
- 12x Rhodonite Chip Beads
- 12x 4mm Clear AB Crystal Round Beads
- 12x 6-7mm lilac freshwater pearls
- 36x 24mm ballpins
- 18 Gauge Artistic Wire
Instructions
-
Cut a piece of 18 gauge wire to approximately 11cm. Form a small loop at one end using your round nose pliers.
-
Time to make the dangles! We have made 12 of each dangle type. We have used the coil technique for making these dangles, which is a very easy way of creating dangles that are secure and can not fall of your design. In this technique, you simply coil the headpin around you round noose pliers. You need to use relatively short headpins (about 25mm) and you’ll wrap about 2-4 times. After you have made the dangles thread 9 of them onto the wire, then the feature bead, and then another 9 dangles. Form another small loop at the other end of your wire.
-
Normally we would use a round mandrel (or object) to make the shape of hoop earrings. However, as we have a large feature bead in the middle using a mandrel would not work! Instead, use your fingers to shape the hoop.
-
Using your flat nose pliers, bend the the loops so that they are facing up-right.
-
Cut another piece of 18 gauge wire approx. 3cm long. Make a small loop in one end using your round nose pliers. Using your fingers, or a round object, form a slight hump in the wire. Then, use your flat nose pliers to create the ‘flick’. Refer to photo for shape!
-
Open up one of the loops on the hoop and attach the lever. Close the loop using your pliers.
-
The lever will probably be a little long for the hoop, so trim it back leaving about 3mm to hook into the loop on the earring. Close the lever to check there is good tension on the earring (so it won’t come undone). If the tension is not sufficient, use your fingers to reshape the hoop a little. You may wish to use a wire rounder on the cut end of lever so that it is nice and smooth when putting on the earrings. And you’re done!

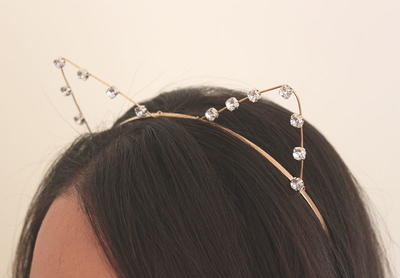
Read NextBejeweled Cat Ears DIY Headband