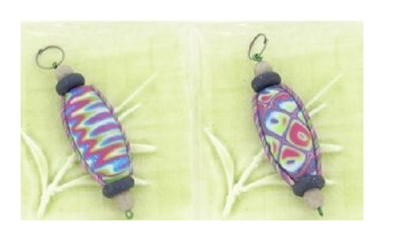
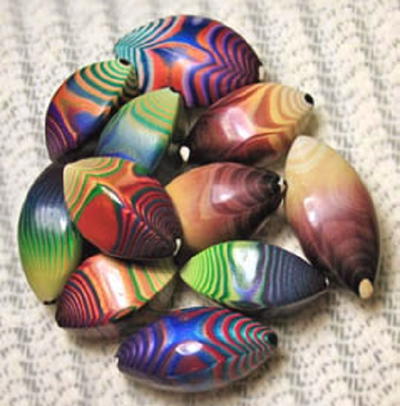
Reversible Ripple Pendant

The Reversible Ripple Pendant is two polymer clay tutorials in one. Rainbow ripples on one side and Mokume Gane on the other make for one super psychedelic pendant project. Learn how to incorporate these two techniques together with this free jewelry tutorial. This reversible DIY pendant is so unique! Wear the rippled side on one day and flip the pendant to the Mokume Gane side the next day for a totally different necklace. This homemade clay necklace will definitely stand out in anyone’s jewelry collection.
Project TypeMake a Project
Time to CompleteIn an evening
Bead Project TypeNecklace

Materials List
- Clay:
- Premo! Accents: Bright Green Pearl - 2 oz (1 block)
- Premo! Accents: Pearl - 2 oz (1 block)
- Premo! Accents: Blue Glitter - 2 oz (1 block)
- Premo! Accents: Blue Granite - 2 oz (1 block)
- Premo! Accents: Gray Granite - 2 oz (1 block)
- Premo! Sculpey®: Fuchsia - 2 oz (1 block)
- Tools:
- Clay Conditioning Machine
- Sculpey Acrylic Roller
- Sculpey® Etch ‘N Pearl
- Sculpey® Style & Detail Tools, Set of 3
- Additional Supplies:
- Bead cord
- 16 gauge craft wire
Getting Started:
Do not use unbaked clay on unprotected furniture or finished surfaces. Start with clean hands and work surface area. Good work surfaces include wax paper, metal baking sheet, or disposable foil. Knead clay until soft and smooth. For best results, clean your hands in between colors. Shape clay, pressing pieces together firmly. Bake on oven-proof glass or metal surface at 275 °F (130 °C) for 30 minutes per 1/4” (6 mm) thickness. For best baking results, use an oven thermometer. DO NOT USE MICROWAVE OVEN. DO NOT EXCEED THE ABOVE TEMPERATURE OR RECOMMENDED BAKING TIME. Wash hands after use. Baking should be completed by an adult.
Begin by preheating oven to 275 °F (130 °C). Test temperature with oven thermometer for perfectly cured clay. For best results, condition all clay by running it through the clay dedicated pasta machine several passes on the widest setting. Fold the clay in half after each pass and insert the fold side into the rollers first.
Instructions:
-
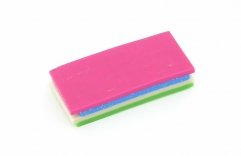
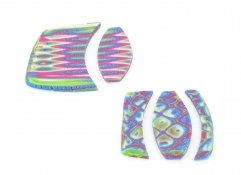
With the Clay Conditioning Machine on the #1 setting (the thickest), roll a sheet of Premo! Accents Bright Green Pearl, Pearl, Blue Glitter and Premo! Fuchsia. Cut a 2” x 3” from each sheet and stack them up as shown.
-
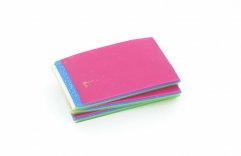
Roll over the stack with the Acrylic Roller until the stack is about 4.5" long. Section into three equal pieces and stack them on top of each other.
-
Roll over the new stack until it's about 3" long. Section it into two equal pieces. Pile the pieces up on top of each other. Roll over the top to secure the layers together. Pushing on all four sides with your fingers, form the slab up so the sides are not ragged.
-
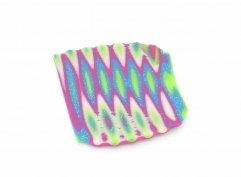
Stand the slab on its side with the Fuchsia side facing away from you. Slice a thick piece off of the slab with the ripple blade. Press this piece through the Clay Conditioning Machine on the thickest setting to smooth it. Set this piece aside for now.
-
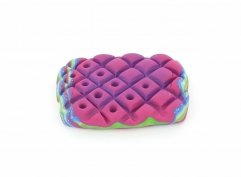
Lay the slab down in front of you with the Fuchsia color on top. Using the large Etch n Pearl tool press deeply making a grid design through the slab. Don't score all the way through the slab so that it stays together. Using the blunt end tool, poke holes in the center of all the squares in your grid.
-
Pushing on all four sides with your fingers form the slab up so the textured design fills in almost completely.
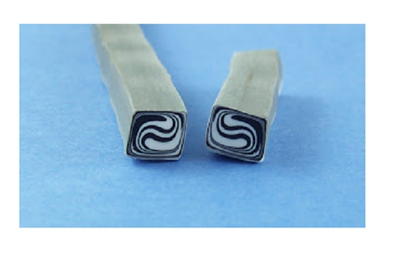
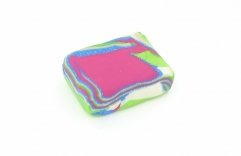
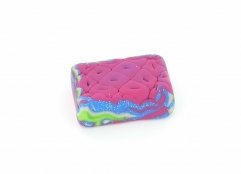
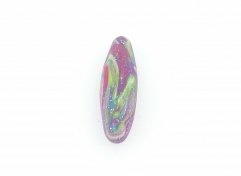
- Stand the slab on its side with the Fuchsia side facing you. Slice a thick piece off parallel to the design texture. On the back side of this slice, a beautiful pattern should be visible.
-
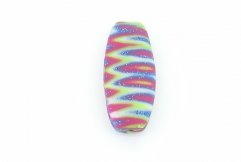
Lay the ripple sheet that you cut earlier and the mokume gane sheet flat. Bend the flexible blade and cut out a large bead shape from each of the ripple and the mokume gane designs.
-
From some scrap clay, form a filler bead that will be sandwiched between the two design sheets. The filler bead should be about 1/4" thick. It should mimic the shape of your bead shapes but be smaller.
-
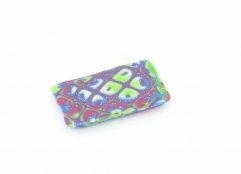
Sandwich the filler bead in between the ripple bead shape and the mokume gane bead shape. Gently form the design sides around the filler beads so the filler bead is completely encapsulated. Spend some time shaping your bead now so that it is the shape you would like it to be. Using the small etch n pearl tool, very gently poke a hole the length of your reversible bead.
-
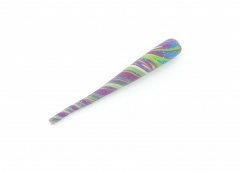
From some scrap clays, twist a very thin rope. Use this to cover the sides of your large beads along the seams. Trim the top and bottom ends of your large bead.
-
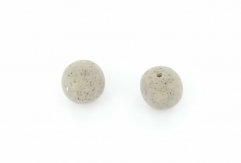
Make two small ball beads from Gray Granite and poke holes in them with the small Etch n Pearl tool.
-
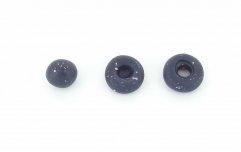
Make two donut shaped beads from Blue Granite. Start with a ball. Press into the ball half way with the 6 mm ball tool. Turn the donut over and press again half into it with the ball tool. Poke a hole in the middle with the large Etch n Pearl tool. Poke from one side and then the other to pull the excess clay into the inside of the donut bead.
-
Bake all your beads as directed above. Use heavy gauge craft wire to make an extra long head pin for your large pendant bead. Assemble as desired.
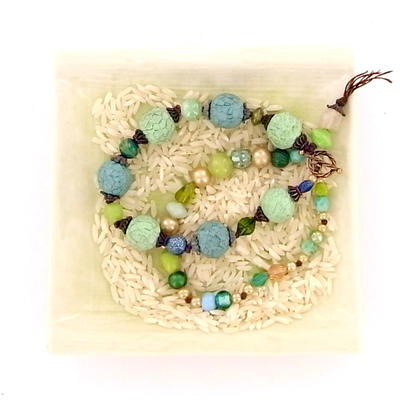
Read NextRustic Sea Foam Faceted Bracelet