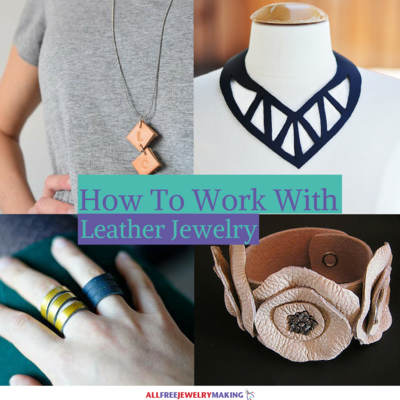
How to Work With Leather Jewelry

Leather jewelry is an extremely fast growing trend that all homemade jewelry makers can easily jump on! Learning about how to make leather jewelry is also great to help you gather fun new fall jewelry ideas for the upcoming chilly weather.
However, leather can be incorporated in so many different DIY jewelry projects; and, it can be crafted in numerous ways. Whether you are going for a lace and leather bracelet look to bring out your more rustic jewelry side, or you are looking to pair fun green and yellow hues for a western jewelry feel, leather is your go-to material. You can even work on incorporating it into your bohemian jewelry projects by adding dashes of color!
These amazing tips can show you how to express yourself through mastering these different leather jewelry techniques. Whether you are an avid leather jewelry maker, or you have shied away from it until now, this guide can help you learn a trick or two. Plus, this assortment of tips is great for showing you everything from cuff bracelets to dealing with simple leather cords!
How To Make Leather Jewelry
Jewelry Making Tips and Tricks
-
Cut - Starting with the most basic of basics will be discussing how to cut leather jewelry. This is often required if you have to shave down the edges of your leather to fit into a clasp, or simply cut down the size of your leather cord.
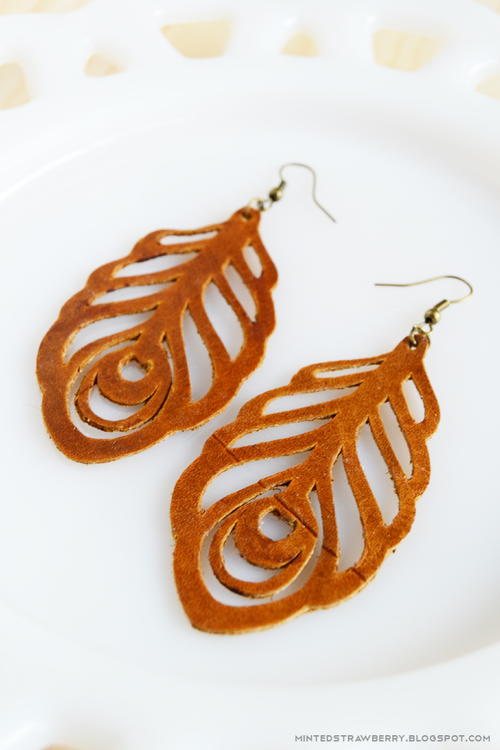
It can also be common to make some kind of cut out leather jewelry piece like this Cut Out Statement Necklace. When making intricate cuts like this be absolutely sure you are using sharp tools, because dull scissors or knives will squish your leather and flatten it out. Also, always check your leather for any kind of imperfection, so you can plan ahead to cut around that if possible.
Pro Tip: Be sure to measure twice, so you only have to cut once!
Also, be sure to check out these super gorgeous feather earrings that can really help you master your leather cutting skills! -
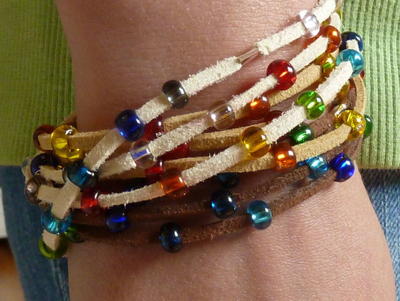
Tying or Finishing - Another very important basic jewelry making technique for making leather jewelry is how you decide to tie it or glue on a clasp at the very end.
Learning how to tie a sliding leather knot can be very helpful when you want to switch up your leather knot-tying techniques. However, a very easy leather knot to tie would be a double overhand knot. If you are having trouble getting this knot to hold you can simply dab some glue on it to help it hold. Also, be sure to try out making a Square Knot Leather Bracelet.
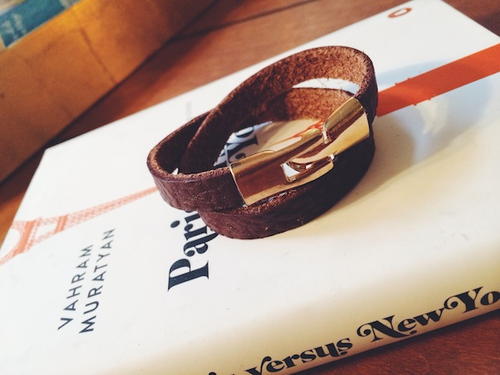
However, if you would rather use a clasp to finish off your leather bracelet be sure to use a gel glue, and place the glue in the metal clasp. From there, you insert the leather into the cap or clasp. Never put glue directly on the leather.
Pro Tip: Your typical E6000 crafting glue may not be the best for this job as it is not fast drying, so instead opt that out for a fast drying super glue.
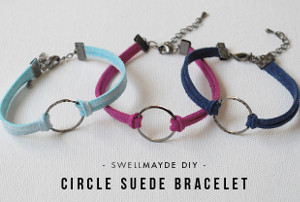
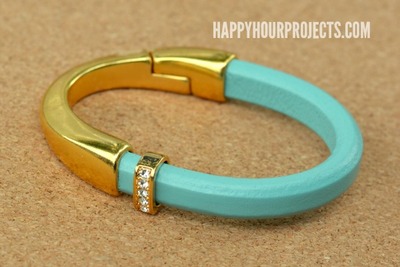
For further guidance on the type of leather bracelets that require a clasp instead of knot, take a look at this Double Wrap Leather Cuff.
-
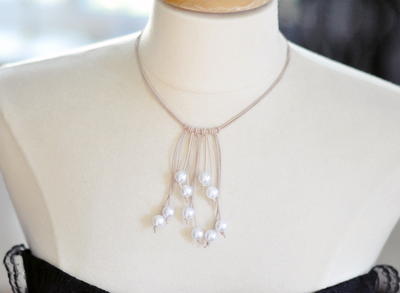
Wire Wrapping - Learning the wire wrapping technique and creating wire jewelry projects, can be tricky in and of itself. However, pairing wire and leather can create a very clean and sophisticated jewelry look.
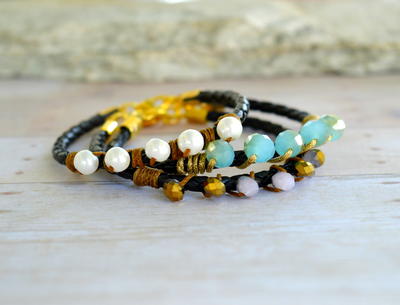
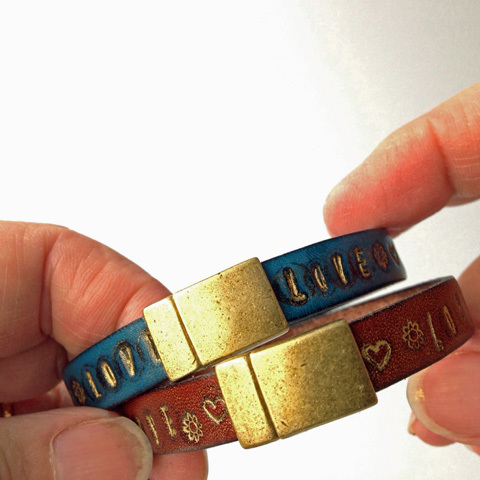
It can be good to test out different wire wrapped leather designs with embroidery thread like in this Hidden Kisses Bracelet, to help you master the general style of these bracelets.
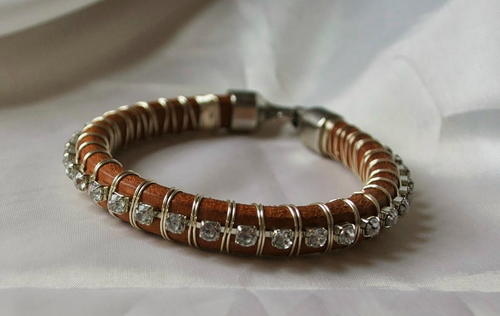
However, once you start venturing into wire wrapping your leather jewelry, it is best to use flat nose pliers to create tight neat wraps. It is also extremely beneficial to use a thinner wire, approximately 24-26 gauge, for a cleaner look.
Pro Tip: Wire wrapping is also great for creating loops in DIY jewelry that can then act as a clasp for a bead.
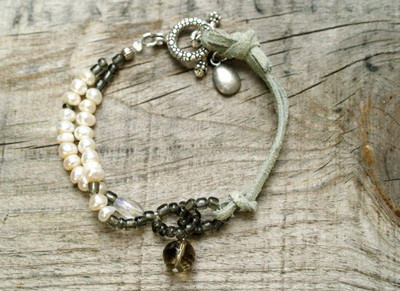
This stunning Wire Wrapped Leather DIY Bracelet is the perfect project for you to test out your wire wrapping skills on leather! -
Dying or Painting - Sometimes leather can't be found in the fun and crazy colors you want it to be in. Luckily, painting or dying leather is an extremely easy process that you can master in no time.
There are two ways you can dye or paint your leather. One is by using water-based paint. For this method, you simply need to wear gloves and make sure the leather is on a disposable surface. Apply your water-based to a damp sponge and work it into your leather jewelry in circular motion. You can apply as many coats as you want until you have reached your desired opaqueness.
The second method for painting or dying your leather would be by using acrylic paint. For acrylic paint, you will want to specifically use an artist sponge to carry out this task. You then want to make sure you are applying your coats of paint as evenly as possible. If you want to apply more coats, you need to wait until it is slightly dry, but do not wait until it is fully dry.
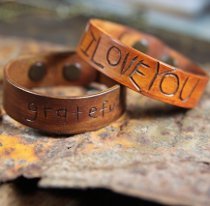
For a third leather painting technique be sure to take a look a these Stackable Leather DIY Rings. Once you are finished with applying your coats you will simply want to seal in the paint with any sealer of your choosing.
Pro Tip: Always be sure to fully paint the edges and both side of the leather. For applying to the edges of your leather you can use a foam eyeshadow blender for a more even paint coat.
Painting jewelry can also have an extremely cool carved out effect like in this Carved Leather Cuff! -
Stamping or Texturizing - One of the coolest parts about making leather jewelry is the ability to create an entirely new impression through working with your techniques on stamping jewelry.
There are tons of different tricks for creating a different texture to leather jewelry, like in this Flowery Leather Cuff tutorial and this Upcycled Initial Leather Necklace where they used an actual stamping machine.
However, the most common way to create and impression or texturize leather is through the use of water. If you are looking a deeper stamped look, you would want to start by submerging your leather into a bowl of warm water for roughly five minutes. The water makes the leather more pliable and easy to work with. from there you would take your metal charms and nylon hammer to hammer the different stamps into your leather jewelry.
For a crisper impression, you would want to spray water on the leather instead of submerging it completely. You would spray your leather until the color changes and then let it dry to almost where it is back to the original color. Repeat this step until you notice that it is taking longer for the leather to almost fully dry. Once you have reached that point, you will want to stamp your design into the jewelry again.
Pro Tip: Never submerge or spray your leather with hot water because it will cause it to shrink and harden instead of become more flexible.
Be sure to also checked out these super cute Stamped Leather Bracelets for more DIY jewelry inspirations.
What is your favorite way to wear leather jewelry?
Read NextCute Beaded Bracelets