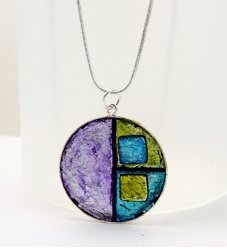
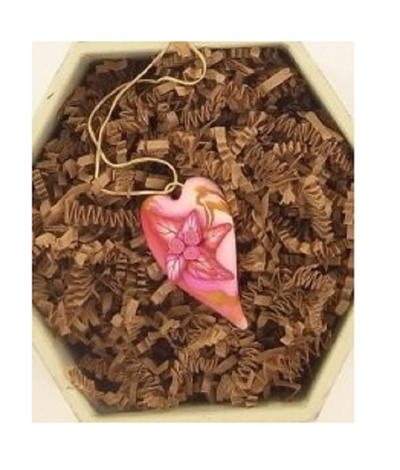
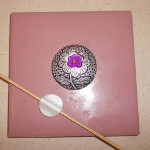
Hidden Flower Pendant

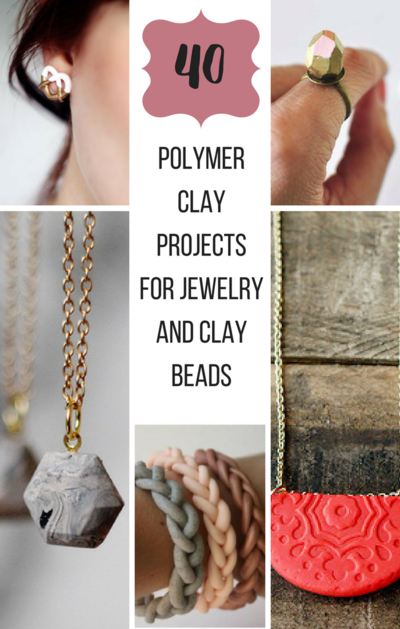
This stunning polymer clay project will make you the fairest of them all in no time. Make the Hidden Flower Pendant and you'll have a beautiful DIY pendant to treasure for years to come. With the help of this DIY jewelry project, you'll learn how to work with clay shaping. It's hard to believe that this stunning design comes from the clever use of a light bulb and a marker. Yet with some clay and those materials, you can have a marvelous handmade pendant of your own.
Project TypeMake a Project
Time to CompleteIn an evening
Bead Project TypeOther

Getting Started:
Do not use unbaked clay on unprotected furniture or finished surfaces. Start with clean hands and work surface area. Good work surfaces include wax paper, metal baking sheet, or disposable foil. Knead clay until soft and smooth. For best results, clean your hands in between colors. Shape clay, pressing pieces together firmly. Bake on oven-proof glass or metal surface at 275°F (130°C) for 30 minutes per ¼" (6 mm) thickness. For best baking results, use an oven thermometer. DO NOT USE MICROWAVE OVEN. DO NOT EXCEED THE ABOVE TEMPERATURE OR RECOMMENDED BAKING TIME. Wash hands after use. Baking should be completed by an adult.
Begin by preheating oven to 275°F (130 °C). Test temperature with oven thermometer for perfectly cured clay. For best results, condition all clay by running it through the clay dedicated pasta machine several passes on the widest setting. Fold the clay in half after each pass and insert the fold side into the rollers first.
Materials:
Clays:
- Premo! Accents: Pearl - 2 oz (1 block)
- Premo! Accents: Purple Pearl - 2 oz (1 block)
- Premo! Accents: Gold - 2 oz (1 block)
Tools:
- Clay Conditioning Machine
- Sculpey® Essential Tool Kit
- Sculpey® Super Slicer
"Accessories:
- Premo! Sculpey® Mini Metal Cutters-Basic Shapes
Additional Supplies:
- Light bulb
- 1 ½” circle cutter
- ¾” circle cutter
- Ceramic tile
- Permanent marker ultra fine point
- Wooden skewer
- Clear, fast drying glue
- Brush
- Necklace cord
Instructions:
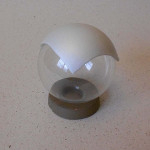
1. Place a large chunk of scrap clay on a ceramic tile. Embed the stem of a light bulb the scrap clay. This will allow the glass bulb to stand on its own. Roll the Pearl clay through the Clay Conditioning Machine on a #3 setting. With the Super Slicer cut a 2” square of clay and form it over the glass bulb.
2. Press the 1 ½” circle cutter into the clay and remove the excess clay.
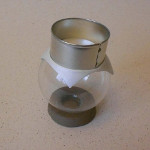
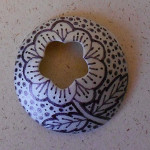
3. Press the mini flower shape cutter, a little off center, into the round clay shape. Remove the flower cutter but leave the clay flower shape as is. Put the ceramic tile with the bulb on a baking tray and bake at 275 degrees for 25 minutes. Allow the clay to cool and remove the round shape from the glass bulb and push out the baked flower.
4. Look at the photo as a guide. First draw, using a permanent marker with an ultra fine point, the flower petals. Next draw a stem and leaves and add a thicker line around the outline of your drawing. Finish with filling in the background with dots in different sizes.
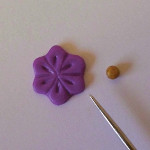
5. Roll some Purple Pearl clay through the Clay Conditioning Machine on a medium thickness and place on a piece of paper. Cut out a flower shape with the mini cutter, remove excess clay, and then using the needle point impress flower details into the clay. Roll a pinch of Gold clay into a small ball which will be used as the flower stigma.
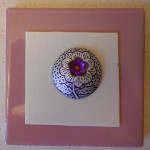
6. Roll a sheet of Pearl clay through the Clay Conditioning Machine on a medium thickness and using the Super Slicer cut a 3” square of clay. Place the sheet of clay on a ceramic tile. Using the ball tipped tool pick up the flower shape and curve is around the ball so it is not flat and looks more like a flower. Press the flower shape onto the 3” square and put the gold ball in the center of the flower. Next place the baked flower design on top of the clay sheet so the mini Purple flower is showing through the opening.
Important: Before placing the baked flower on the unbaked sheet of clay put some Bake and Bond around the bottom edge of the baked circle so the baked and unbaked clay will bond when baked.
7. Using a clay knife (or Exacto blade) cut the around the baked round flower design and remove the unbaked clay.
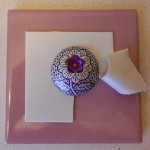
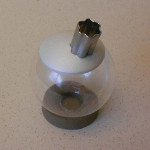
8. Cut a ¾” circle out of a medium thick sheet of white pearl clay. Drape it over a wooden skewer flattening the top and bottom circle shape against the ceramic tile. Bake at 275 degrees for 25 minutes.
9. When cool remove clay pieces from the ceramic tile and add a drop of clear, quick drying glue to the flat areas of the circle and glue to the top back area of the round flower pendant. Brush a coat of Sculpey Glossy Glaze to the front of the pendant. This will not only protect your drawing but add a glittery look to the Pearl clay. When the pendant is dry string your necklace cord through the clay bail.
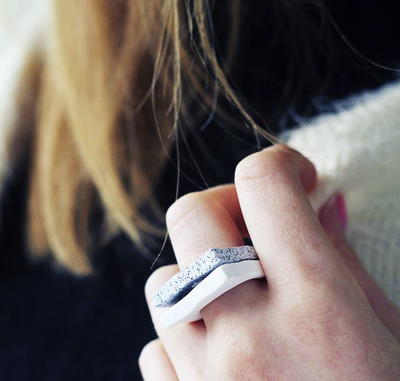
Read NextSquared Granite Stone Ring