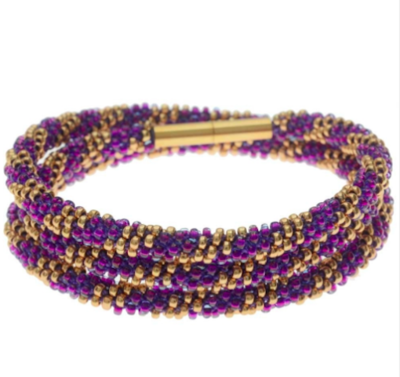
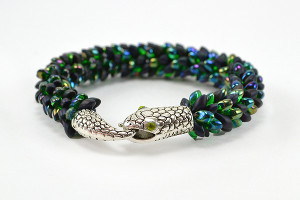
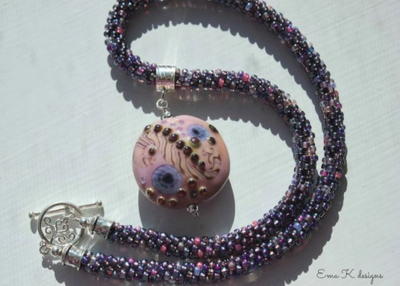
Ultra Violet Vortex Kumihimo Bracelet
Combine your love of kumihimo braiding and seed beads for a trendy triple wrap bracelet!

Let yourself get all wrapped up in a beautiful kumihimo pattern with the Ultra Violet Vortex Kumihimo Bracelet. This triple wrap bracelet is created using the technique of beaded kumihimo, for an incredibly eye-catching and intricate look. Purple and gold seed beads give this bracelet a regal, royal-worthy look, while the sleek gold closure adds a modern touch. This luxurious beaded wrap bracelet pattern is a fun way to practice the art of kumihimo braiding with beads, and the finished product will have you swooning!
Project TypeMake a Project
Bead TypeSeed
Time to CompleteIn an evening
Bead Project TypeBracelet

Materials List
- DMRR-0352 - Miyuki Round Seed Beads, 11/0 Size, 8.5 Gram Tube, 352 Purple Lined Aqua
- DMRR-1052 - Miyuki Round Seed Beads, 11/0 Size, 8.5 Gram Tube, 1052 Galvanized Dyed Yellow Gold
- FCR-4226 - 22K Gold Plated Magnetic Tube Cord Ends/Clasps - Fits Up To 3.2mm Cord
- XCR-4247 - BeadSmith Super-Lon (S-Lon) Cord - Size 18 Twisted Nylon - Violet / 77 Yard Spool
- XTL-1059 - Eurotool Super New Glue - Heavy Duty Adhesive - 3 Gram Bottle
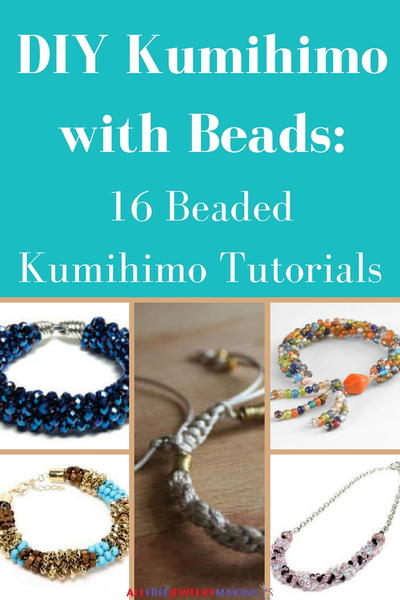
If purple + beads + kumihimo = your favorite combo, you'll also love thePerpetual Purple Kumihimo Necklace Tutorial
Instructions
This triple wrap bracelet measures approximately 6.5 inches. To modify the length, simply adjust the number of beads on the braid respectively. Please note that the clasp adds about 1 inch. You will also need scotch tape for this project.
-
To start this project, please watch our video: How to Braid Beaded Kumihimo and Make a Bracelet. You will see the basic technique of what we will be doing for this wrap bracelet.
-
Cut 8 strands of cord, 6 feet each.
-
Gather the ends 8 cords and tie an overhand knot to secure them together.
-
Place the knot through the middle hole of the Kumihimo Disc and secure the gator weight to the knot.
-
Place the cords into the notches on either side of the placement dots.
-
Before adding beads and winding the bobbins, you are going to add a small bit of glue to the ends of each cord to form a "needle". Please watch our video to see this tip: Use Super New Glue on Cord to form a Needle for Easy Stringing. Do this for each strand. It will take about 30 minutes for the glue to fully dry.
-
Next you will be adding beads. On the four strands between 31-32, 32-1 and 7-8, 24-25; you will add 180 gold beads to each strand. Wind the ends into the bobbins.
-
On the four strands between 8-9, 23-24 and 15-16, 16-17; you will add 180 purple beads to each strand. Wind the ends into the bobbins.
-
Begin the braiding as shown in the video with 1 inch without beads before adding the beads.
-
Once you have added all the beads, finish with 1 inch without beads. Trim the ends and tie and overhand knot.
-
Then take a small piece of scotch tape and wrap it around the braided, un-beaded portion of the braid. Then trim the cords so that you have 1/4 inch to fit into the well of the clasp.
-
Separate the magnetic clasp. Add a few drops of Super New Glue to the well of one end of the clasp and place this end into the well. Tip: It does help to gently twist it into the clasp to get all the cords coated for a firm hold. Move on to the other side of the bracelet and repeat. Be sure to let the clasp dry separated.
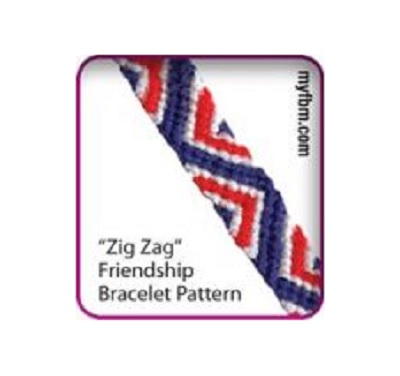
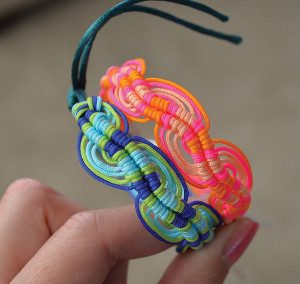
Read NextWavy Friendship Bracelet