Wire Wrapped Berry Ring Tutorial

Wire Wrapped Berry Ring Tutorial
Need a last piece for your holiday outfit? Follow this Wire Wrapped Berry Ring Tutorial for an easy and cute holiday party ring that can easily be worn all year long! Show off your creative abilities at this year's holiday party!
Project TypeMake a Project
Bead TypeMiscellaneous
Time to CompleteUnder an hour
Bead Technique UsedChainmail/Wirework
Bead Project TypeRing

Materials:
- 26 gauge gold colored wire
- (5) 6mm round red glass beads
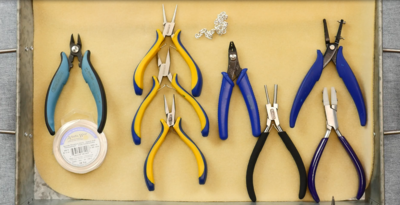
- Wire cutters
- Round-nose pliers
- Long-nose pliers
Instructions:
- Take your wire and measure about 6 inches from one end. Start wrapping the wire loosely around your finger (or if you are lucky, a ring mandrel). Wrap it about 5-6 times.
- Slide the wire off your finger. Adjust the loops so they are all the same size. Slide the ring back on your finger and make sure there is a small gap between the ring and your finger.
- Take the six inch tail of wire and wrap it around the wire loops to secure them. Continue wrapping until you reach the other wire end. Secure the wire end by tightly wrapping it a couple times. Trim any excess.
- Cut the wire end to about 8-10 inches. Slide on a bead and bring it close to the ring. Wrap the wire end around the bottom of the bead to secure it in place. Continue like this with the other four beads.
- Wrap the wire end around the ring and then several times around the base of the bead cluster. Wrap the wire end a couple times around the ring again to secure it. Trim any excess. Use pliers to pinch the wire end.
Read NextCrystal Bangle Stacking Bracelets

