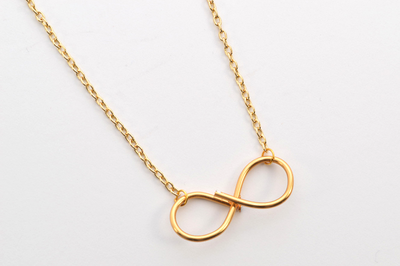
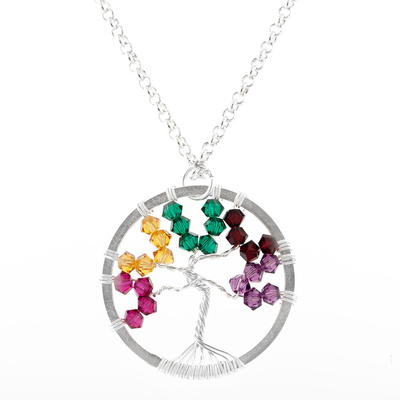
My Little Tree Wire Wrap Pendant

This My Little Tree Wire Wrap Pendant is the perfect DIY necklace idea for a Mother's Day gift or any other present. With its colorful crystal beads and beautiful wire design, this pretty pendant is a DIY jewelry project that makes the most of simple wire wrapping techniques. Create yours in silver, gold, copper, or whichever color you like the most. You can add beads that correlate with birthstones, or you can use all the same color beads to create a monochromatic work of art.
Project TypeMake a Project
Bead TypeCrystal, Wire
Time to CompleteIn an evening
Bead Technique UsedChainmail/Wirework
Bead Project TypeNecklace

Materials List
- 4 - 3mm Garnet Swarovski Crystal Bicone Beads (03BI1112)
- 4 - 3mm Ruby Swarovski Crystal Bicone Beads (03BI1111)
- 6 - 3mm Emerald Swarovski Crystal Bicone Beads (03BI1117)
- 5 - 3mm Amethyst Swarovski Crystal Bicone Beads (03BI1130)
- 5 - 3mm Topaz Swarovski Crystal Bicone Beads (03BI1133)
- 1 - 28mm Sterling Silver Flat Circle Component (SS4296)
- 1 - 13.5x10mm Antique Silver Plated Pewter Anna's Toggle Clasp by TierraCast® (SP2426)
- 3 - 5.5mm Silver Plated Brass 20 Gauge Open Jump Rings by TierraCast® (SP0342)
- 19 inches - 1.9mm Silver Plated Brass Rollo Chain (CN4008)
- 5 feet - 28 Gauge Sterling Silver Dead Soft Wire (SW0126)
- Chain nose pliers
- Wire cutters
- Hypo Tube Cement (TL1202)
Instructions
-
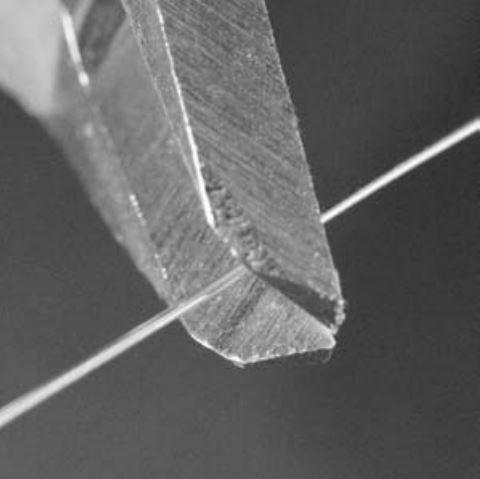
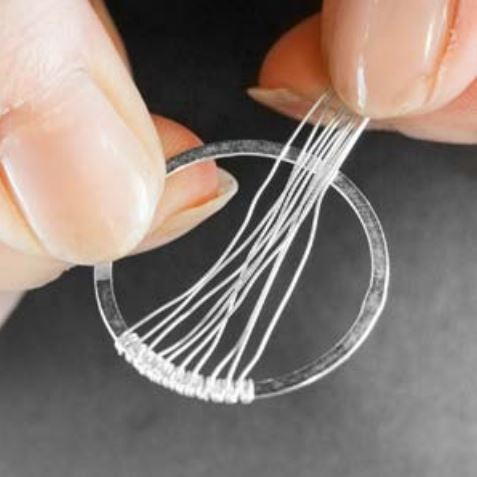
Using wire cutters, cut 10 6-inch lengths of wire.
-
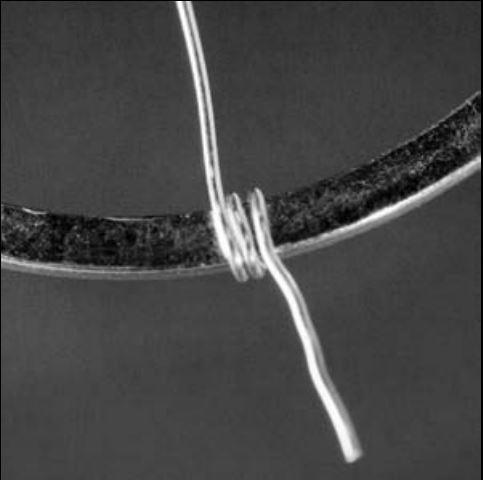
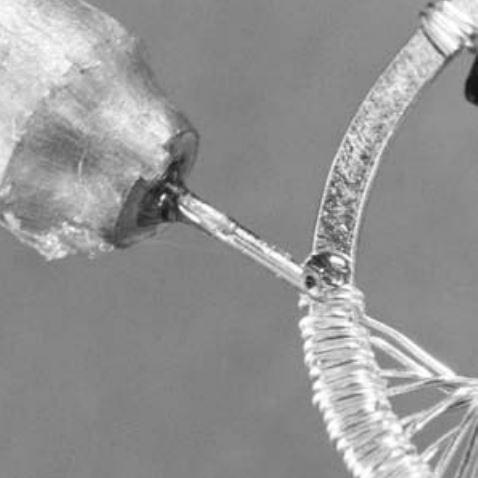
Anchor one length of wire to the component by wrapping one end around the component three times. Trim the wire tail close to the component.
-
Repeat with each of the remaining wire lengths.
-
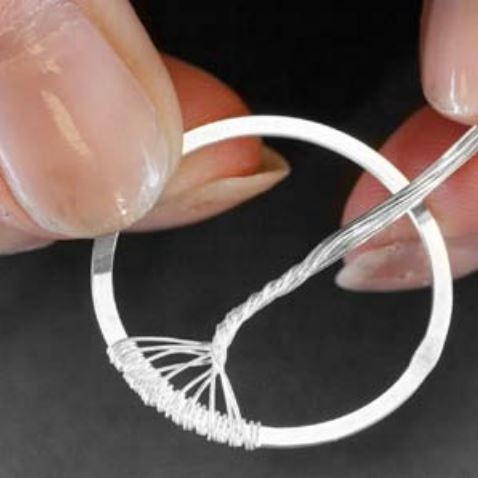
Twist all 10 wire lengths together tightly about halfway toward the component’s center, forming the tree’s “trunk.”
-
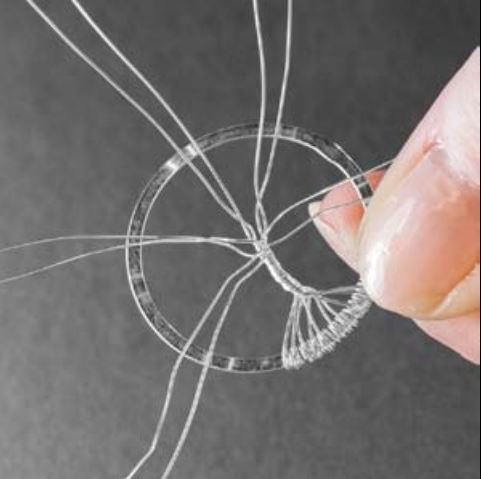
Separate and spread pairs of wires away from the trunk. These wires will form the “branches.”
-
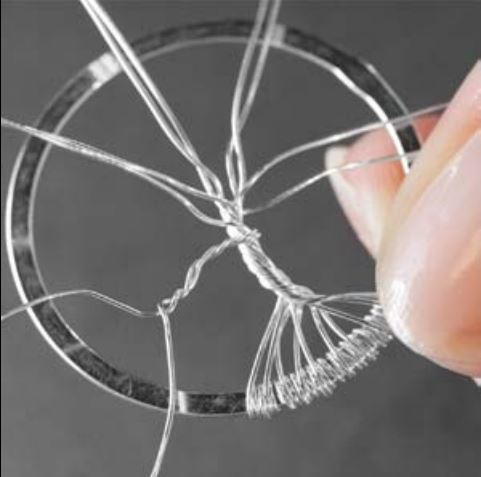
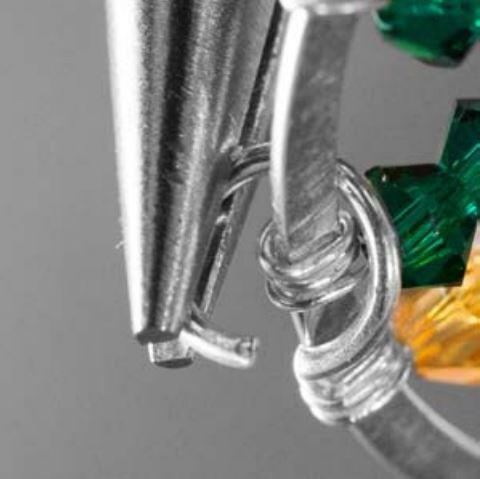
Begin twisting one pair of wires about halfway toward the component.
-
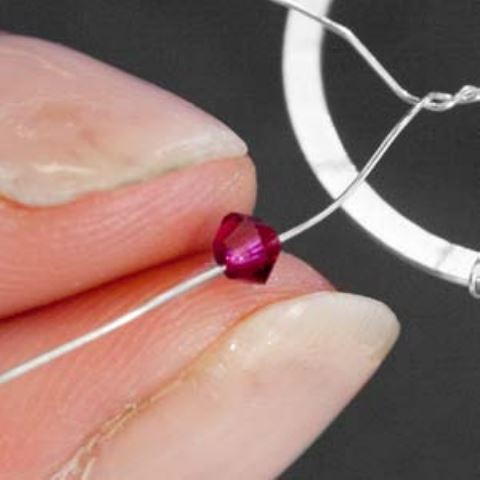
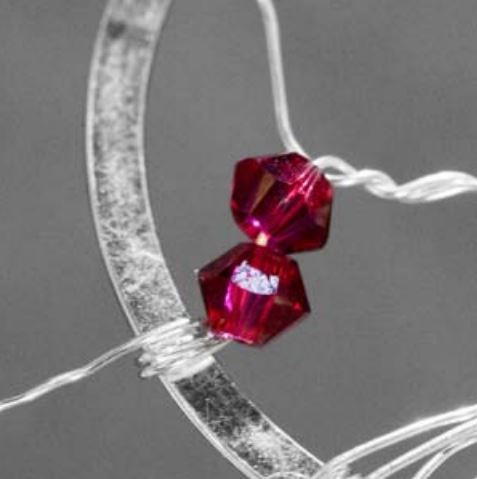
String two 3mm Ruby crystal bicone beads onto one wire, and anchor the wire onto the component.
-
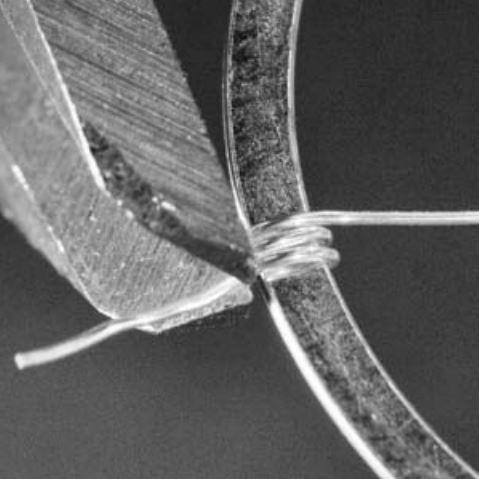
Trim the wire tail close to the component.
-
In the same manner as in the previous steps, continue twisting each pair of wires and stringing beads onto individual wires. Place the beads in any order you wish, or follow the sequence shown.
-
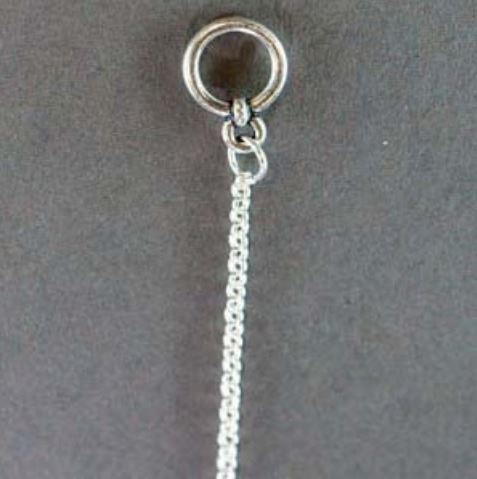
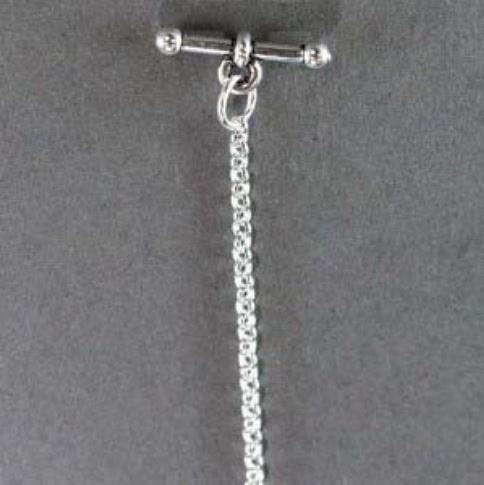
Open one jump ring. Use the jump ring to attach the chain to the top of the component across from the tree’s “roots.” Close the jump ring.
-
Use one jump ring to attach one side of the toggle clasp to one end of the chain.
-
Repeat Step 11 with the second side of the clasp and the opposite end of the chain.
-
If wire ends create any rough spots, apply a small drop of Hypo Cement to the spot.


Read NextLapis of Luxury Necklace
Your Recently Viewed Projects
Thanks for your comment. Don't forget to share!
Hippie Chick
Oct 31, 2018
A great gift for any Mother for Mothers Day or for her birthday. This could also work as an anniversary gift possibly. The link does not go to a website it is actually a direct download straight to your computer. I would actually rather have a link to a site so that I might preview the pattern before putting it on my PC.
The Designing Peng uin
Sep 28, 2016
Love the colour and the concept - a tree of life in the colours of life. A statement of belief and faith, love of life, intent - brilliant
Report Inappropriate Comment
Are you sure you would like to report this comment? It will be flagged for our moderators to take action.
Thank you for taking the time to improve the content on our site.