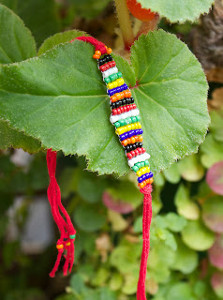
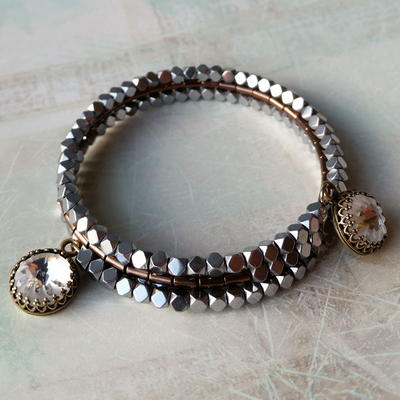
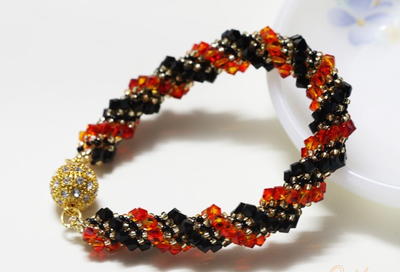
Easy Memory Wire Bracelet

This Easy Memory Wire Bracelet is one of the simplest and fastest pieces of jewelry you can make, which makes it one of our go-to beaded jewelry ideas for quick projects. You can make some of these memory wire bracelets as DIY gifts or as a fun group activity. You can choose to switch up the colors for these gorgeous beaded bracelets, no matter what you are going to end up with a stunning effect. Simply follow along with this super easy DIY jewelry tutorial and you will be a master at memory wire in no time. Upgrade your handmade jewelry skills from regular wire bracelets to gorgeous memory wire bracelets.
Project TypeMake a Project
Bead TypeGlass, Miscellaneous, Seed, Wire
Time to CompleteUnder an hour
Bead Technique UsedChainmail/Wirework
Bead Project TypeBracelet

Materials List
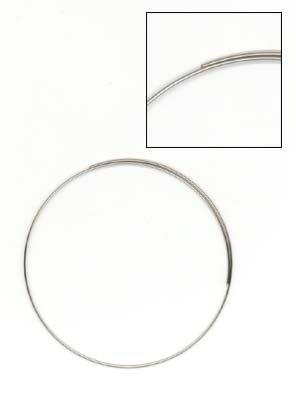
- Bracelet Memory Wire
- Two Headpins
- Assorted Glass Beads
- Seed Beads to match Assortment
- Spacer Beads
- Hard Wire Cutters
- Chain Nose Pliers
- Round Nose Pliers
- Rubber Earring Back

Looking for some expert tips and tricks? LearnHow to Work With Memory Wire When Making DIY Jewelry
Instructions
-
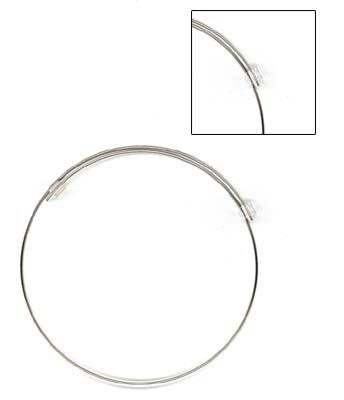
Cut the memory wire so that there is a 1-2" overlap on the ring. It is important to use the hard wire cutters on memory wire as they will damage the cutting blade of regular wire cutters.
-
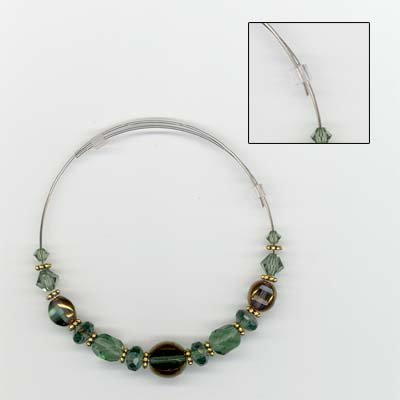
Place a rubber earring back about 1/2" from the end of the wire on one side. This will allow you to add beads and design your bracelet without being fully committed.
-
Add beads as desired. I usually focus on the 3" that are in the center and then fill in the sides with the seed beads. You can switch the rubber stopper from one side to the other as needed. Make sure you leave about 1/2" on each side for finishing.
-
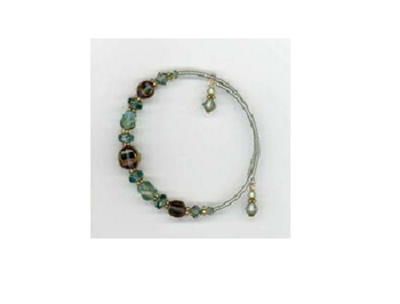
Use the round nose or chain nose pliers to turn the end of the wire into a loop. We usually make loops with the round nose, but this is the one exception to where you may need to use a chain nose, as the wire is so firm you need to get all the leverage you can get. (this step will need to have an adults help). For comfort turn the wire away from the circle, that way it does not dig in to the wrist when worn and the added baubles hang right.
-
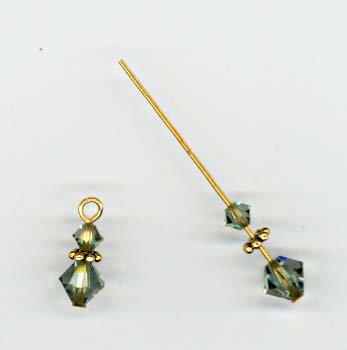
Add a couple of beads to the headpins and make a simple loop with the round nose pliers, attach to the loop on the memory wire bracelet for a nice accent.

Read NextChunky Turquoise Bracelet
Your Recently Viewed Projects

Thanks for your comment. Don't forget to share!
Hippie Chick
May 08, 2018
Memory wire is one of the easiest materials to work with. It is so forgiving unlike some of the regular wire used in beading. This makes a fast and simple bracelet. The hardest part will probably be deciding on which beads you are going to use for your bracelet.
Hippie Chick
Nov 15, 2017
Memory wire is actually fun to work with and it is so easy too. I never thought of using a rubber earring back on the ends of the memory wire to hold your beads secure while making the bracelet and to protect from the rough wire ends. Learned a new trick looking at this tutorial.
mulberrygalprinces s
Apr 24, 2017
What a simple, easy project yet so pretty. It's dainty and lovely in its simplicity. It can be made up in no time at all and in so many different colors. Just remember you can't cut memory wire with regular snips. I have ruined many a pair by doing that.thank you for sharing this.
Report Inappropriate Comment
Are you sure you would like to report this comment? It will be flagged for our moderators to take action.
Thank you for taking the time to improve the content on our site.