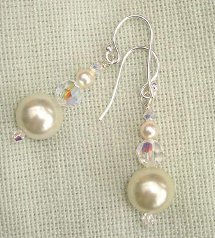
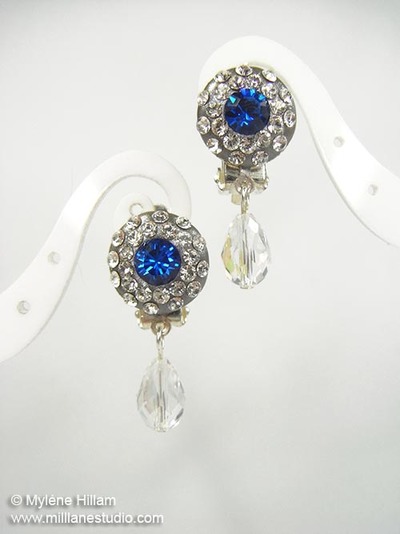
Princess Dream Earrings

Learn how to make the earrings of your dreams with this tutorial for Princess Dream Earrings. These DIY earrings are the ultimate pretty, sparkly, elegant earrings of every girl's fashion fantasies. You'll feel like absolute royalty every time you wear them. The two-tiered chandelier design gives them extra opulence and glamor. If you're looking for free jewelry patterns to help save some money on a special occasion ensemble, these dazzling DIY dangles couldn't be more ideal. They could even work as bridal earrings, because after all, every girl deserves to feel like a princess on her big day.
Project TypeMake a Project
Bead TypeCrystal, Pearl
Time to CompleteIn an evening
Bead Project TypeEarrings

Materials:
CRYSTALLIZED™ Swarovski Elements
- Article 6100 2 24x12mm crystal tear drop Pendants
- Article 5810 6 5mm white crystal Pearl
- Article 6007 8 9x5mm crystal moonlight small Briolette
Beadalon® components:
- 2 silver plated back loop ear wire – 308B-220
- 4 3 to 1 plain sterling silver connectors 426G-518
- 8 silver plated 9mm pinch bail pendants – 327B-199
- 2 silver plated 12mm pinch bail pendant – 327B-199
- 6 silver plated eye pins – 310B-113
- 4 4mm silver plated jump rings – 314B-003
Tools:
- Flush cutter
- Chain nose pliers
- Standard and Mighty Crimper tools
Instructions:
-
Feed one pearl onto eye pin and make a simple loop on the opposite end. Trim excess wire. Make two more of these and set aside.
-
Cut off the bail portion of one small bail and close it around hole of briolette. Repeat with three more and set aside.
-
Cut off the bail portion of a large bail and close it around large crystal tear drop.
-
Use chain nose pliers to carefully open one of the loops of pearl link and attach to center ring of a connector; then close it gently. Open opposite loop of same pearl link and attach to other connector through single ring.
-
Open one small jump ring and attach one crystal briolette to one side ring of top connector. Repeat the same with remaining ring.
-
Open a small jump ring and attach large teardrop to middle ring of bottom connector.
-
Open one loop of pearl link; attach to one side ring of the bottom connector. Open opposite loop and then slide on one of the crystal briolettes. Repeat the same to last side ring of bottom connector.
-
Repeat all steps to create matching earrings.
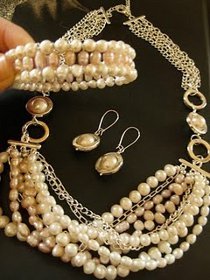
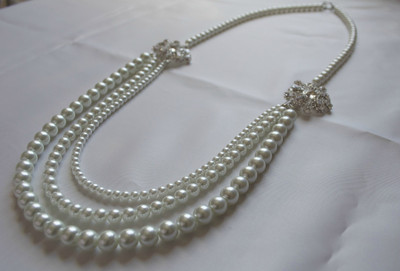
Read NextPearls of Wisdom Necklace
Your Recently Viewed Projects
Thanks for your comment. Don't forget to share!
mulberrygalprinces s
Apr 24, 2017
These are just lovely and after reading the instructions I see no reason , anyone, including me couldn't make them. Easy, pretty, and if you substitute a generic brand bead instead of Swarovski it would be a lot more cost efficient. What more could you want in a DIY project? And you can customize it into any color you want. I can see it in an emerald green or amethyst . Thank you for sharing this great idea.
EditorMC
Oct 05, 2016
These are so stunning and seriously perfect for winter! I am so excited to make these!
Report Inappropriate Comment
Are you sure you would like to report this comment? It will be flagged for our moderators to take action.
Thank you for taking the time to improve the content on our site.