Learn How to Peyote Stitch: Even Count, Odd Count and Tubular

The peyote stitch technique consists of three subtypes of stitching: odd count, even count and tubular. Each of these stitches are totally different from one another, but you still come out with the same beautiful result in the end. After learning How to Peyote Stitch, there’s no stopping you when it comes to combating a new jewelry design skill.
Making your own jewelry has so many benefits. Not only are you learning new skills, but you’re saving money by not going out and buying super expensive jewelry pieces. Another perk of hand making your own jewelry is you can customize the pieces and make them as unique as you want. From learning how to string on beads to a bracelet to making a crochet choker, there are so many new skills that you may not be aware of.
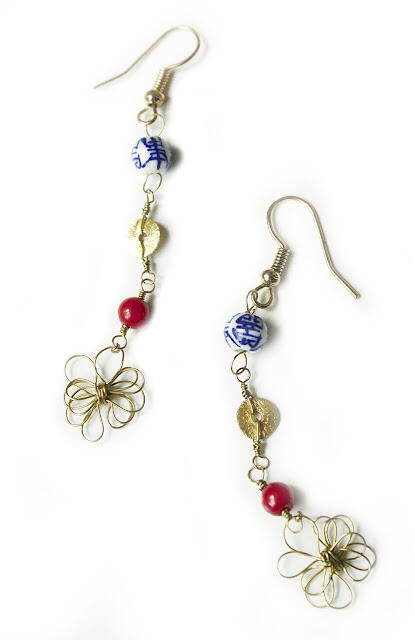
One intricate technique that is becoming increasingly popular is the peyote stitch. You can peyote stitch almost anything- necklaces, bracelets, earrings, chokers, pendants and more. When you master this skill, your friends will be blown away when you tell them that you beaded this type of jewelry design by yourself.
How to Peyote Stitch: Even Count
The even flat count peyote stitch is a great place to start if you are completely unfamiliar with the peyote stitch skill. If you take your time and read through the instructions, you’ll be a peyote stitch pro after a day!
1. Beginning the stitch
Pick up a stop bead a prepare and comfortable length of beading thread (full arms span). To string a stop bead, thread the needle through the bead with the thread attached.
2. First row of beads
Pick up 10 seed beads and push them down the thread to the stop bead.
3. Next row of beads
To start the peyote stitch, pick up one seed bead on your needle and skip the last bead you strung on the first row and pass your needle through the next bead (going back in the direction towards the stop bead).
4. Stack beads and stitch the rest of the row
Pull the thread tight so that the bead you just added sits stacked on top of the bead below it. Continue to pick up one seed bead, skip a bead and pass through the next bead until you reach the end of the row. When you finished the end of the row, you’ve completed the first three rows of even count peyote stitching.
5. Make the turn and begin stitching fourth row
To make the turn and begin the fourth row, pick up one seed bead and pass it through the first bead that is sticking out from the previous row. From here on out, you’ll be stitching beads into the spaces between the up beads (the beads that stick up/out on a row). To turn at the end of the row, pick up a bead and pass it through the bead you just stitched into place.
Tip 1: Make sure that the beads aren’t twisted as you pull them right. To fix any twisted beads, loosen the stitch and untwist.
Tip 2: If you skip a bead accidentally, remove the stitches up until that point and add the bead back into place.
6. Finish
Continue stitching until your piece of beadwork is the size you want. You can remove the stop bead any time after the third row is complete.

How to Peyote Stitch: Odd Count
Once you’ve mastered the even count peyote stitch, try the odd peyote stitch. This type of stitching is a bit more difficult, but once you practice, you'll get the hang of it!
1. Beginning the stitch
On a thread no longer than five feet, string a stop bead.
2. String first two rows
Pick up 11 seed beads and thread them down to the stop bead. Then, pick up another seed bead and skip the last bead strung and pass through the next seed bead.
3. Third row of beads
Continue to stitch by picking up a bead, skipping a bead and passing it through the next bead, until you have one bead left on the row (not counting the stop bead).
4. Make the first turn
Pick up a bead and pass it through the last bead left on the row going back towards the beginning of the row. Take out the stop bead.
5. Stitch next two rows
Pick up a bead and pass it through the first bead sticking out from the previous row. Continue to work in this manner, adding beads to fill in the spaces until you come to the end of the row. Make a turn and add another row.
6. Make a different turn
At the end of this row, you’ll need to make a different type of turn. This will happen every other row. Pick up one bead and pass it through the last bead on the edge going back towards the beginning of the row.
Tip: Pull tight.
7. Weave through beadwork
Pass needle and thread through the next bead and previous row. Pass the needle and thread up through the bead directly to the one you just came out of.
8. Finish
Come through the bead you strung at the beginning of the turn and then add the next bead and continue stitching until your piece of beadwork is the size you want.

How to Peyote Stitch: Tubular
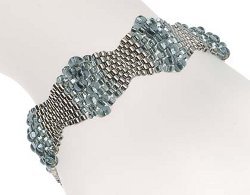
The tubular peyote stitch consists of an even count peyote stitch. So, once you’ve mastered the basic even stitch, challenge yourself and try this type of stitching! This type of stithcing is great for making bracelets with.
1. Beginning the stitch
Pick up an even number of beads on your thread.
2. Make the base
Create a circle with the beads. You can put your needle back through one or more beads to pull the beads into a circle or simply tie a knot.
3. Starting tubular peyote
Stitch through the first bead of the ring.
Tip: Slide the ring into a round object (such as a pencil) to hold the beadwork in place and maintain shape.
4. Add first bead
Pick up a bead, skip the next bead and pass the needle through the third bead. Pull thread tight to stack the newly added bead on top of the bead below.
5. Preparing the step up
Continue to pick up a bead, skip one bead and stitch through the next bead until you have added seven beads on the row.
6. Step up
Make an extra pass through a bead and move your needle and thread up to start the next row.
Tip 1: It may be difficult when at the end of the row to fit your needle into the last bead. Put it on at an angle to make it easier.
Tip 2: So, when do you step up? You can keep count off the number of beads to add to each row or you may notice that in the spot you’re working on, there’s no more space to add beads. That’s when you step up to start the next row.
7. Continue to tubular peyote
After the first four rows, you can remove the the round object. The first four rows are the hardest, after that it’s a piece of cake!
8. Finish
Continue stitching until your piece of beadwork is the size you want.

What's type of stitch is your favorite?
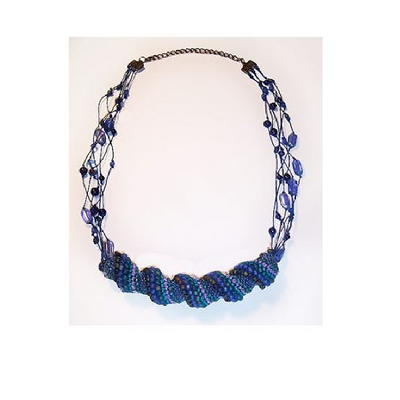
Read NextTwisted Peyote Spiral Necklace
Your Recently Viewed Projects
Thanks for your comment. Don't forget to share!
mulberrygalprinces s
Aug 11, 2017
Now I am really excited and determined to learn this stitch. I keep putting off buying a book to learn and I am do glad I did. This is wonderful, all kinds of instructions, tips and helps. I am ready to try again. Thank you for offering a more comprehensive book than the one I was going to buy.
EditorLP
Jun 29, 2017
These are great tips! Personally I prefer even count peyote just because it's easier for a peyote newbie like me. It is definitely one of my favorite bead stitches.
Report Inappropriate Comment
Are you sure you would like to report this comment? It will be flagged for our moderators to take action.
Thank you for taking the time to improve the content on our site.