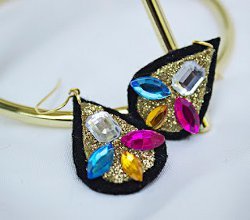
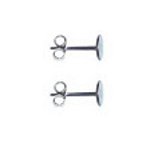
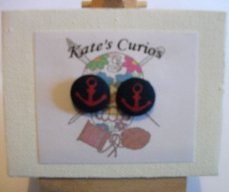
Fabric-Covered Button Stud Earrings

Dainty yet bold, these Fabric-Covered Button Stud Earrings are endlessly versatile. You can make fabric earrings for every outfit and occasion with this jewelry tutorial. Mix and match prints, patterns, and pictures for a look that's all your own!
Project TypeMake a Project
Bead TypeMiscellaneous
Time to CompleteIn an evening
Bead Project TypeEarrings

Materials:
- 2 self-cover metal buttons (15mm)
- Needle and thread
- 2 stud earring findings (flat pad) with buttterfly backs
- Scrap of fabric with a small print that you like (approx. 3 inch x 6 inch)
- Superglue
Instructions:
- Using a pair of pliers, squeeze the little hoop of metal on the back of your metal button so that the wire comes free; then throw it away.
- On the back of your button pack there will be a pattern for cutting the right size circle of printed fabric to fit your button. Cut out two circles of fabric using the pattern. This should mean you have 2 circles of fabric slightly bigger than the buttons.
- Take your needle and thread and use a running stitch to go all around the edge of one of your circles. Leave the thread in so that you can pull on it to gather the edges of the circle.
- Place the button in the center of your fabric and pull on the thread to gather it together so that it is tight around the button.
- Check that you are happy with the placement of your print. If not, shift it around a bit, making sure you have full coverage on all edges of the button.
- Put a couple of stitches in to hold the fabric tight.
- Press the fabric into the hollow back of the button so that the little hooks on the back of the button can grab hold of it.
- Press the metal back onto the back of the button; this may require a little force. I usually use pliers, but be careful not to dent the metal!
- You now have a lovely covered button. Do it all again so you have two lovely covered buttons.

- Take your earring finding and put a blob of Superglue on the flat head.
- Carefully and quickly place the flat head in the center of your button back.
- Repeat for the other earring.
- LEAVE IT ALONE FOR AT LEAST 20 MINUTES TO DRY!!!
- That's it: You have your own unique, original, handmade earrings! You can use the same concept to make a brooch, ring, hair clip or pendant. The world is your fabric-covered button!
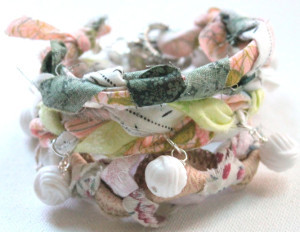
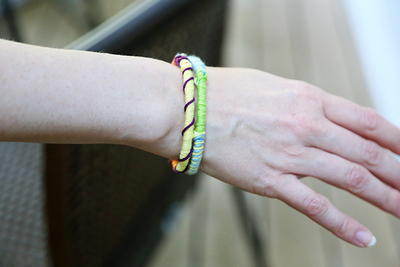
Read NextHow to Make Braided Bracelets
Your Recently Viewed Projects
Thanks for your comment. Don't forget to share!
Maxs Lady
Feb 22, 2012
This is an excellent idea if you also sew. You can make a dress or top and matching earrings.
Report Inappropriate Comment
Are you sure you would like to report this comment? It will be flagged for our moderators to take action.
Thank you for taking the time to improve the content on our site.