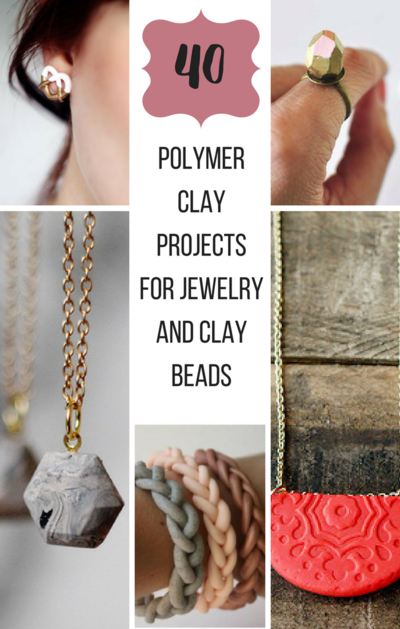
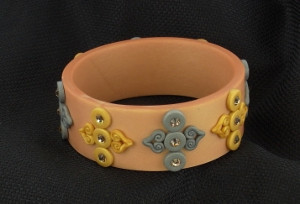
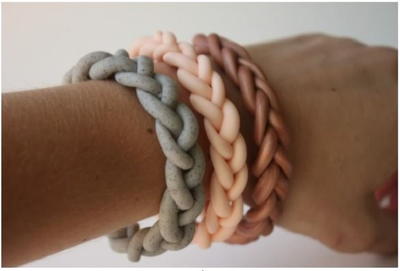
Wings of Love Bracelet

Let your love fly with this beautiful Wings of Love Bracelet. This polymer clay tutorial uses the Mokume Gane technique to create a cool, colorful rippling effect in the heart charm. Wear this pretty bracelet to show your love of polymer clay beads! This would also make a thoughtful and heartfelt handmade gift for a loved one.
Project TypeMake a Project
Time to CompleteIn an evening
Bead Project TypeBracelet

Getting Started:
Do not use unbaked clay on unprotected furniture or finished surfaces. Start with clean hands and work surface area. Good work surfaces include wax paper, metal baking sheet, or disposable foil. Knead clay until soft and smooth. For best results, clean your hands in between colors. Shape clay, pressing pieces together firmly. Bake on oven-proof glass or metal surface at 275 °F (130 °C) for 30 minutes per 1/4” (6 mm) thickness. For best baking results, use an oven thermometer. DO NOT USE MICROWAVE OVEN. DO NOT EXCEED THE ABOVE TEMPERATURE OR RECOMMENDED BAKING TIME. Wash hands after use. Baking should be completed by an adult.
Begin by preheating oven to 275 °F (130 °C). Test temperature with oven thermometer for perfectly cured clay. For best results, condition all clay by running it through the clay dedicated pasta machine several passes on the widest setting. Fold the clay in half after each pass and insert the fold side into the rollers first.
Materials:
Clay:
- Premo! Sculpey®: White - 2 oz (1 block)
- Premo! Sculpey®: Turquoise - 2 oz (1 block)
- Premo! Sculpey®: Alizarin Crimson Hue - 2 oz (2 blocks)
- Premo! Sculpey®: Ecru - 2 oz (1 block)
- Premo! Accents: White Translucent - 2 oz (1 block)
- Premo! Accents: Pearl - 2 oz (1 block)
Clay Sets:
- Mold Maker
Tools:
- Clay Conditioning Machine
- Sculpey Acrylic Roller
- Sculpey® Clay Tool Starter Set
- Sculpey® Super Slicer
Accessories:
- Mold Maker™
Additional Supplies:
- 3/4" Heart cutter
- Antique brass jewelry Chain
- 2 - 5 mm Jump rings
- Clasp/toggle
- Brown acrylic paint
- 1" Brass angel wing
- Fast setting clear glue
- Paint brush
- Round nose pliers
- Chain nose pliers
-
Craft knife
Instructions:
-
Mixing the colors for the Mokume Gane Stack:
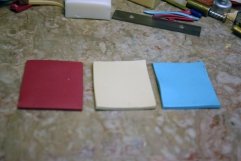
To make the Ecru sheet of clay, mix the following colors together: 1 part Ecru, 1 part Pearl and 1 part Translucent. To make the Crimson sheet of clay, mix 1 part of the Ecru mixture with 1/4 part Alizarin Crimson. To make the Turquoise sheet of clay, mix 1 part of the Ecru mixture with one part turquoise and a pinch of White.
Roll all 3 colors separately through the Clay Conditioning Machine on the thickest setting (lightest to darkest). Using the Super Slicer Rigid Blade, cut all 3 pieces to the same size (2” x 2”).
-
Making the Mokume Gane Stack:
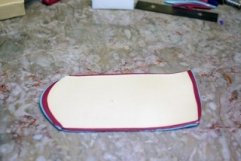
Stack all three sheets of clay from step 1 together; make sure to put the Crimson piece in-between the Ecru and Turquoise pieces. Press them together using the Acrylic Roller. Run the stack through the Clay Conditioning Machine on the thickest setting. Cut this stack in half and put one half on top of the other; then roll through the Clay Conditioning Machine on the thickest setting. Before slicing, be sure that your stack is on the work surface securely by rolling over it with your roller.
-
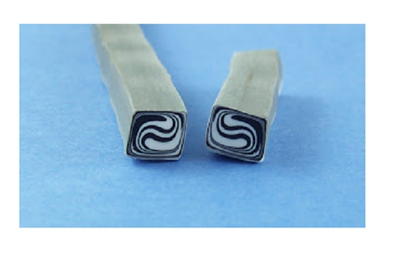
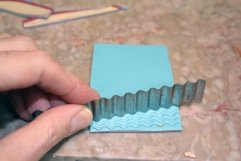
Using the Super Slicer wavy blade, start cutting into the stack as pictured, in a diagonal pattern. Cut into the entire stack from end to end.
-
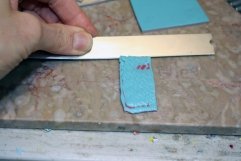
Using the flexible blade from the Super Slicer, cut across the top of the stack making thin slices and put them aside on a piece of paper. You will use these slices to cover your heart. The slices should be 1” in diameter.
-
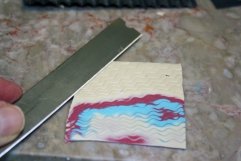
Roll out a sheet of Pearl clay on the thickest setting on the Clay Conditioning Machine. Using the heart cutter, cut out two heart shapes. Place the two heart shapes together back to back so they form a thicker heart. Cover the heart with the slices you previously cut out in step 2. Trim the excess and smooth the seams. Using the needle tool from the Clay Tool Starter Set, pierce the heart before baking.
-
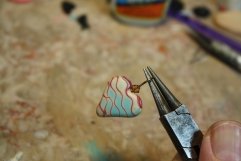
Bake as directed above. After the heart has cooled, add the bead using a headpin and a bead of your choice. For the headpin, you will need to put a small amount of fast setting clear glue on the tip of the headpin and insert it into the heart; let it dry for about 15 minutes. To make the loop, use the round nose pliers; make a right angle bend in the wire at the tip of the bead. Then grab the tip of the wire with the pliers and make a half circle; reposition the pliers and continue making the full circle.
-
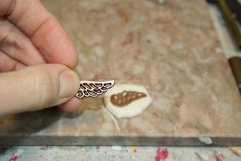
Making the Wing:
Using Mold Maker and the metal wing charm, make a wing mold. Using your Ecru mix, make a wing. Trim off excess clay using a craft knife and bake it as directed above. After the wing has cooled, paint the wing with the brown acrylic paint. While the paint is wet, wipe off for an antique bone effect.
-
Assembling the Bracelet:
Using chain nose pliers, add jump rings to the heart and wing and then attach them to the bracelet.
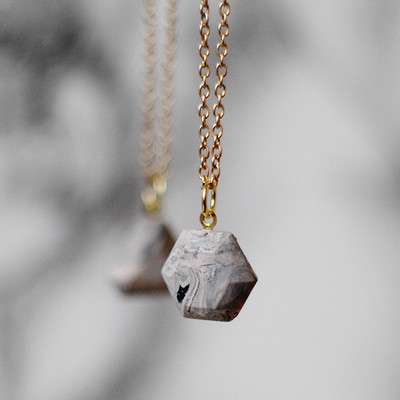
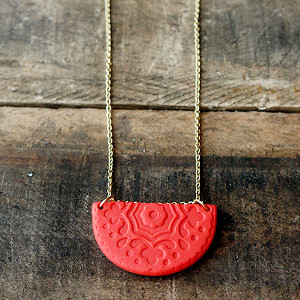
Read NextTextured Polymer Clay Pendant
Your Recently Viewed Projects
Thanks for your comment. Don't forget to share!
mulberrygalprinces s
Feb 14, 2018
For once I have everything I need to make the item. I make clay pieces so I have the pSta maker and tools. I love Zpremo clay. It's easy to work with, comes in dozens of colors and is not expensive.when it's finished baking use a piece of old denim to polish it.
margiekins22
Feb 07, 2017
I love this! And the step-by-step photos make it so easy to follow along!
Report Inappropriate Comment
Are you sure you would like to report this comment? It will be flagged for our moderators to take action.
Thank you for taking the time to improve the content on our site.