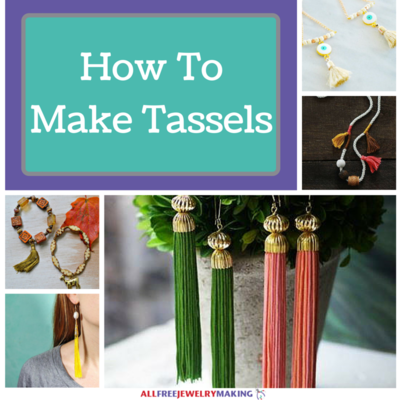
How to Make Tassels
Fringe it up with these tassel tips!

It is practically impossible to see someone decked out and ready for some kind of summer festival without having decorative tassel accessories incorporated into their outfit. However, tassels can be used for far more than simply decorating yourself for a music festival. Handmade tassels are fantastic DIY accessories to incorporate into your arm bar as stacking bracelets.
DIY tassels are especially popular in bohemian jewelry, which only continues to grow as a jewelry trend. Even though tassel jewelry can very often coincide with the boho chic style, homemade tassels are also perfect for pairing with your collection of macrame jewelry.
While these DIY jewelry tutorials that incorporate tassels are super fun and unique, it can definitely be minorly frustrating trying to figure out exactly how to make the gorgeous tassels that are featured in these projects. This super easy how to jewelry guide will take away that bit of frustration you may have. These super simple steps can show you just how easy making tassels can be.
How to Make Tassels
Your Guide to Tassel Making
-
Tassles can easily be seen as another form of free-flowing fringe jewelry, just in miniature size. Better yet, making tassels at your house is a process that you can easily master. To start this amazingly simple DIY project though you will need to gather the appropriate materials. This is essential if you want your tassel to turn out the right size.
Materials
Cardboard - start by finding a piece of cardboard that is double the size that you want your tassel to be (e.g. a 4 inch tassel requires an 8 inch piece of cardboard)
Thread - use whatever kind of thread you would like, but embroidery thread works the best
Scissors - to trim the thread or cardboard if needed -
Now, you are actually going to be getting into the making of the tassel. You need to take your thread of choice and you are going to start wrapping it around your piece of cardboard. This will help you to achieve the desired thickness of your handmade tassel.
As a general rule, wrapping your thread around the cardboard 80 times will give you an average tassel thickness. However, you can play around with different amounts of thickness to see which you feel best suites your style.
Pro Tip: Keep your thread closer to one of the edges of the cardboard, as you will be sliding it off in just a couple of minutes.
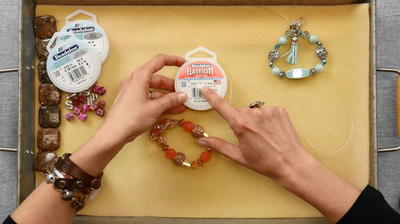
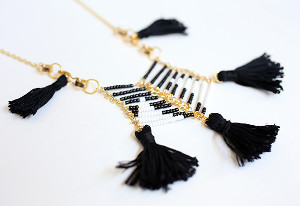
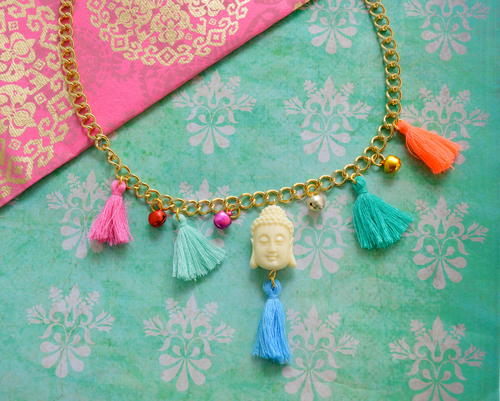
You can also check out this super cute Tassel Necklace Pendant tutorial that can show you step-by-step how to create a tassel necklace with pictures! -
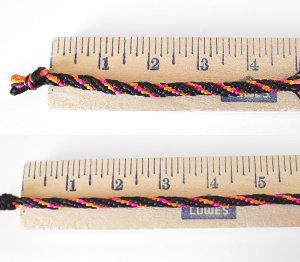
Now that you are done wrapping your thread around the cardboard you are going to want to use the extra thread you have to create two strands. One strand will be roughly 8-12 inches long, which you can set aside for the next step. The other strand should be roughly 4-5 inches long. Lay out your 4-5 inch strand horizontally on whatever flat surface you are working on.
From here, carefully slip your wrapped thread off of the cardboard making sure not to lose its shape. Lay that bundle of thread roughly in the center of the strand so that it is making a cross shape. Pick up the edges of the strand and tightly knot it around the bundle of thread. You then want to finish this step off by pulling the two sides of the bundle downward.
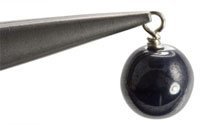
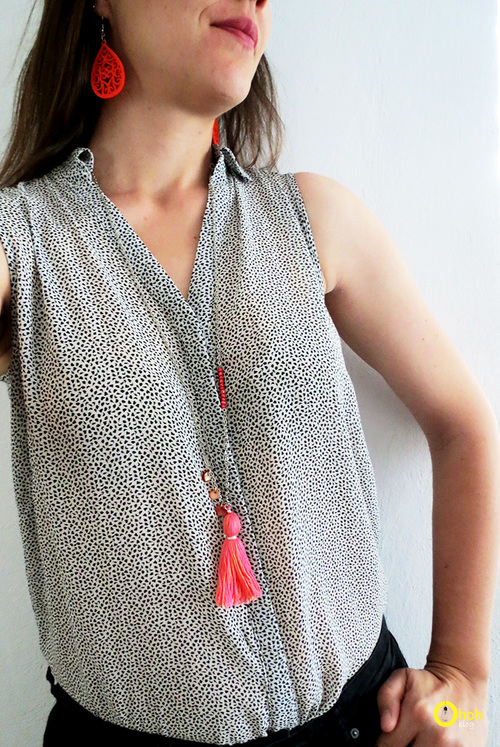
Once you have perfected your tassel making skills, you can try out fun and different ways to incorporate other materials into your tassel jewely, like this beaded tassel necklace. -
Your DIY tassel should currently look like two droopy bundles that were tied off. Now you can finally cut the bottom part of the bundles so that you have more of a fringe effect. Once you have played around with the fringed bottom of your tassle you can finish off making it.
Take the 12 inch thread and wrap it around the tassel neck. You will want to make sure you have two end pieces, so that you can knot it after you have finished wrapping it. Typically, you would want to start wrapping it about a fourth of the way down the two tassel bundles.
Continue to wrap your string around the tassel until you have reached your desired tied look. Now knot the string one to two times, depending on your preference, snip off the excess ends on thes trand and you are finished.
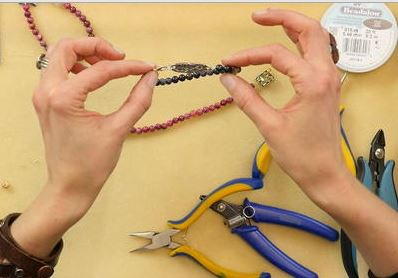
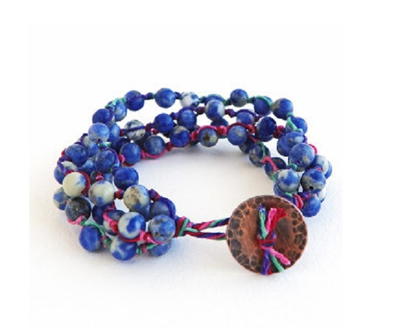
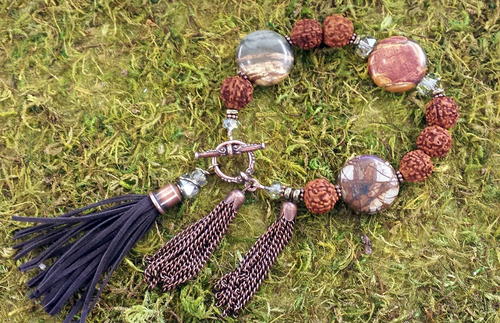
To switch up your tassel style, also try out these chain and metal top tassels from this stunning Beaded Gemstone Tassel Bracelet project. -
Tassels are a totally hot trend right now and there's no reason you shouldn't be rocking them with us! Here are some of our favorite jewelry and fashion projects that include tassels, tassels and more tassels. From bracelets to necklaces to earrings, by the time you're done with this list you'll be dripping in tassels.
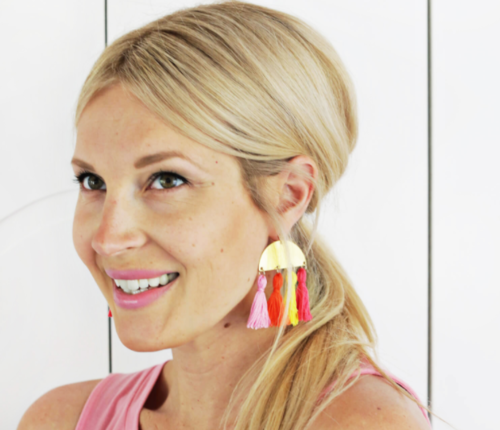
Anthro Knockoff Tassel Earrings
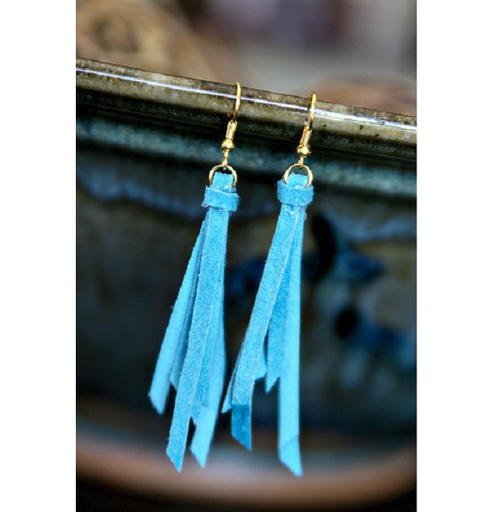
Summer DIY Tassel Earrings
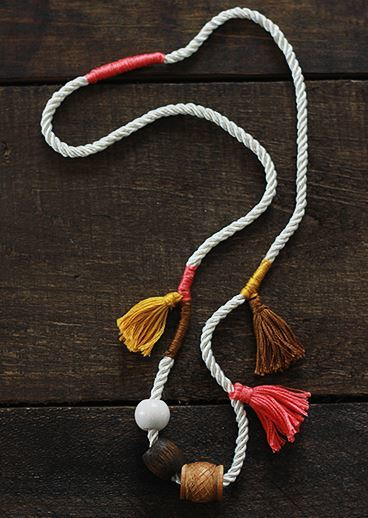
Bohemian Chic Tassel Necklace
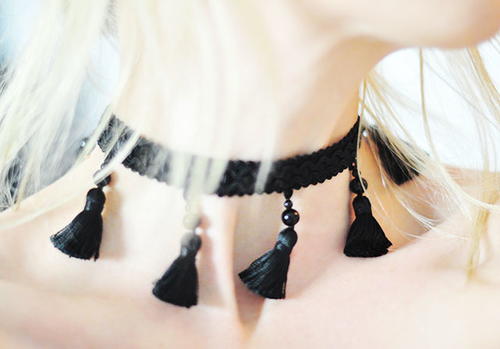
Stunning Tassel Choker Necklace
Anthropologie Knock Off Tassel Necklace
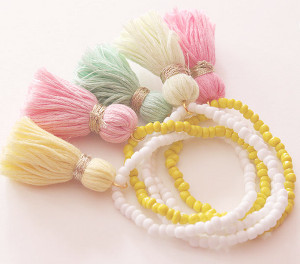
Cotton Candy Tassel Bracelet
What's your favorite way to accessorize tassels?
Your Recently Viewed Projects
Thanks for your comment. Don't forget to share!
Weberme
Jun 24, 2017
I forgot how easy it was to make tassels. It has been such a long time. I like that you can make them and control the thickness and color I need them. I have never used tassels for jewelry making yet but I will be. Where can I get some cute tops for these tassels? Nice tutorial. Thanks.
Report Inappropriate Comment
Are you sure you would like to report this comment? It will be flagged for our moderators to take action.
Thank you for taking the time to improve the content on our site.