Curvy Wire Wrapped Pendant

Another great tutorial from My Beads, this Curvy Wire Wrapped Pendant is a wonderful way to hone your wire wrapping skills. After this tutorial, you'll easily be able to understand how to wire wrap jewelry and make wire wrapped jewelry pendants for all your family and friends. DIY pendants are a great way to turn a homemade necklace from stylish to standout. Use this printable project to master how to make wire wrapped jewelry, and make stunning DIY jewelry pieces in the process.
Project TypeMake a Project
Bead TypeGemstone, Wire
Time to CompleteIn an evening
Bead Technique UsedChainmail/Wirework
Bead Project TypeOther

Materials List
- Approx. 32cm 0.6mm square sterling silver wire.
- Approx. 15cm half round sterling silver wire.
- Cabochon (this one is 25x18mm).
- Masking Tape/ Sticky Tape.
- Round nose pliers (or, anything with a fine tip)
- Cutting pliers.
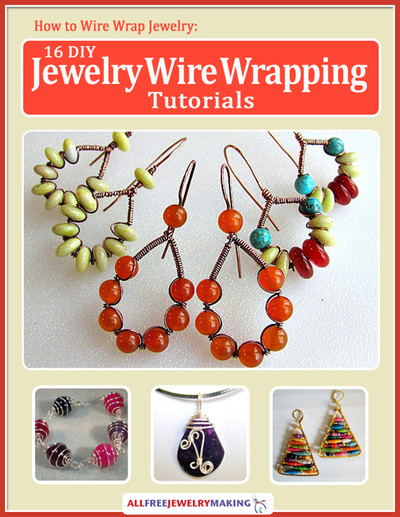
Find even more amazing wire jewelry tutorials that you can learn this new technique on with this stunning collection:
How to Wire Wrap Jewelry
Instructions for How to Wire Wrap a Curvy Pendant
-
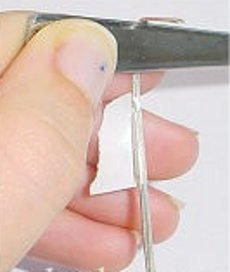
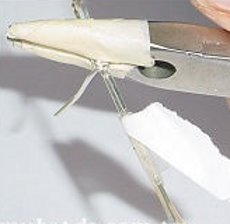
Cut your piece of square wire into 2 pieces 10cm each and 2 pieces 6cm each. Take the two shorter pieces and bind them securely together using tape (do this toward one end). Then, bend the top over something (I used the end of a small fork) to form the bail, as show.
-
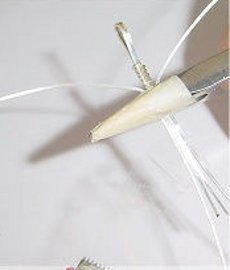
Secure the bail with about 4 - 5 wraps of half round wire. Do this about 1 - 1.5cm away from the top of the bail. This will leave sufficient room for a necklace to be slid through. Make sure the wraps are tight by flattening with your flat nose pliers.
Pro Tip: "I cover my pliers with masking tape. I always do this as it stops the pliers from making marks on the wire." -
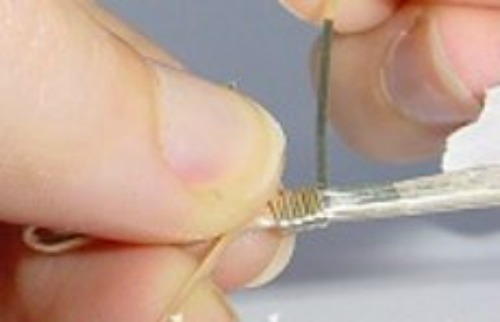
Take your two longer pieces of wire and align them on either side of your piece (as shown). Secure with tape toward the bottom of the piece. It helps if you bend the top of the 2 pieces of wire out where they meet the half round wrap. This way you can align the 4 pieces of wire properly.
-
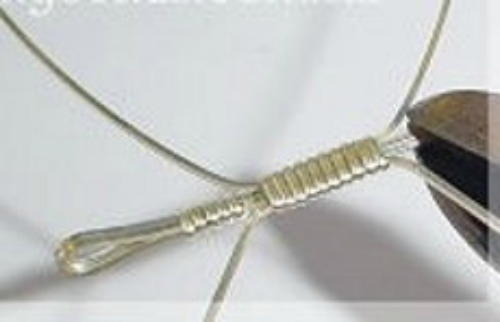
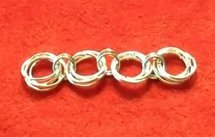
Now, using a half round wire secure the 4 wires together. Do this from the point just below the original wrap finishes. The wraps should go for about 1cm (10 wraps). So far, your pendant should look like this:
-
Cut the two middle wires at the bottom. Leave about 3mm after the final wrap. Bend them over the half round wrap and press them down with your flat nose pliers. This area (with the visible cut wires) will be the side that will face the stone.
-
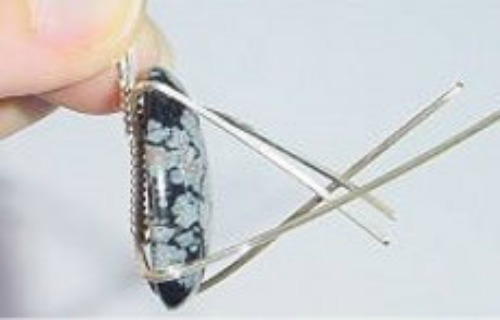
Place it against the flat side of your cabochon. Bend the 4 wires over the stone to hold it in place. The picture below shows all 4 wires bent over to secure the stone.
-
I have decided to make my prongs quite small. So I have cut the wires leaving about 1cm to hold the stone. This way you do not curl or coil around the stone, but more-so just cradle it.
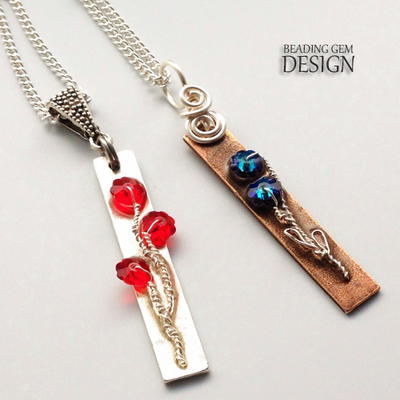
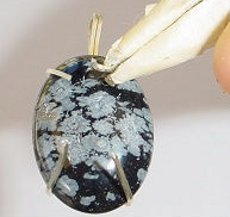
If you would like something more intricate (like the hematite pendant at the top of the page) then leave the wire longer and curl the ends of it using your round nose pliers. -
Then, curl your wires to give the pendant a decorative touch.
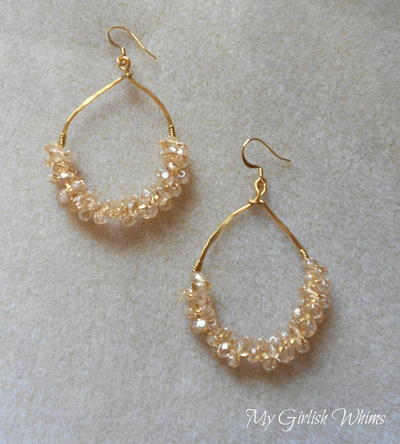
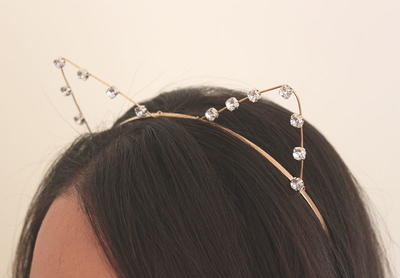
Read NextBejeweled Cat Ears DIY Headband
Your Recently Viewed Projects
Thanks for your comment. Don't forget to share!
mulberrygalprinces s
Mar 30, 2017
Very nice tutorial and beautiful finished product. I make and sell jewelry and have made a few like this. The only rough part of this is not making it, it's buying sterling silver wire. It's very expensive. I use silver filled or gold filled to keep the prices down. If I am making it for myself or a dear one I may use sterling but I watch for sales on it at the craft stores.
The Designing Peng uin
Sep 28, 2016
A wonderful design with clear instructions - when done it is very like some pendants I have bought at high cost and I can say that I did it all myself -- actually, having done this one and with its directions to fall back on, I am going to dry to do one like one of the ones I already have ... see what comes of it
editorKS
Mar 21, 2012
Thanks for the positive feedback! We love hearing from happy readers :) Let us know how it turns out, phibble1 7676315! -Editor of AllFreeBeadedJewelry
phibble1 7676315
Mar 19, 2012
Thumbs up. Can't wait to try, but instructions & pics look simple to follow
Report Inappropriate Comment
Are you sure you would like to report this comment? It will be flagged for our moderators to take action.
Thank you for taking the time to improve the content on our site.