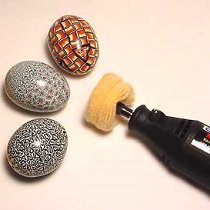
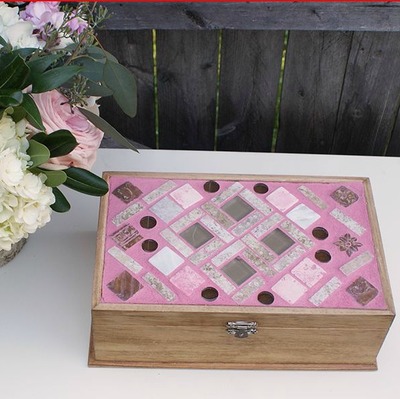
Mosaic DIY Jewelry Box

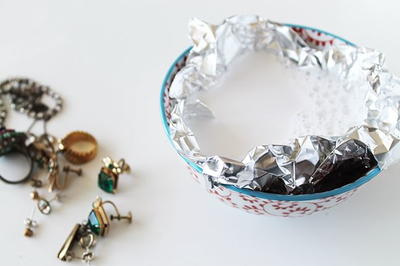
If you have a few tiles leftover from a home renovation project, then how about using them to create a Mosaic DIY Jewelry Box? To create your design, arrange a mix of natural and glass tiles on top of the jewelry box and glue them down one-by-one. After waiting 24 hours, apply a layer of grout to the top. If you're not a fan of plain white grout, add some colored acrylic paint to the mixture. Finally, let the grout cure and wipe off excess grout with a damp sponge. This DIY jewelry holder will look gorgeous on your dresser.
Project TypeMake a Project
Bead TypeGlass, Miscellaneous
Time to CompleteWeekend project
Bead Project TypeOther

Make sure to use a jewelry box with a raised border, so the tile edges don't show. Also, if you don't like the original color of your wooden jewelry box, then stain it!
Read NextUsing Cone Ends
Your Recently Viewed Projects
Thanks for your comment. Don't forget to share!
margiekins22
Jul 13, 2016
This is super pretty! I feel like I always struggle with my beauty organizing skills, but I definitely think that making this craft will give me more motivation to be better!
Weberme
Jul 03, 2016
I have just recently been making jewelry boxes for gifts when I saw one that was decoupage but this one that is done with mosaic tile is really very pretty. It is so different and the tutorial is so simple to follow. Only downfall is the wait on gout to dry. There is so many pretty tiles out there to pick from with endless possibilities. I think I am going to use the small ones that are already to lay down or chips from some I have laying around. Thanks for the idea.
Report Inappropriate Comment
Are you sure you would like to report this comment? It will be flagged for our moderators to take action.
Thank you for taking the time to improve the content on our site.