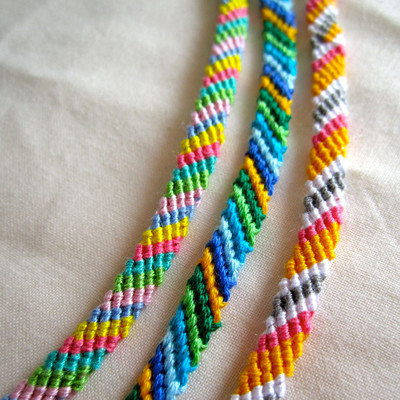
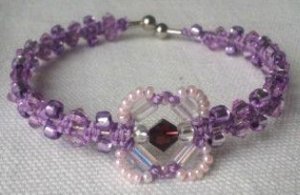
Charlotte's Web Shamballa Bracelet

Project TypeMake a Project
Bead TypeCrystal
Time to CompleteIn an evening
Bead Technique UsedStrung
Bead Project TypeBracelet

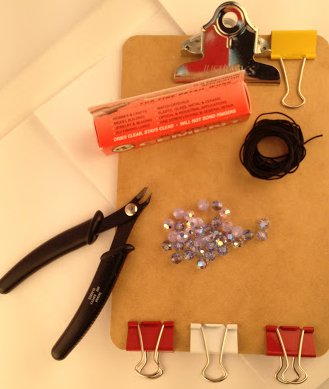
Materials List
- 13 feet of .08 Chinese knotting cord
- 43 Swarovski 8mm round beads
- GS-Hypo Cement
- Clipboard
- 3 binder clips
- Ruler
- Nipper tool
Note:
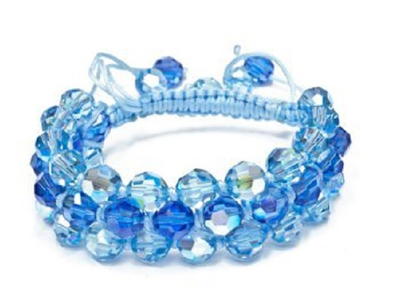
If you are making the crystal blue shade Charlotte's Web, you will use 49 crystals and 0.6mm knotting cord. You will need to add two additional beads to each strand.
Instructions:
-
Cut your knotting cord into the following lengths: three 2-foot sections, one 5-1/2-foot section, and one 1-1/2-foot section.
-
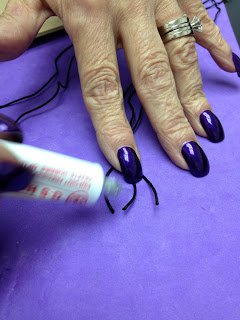
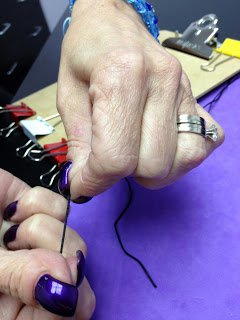
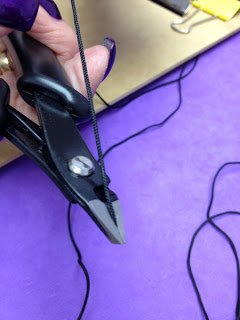
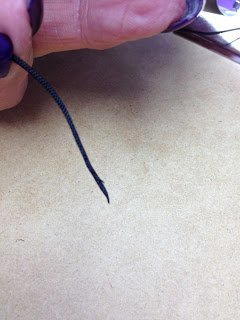
Glue all six ends of your three 2-foot lengths. As the glue dries, pull on the cord, going outward to get it to soak in. Once dry, nip the ends on an angle to create a needle point.
-
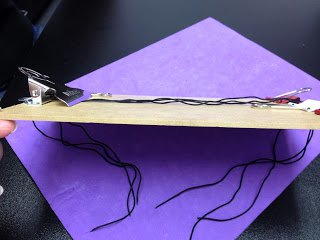
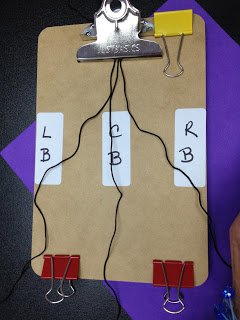
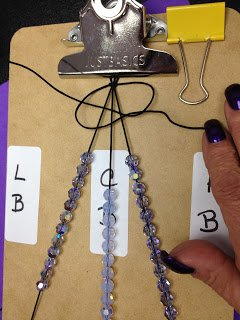
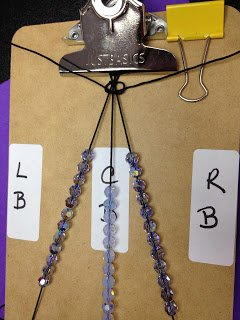
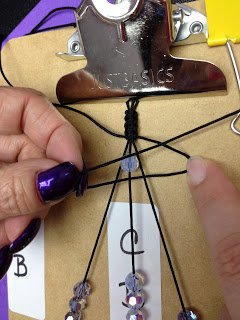
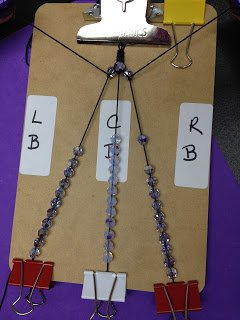
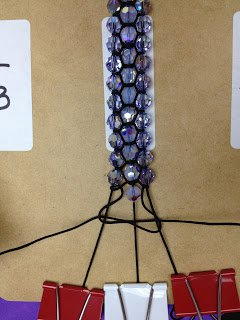
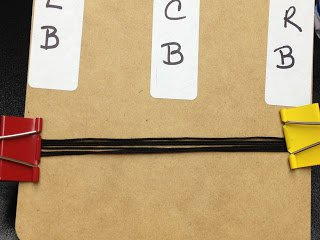
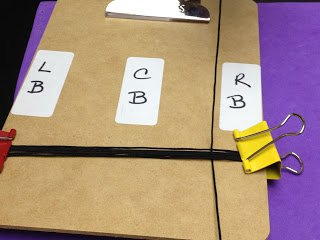
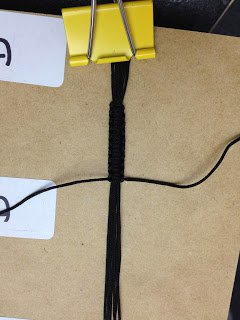
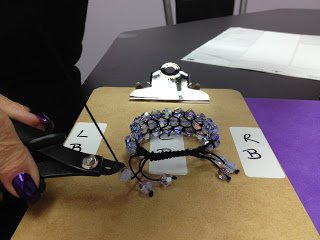
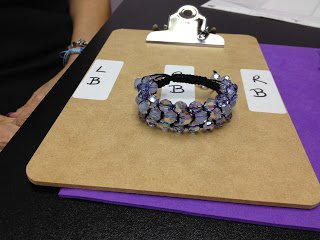
Clip all three 2-foot cords onto your clipboard. It is important to line up the ends to keep them uniform. You want the cords to be centered on your clipboard, and you want the ends that hang off to be equal. You will have roughly 8-inch tails of cord on each end.
*These three cords will be your bead cords. You will have a left bead cord, a center bead cord, and a right bead cord. -
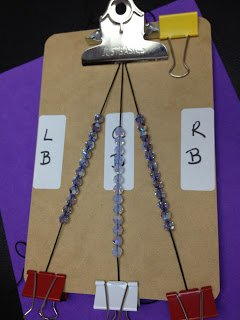
Load 37 beads onto your bead cords. You will want 12 on the left bead cord, 13 on the center bead cord, and 12 on the right bead cord.
-
Pull your ends tight and clip them to the bottom of the clipboard with the binder clips.
-
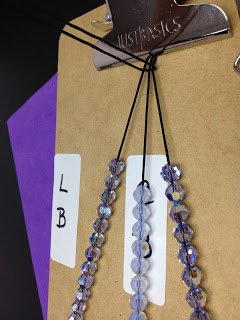
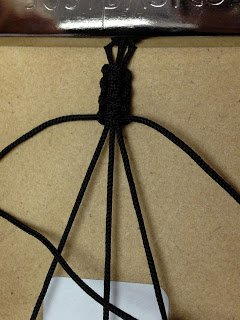
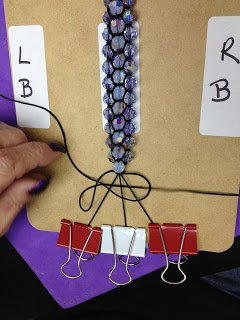
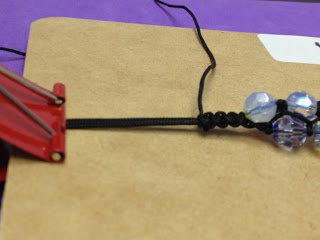
Take your 5-1/2-foot length of cord and put it underneath the three beading cords, making sure to keep the cord even on both ends. These are going to be your knotting cords (right and left respectively).
-
Take your right knotting cord over the three bead cords and under the left knotting cord. Then take your left knotting cord under the three bead cords and through the loop you just made with the right knotting cord.
-
Take your left knotting cord over the three bead cords and under the right knotting cord. Then take your right knotting cord under the three bead cords through the loop you just made with the right knotting cord.
*Steps 7 and 8 complete a full Shamballa knot.
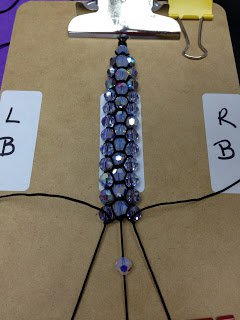
Repeat Steps 7 and 8 until you have eight knots or four FULL knots. -
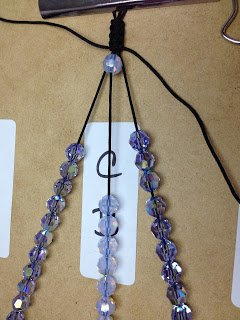
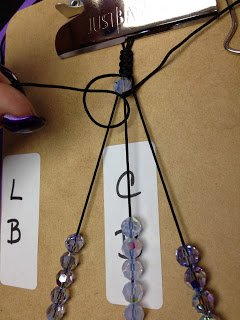
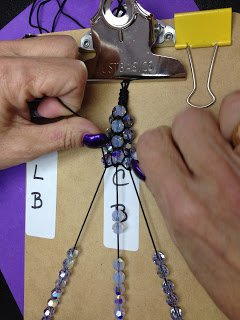
Push up your first bead on your center bead cord.
-
Take your right knotting cord and put it under the center bead cord only. Pull it up, to the right and through the loop you just made. Pull tight. This is a half hitch knot.
-
Take your left knotting cord and put it under the center bead cord only. Pull it up, to the left and through the loop you just made. Pull tight.
-
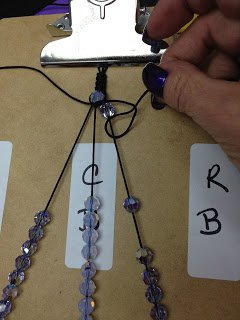
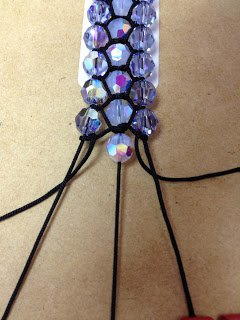
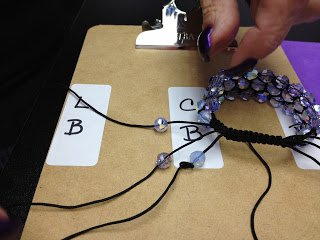
Push up the first bead on the right beading cord. Take the right knotting cord and put it under the right beading cord. Pull it up, to the right and through the loop you just made.
-
Push up the first bead on the left beading cord. Take the left beading cord and put it under the left knotting cord. Pull it up, to the right and through the loop you just made.
-
Pull both of your Knotting cords tight, upwards and toward the center. This tightens the set properly.
-
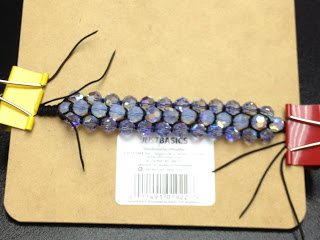
Repeat steps 9-14 until you have one bead remaining.
*When you get to the point of having four to six beads remaining on each beading cord, you can unclip your three beading cords and move them closer together.
*Remember to pull tightly as you go to keep your beads secured in place. -
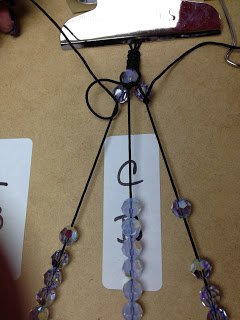
Take your right and left knotting cords and put them underneath the right and left beading cords respectively. Push up your last bead on the center beading cord.
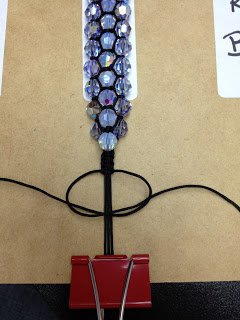
- Keeping your knotting cords out to their respective sides, carefully unclip your three beading cords. Pull them together and clip them down with one binder clip.
-
(Same as step 7) Take your right knotting cord over the three beading cords and under the left knotting cord. Take your left knotting cord, put it under the three beading cords, and pull it up and through the loop you just made to the right.
-
(Same as step 8) Take your left knotting cord over the three beading cords and under the left knotting cord. Take your right knotting cord, put it under the three beading cords, and pull it up and through the loop that you just made to the left.
Repeat steps 18 and 19 until you have eight knots, or four full knots (pairs). -
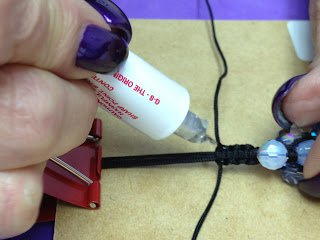
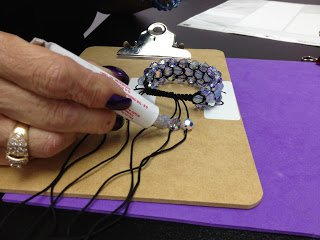
Glue the ends of your knotting cords at the knot line with a generous amount of glue. Nip them close to the knot and pinch to secure and spread the glue.
-
Take your bracelet off the clipboard. You need to lay your bracelet upside down at the bottom of your clipboard. Pull the beading cords up and overlapping on the top of your clipboard.
-
Keeping the cords in order, clip all six cords down on each side of your clipboard.
-
Take your one 1-1/2-foot section and slide it beneath your six beading cords. This will now become your right and left knotting cords.
-
(Same as steps 7 and 18) Take your right knotting cord over the six beading cords and under the left knotting cord. Take your left knotting cord, put it under the six beading cords, and pull it up and through the loop that you just made to the right.
-
(Same as step 8 and 19) Take your left knotting cord over the six beading cords and under the left knotting cord. Take your right knotting cord, put it under the six beading cords, and pull it up and through the loop you just made to the left.
*Repeat steps 24 and 25 until your bracelet is sized correctly (roughly 20-28 knots, or 10-14 full knots (pairs)). -
Glue the right and left knotting cords at the knot line. Nip each side close to the knot and pinch to secure and spread the glue.
-
Unclip and remove your bracelet from the clipboard. Pull your beading cords until your knots line up and form your finished bracelet.
-
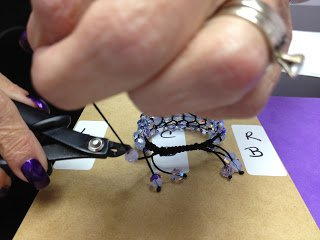
Load your remaining beads onto their respective beading cords. Make a knot roughly an inch away from the bracelet and pull tight.
-
Glue the knot ends. Nip them close and pinch to secure and spread the glue.
-
Enjoy your Charlotte’s Web Bracelet!


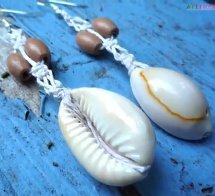
Read NextCowrie Shell Hemp Earrings
Your Recently Viewed Projects
Thanks for your comment. Don't forget to share!
Marilyn B
Feb 11, 2017
I agree with the others! Thank you for such clear instructions, this really is helpful. Has anyone made this yet? If would love to see pictures! The use of the clips really keeps thing simple and I need simplicity when it comes to combining techniques. This would be wonderful to do with a group since it is a such good instructional project.
Shetripsonair 3264 361
Aug 08, 2014
Thank you for such clear instructions! I just completed this bracelet and couldn't be more pleased!
lynvoyager
Jul 08, 2013
I love this bracelet. The instructions are great and it made up really quickly.
richjoy03470 33984 86
Jun 01, 2013
Beautiful design. Great tutorial. I love the pics because I tend to be a very visual learner. Thanks again!
shoppingincognito 8171988
May 24, 2013
Clear and concise instructions with pics! Will make one this weekend and let you know how it turns out. Thank you so much for sharing.
ntaylorb 4131670
May 19, 2013
It is a project that I will try. If it is as easy as the instruction seem I will attempt a matching necklace to match. I have lots of outfits that need a set like this to give it that zing. Thanks for sharing.
zippitydoodah
May 04, 2013
I absolutely love this project! One thing however is that you didn't mention how long the finished bracelet is. For instance, does this fit 7" to 10"? My wrist size is 81/4 so how long should my strands be and how many beads would I need?
clabreau18 6954414
May 04, 2013
Love this! Instructions are very clear as well. Thanks for sharing this.
Shesammy
May 04, 2013
Awesome twist on the Shamballa style bracelet. Consider it one of my new favorites. I intend to use up all my odd swarovski beads on this one to get a nice mixed colored bracelet for summer.
Report Inappropriate Comment
Are you sure you would like to report this comment? It will be flagged for our moderators to take action.
Thank you for taking the time to improve the content on our site.