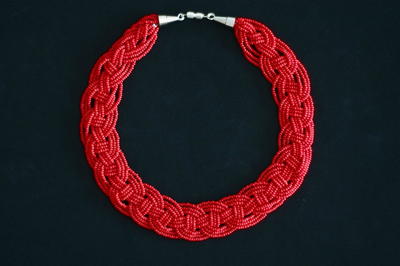
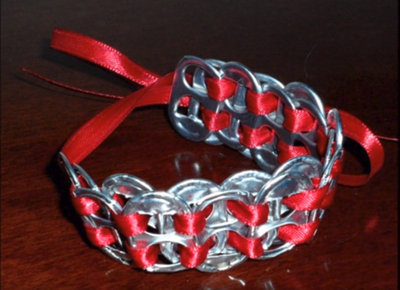
DIY Pop Tab Bracelet

Have you seen DIY Pop Tab Bracelets all over the internet and wondered how to make one for yourself? Well, it is super easy, and this wonderful video tutorial will show you just how to make a soda tab bracelet in no time! Whether you call your favorite bubbly beverage pop, soda, or soda pop, tabs from all of those cans work just as well for this beginner bracelet pattern. You don’t need any fancy jewelry-making tools to create this budget-friendly bracelet, just some old soda pop tabs and some ribbon!
Project TypeMake a Project
Bead TypeMetal
Time to CompleteUnder an hour
Bead Technique UsedStrung
Bead Project TypeBracelet

Materials List
- 20 to 30 (depending on your desired length) clean and smooth soda/pop tabs (note: use round hole tabs, square hole tabs do not work correctly)
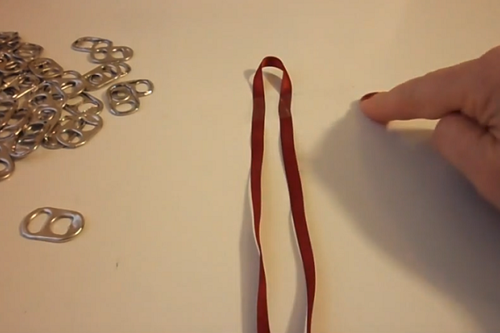
- 1/4 inch width fabric ribbon, three times the length of your wrist
- Scissors
- Option: piece of tape to secure ribbon to working surface
Instructions:
-
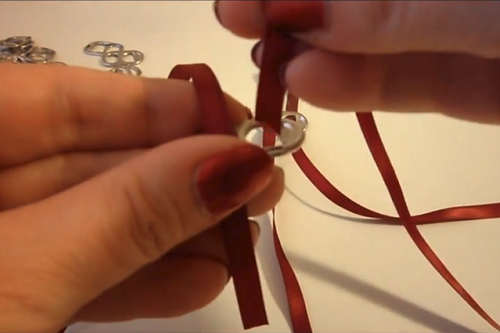
Cut a length of the ¼ inch Fabric Ribbon the length of your wrist times 3. Fold in half and secure looped side to working surface. (Note: Secure so that your loop is the desired length. Once you start weaving the tabs, you will not be able to change the size of the loop.) This makes it easier to work with and weave the tabs.
-
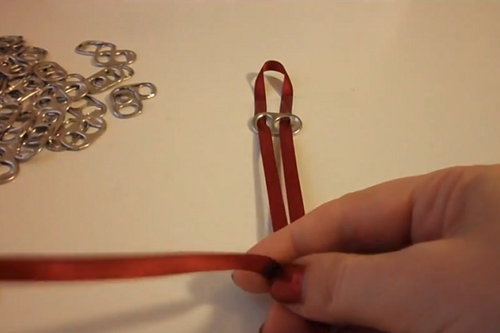
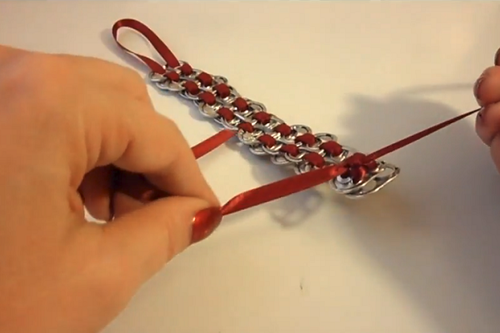
First Tab: UP. Pull the end of the Left hand ribbon UP through the Left Hand tab opening. Pull the Right hand ribbon UP through the Right Hand opening. Slide the Tab Up close to the Loop.
-
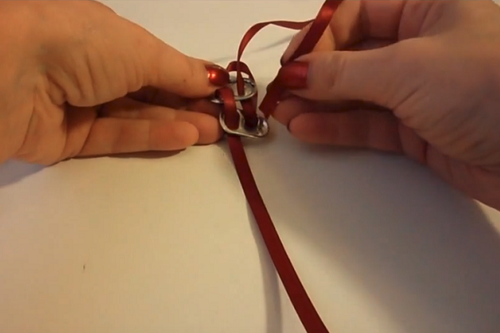
Second Tab: DOWN. Pull the end of the Left Hand ribbon DOWN through the Left Hand tab opening. Pull the Right hand ribbon DOWN through the Right hand tab opening. Holding the Tab, slide tab up towards the First Tab (not too tight) and Pull the left hand ribbon DOWN through the First Tab left hand opening. Pull the right hand ribbon end DOWN through the First Tab right hand opening. Tug gently on the ribbon until the tabs are fitted in close together.
-
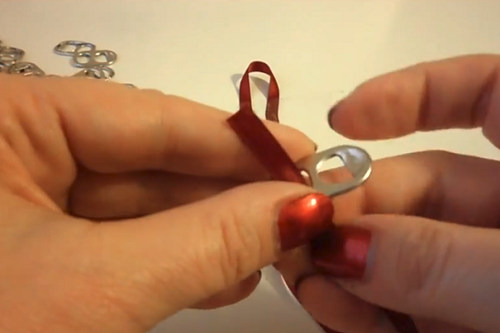
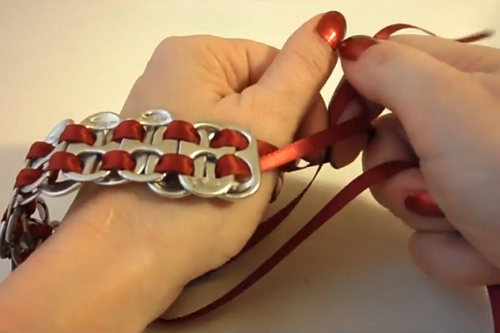
Third Tab: UP. Pull the end of the Left Hand ribbon UP through the Left Hand tab opening. Pull the Right hand ribbon UP through the Right hand tab opening. Holding the Tab, slide tab up towards the Second Tab (not too tight) and Pull the left hand ribbon UP through the Second Tab left hand opening. Pull the right hand ribbon end UP through the Second Tab right hand opening. Tug gently on the ribbon until the tabs are fitted in close together.
-
Fourth Tab: DOWN. Pull the end of the Left Hand ribbon DOWN through the Left Hand tab opening. Pull the Right hand ribbon DOWN through the Right hand tab opening. Holding the Tab, slide tab up towards the Third Tab (not too tight) and Pull the left hand ribbon DOWN through the Third Tab left hand opening. Pull the right hand ribbon end DOWN through the Third Tab right hand opening. Tug gently on the ribbon until the tabs are fitted in close together.
-
Continue adding tabs in the UP/DOWN pattern above until you reach the desired length.
-
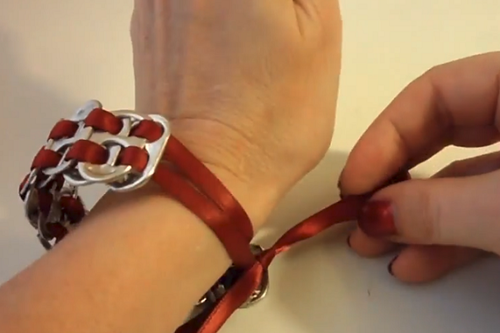
Tie a knot with the 2 ends of the ribbon to secure
-
To close Bracelet, bring one end of the 2 ribbon ends up and through the loop on the other end. Tie into a bow and you are done!

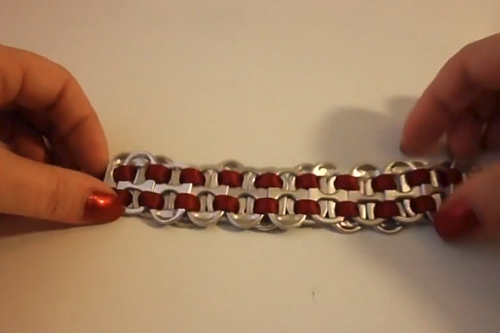
NOTE: If you look at the Tabs from the side, the 1st tab and 3rd tab should be side by side UNDER the 2nd tab.
What is your favorite material to upcycle into jewelry?
Read NextDIY Pop Tab Bracelet
Your Recently Viewed Projects
Thanks for your comment. Don't forget to share!
paver2
Jul 27, 2018
What a creative way to use those throw away tabs! And the bracelet turns out so pretty, too, and looks nothing like it was recycled "stuff". I can see this method being used to make choker type of necklaces or fancy belts or for embellishments on handbags or even jackets, and so on.
mulberrygalprinces s
Jul 18, 2018
I remember making something like this many years ago. It's great to see it back again. It's very inexpensive, very easy and depending on your choice of ribbon color you can adept it for any season or occasion. Time to start digging thru my recycle bin to get the tabs off of the cans.
kcable 4131889
Jun 16, 2018
I have found no video, am I doing something wrong. I usually find them very easily.
EditorLP
Jun 19, 2018
Hi kcable, we're sorry to hear you were having difficulty with this video. The page has now been updated, so the video should be visible, and there are now step-by-step images, as well. We hope this helps! - Editors of AllFreeJewelryMaking
Andolopolus
May 09, 2012
I think it's a great project. Teens may like it with a leather variation.
Report Inappropriate Comment
Are you sure you would like to report this comment? It will be flagged for our moderators to take action.
Thank you for taking the time to improve the content on our site.