How to Paint Your DIY Jewelry Pieces
Make your old jewelry pieces sparkle again with these tips on how to paint your handmade jewelry pieces!

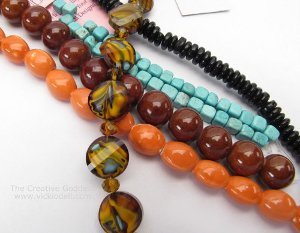
No matter how much you love wearing jewelry and making DIY jewelry pieces, sometimes your older jewelry patterns can collect dust and lose their shine. Instead of remaking the same pair of DIY earrings or a new bracelet or necklace, why not spruce them up by adding a painted pattern to them?
Plus, learning how to paint jewelry can be really great for new jewelry projects you are creating as well. Whether it is part of the design or not, painting jewelry can really add some pizzazz to them! Whether you are a master at creating homemade accessories or you are just starting out on your jewelry making career, this can be a really fun branch for you to explore while you craft!
When creating your painted jewelry pieces you can really customize the pieces to how you would like them. Whether you are looking to make a colorful jewelry piece or you want to stick with just adding your favorite color.
Join our jewelry community! Sign up here for our free eNewsletters!

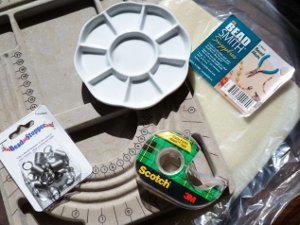
Materials List
- Enamel Paint
- Spray Paint
- Toothpick
- Small brush
- Glaze
- Spray paint primer
- Enamel paint activator
How to Paint DIY Jewelry Pieces
Painted Jewelry Instructions
-
Preparation: This is an important step no matter why style you use to paint your DIY jewelry pieces. If you are working on a DIY pendant be sure to remove the chain, or for earrings any ear wires that are connecting it. You want to only work on what you will be painting.
From there dampen a cloth with rubbing alcohol and wipe down your entire piece of jewelry. Once you have done this make sure your piece of jewelry is completely dry before you start painting.
For a bonus painting tutorial check out this Color Metal Jewelry with Nail Polish jewelry project! -
Enamel Painting: This is the most basic painting technique you could use. However, you want to make sure you do it correctly so the paint job lasts on your handmade jewelry pieces.
Place a dollop of the enamel paint activator on a plate or matt and then put a drop of the color of paint you will be using as well. Depending on many jewelry pieces you are painting, determine the amount of paint you will need.
From there, mix the enamel and paint color today and wait for it to thicken a bit so that it will not run and slide off of your jewelry. Now, you paint however you would like to, and you can clean up any messy edges by using a clean silicone brush. Be sure to let this dry for 24-72 hours before wearing or re-assembling.
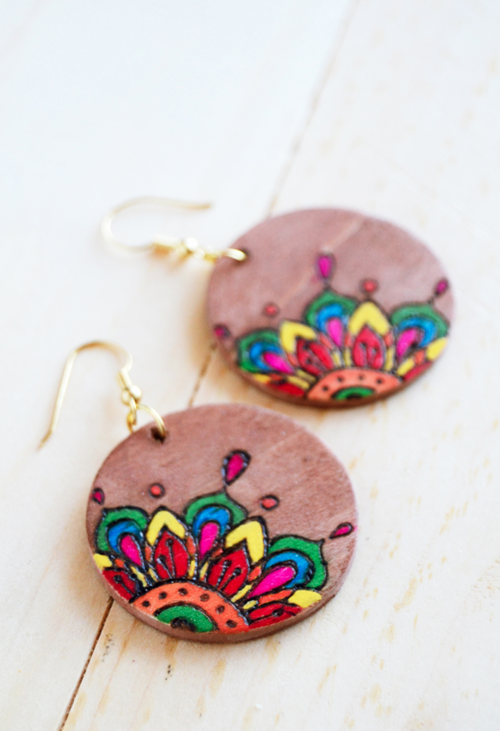
Want some inspiration? Check out this super unique Splatter Paint Necklace Pendant for a colorful and crasy look. For a cleaner colorful look, try making these Coloring Book DIY Wood Earrings. -
Spray Paint: A very important step to remember before you go ahead and use this spray painting method would be to apply your spray paint primer. This well extend the longevity of how long the paint lasts on your jewelry patterns. Let that primer dry for about an hour.
Taking your color of choice be sure to hold your spray paint can at least six inches away from your jewelry before you start spraying. It is best to coat your jewelry at least two times for a more opaque look. Be sure to let the paint dry for an hour between each coat, and then after your last coat let the paint dry for 24 hours before wearing or assembling.
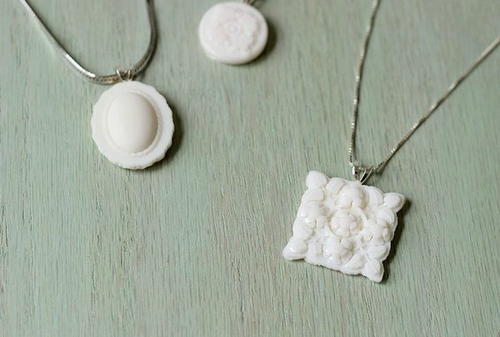
This Painted Matte DIY Necklace is a grogeous spray painting tutorial to give you a super trendy DIY necklace pattern. You can also try making these Milk Glass Pendants and paint them to be different colors too using spray paint! Both are gorgeous tutorials for you! -
Glazing: Usually this step is done after the enamel painting, but it can be applied simply by resin, metal, or other materials by itself. You can leave the glaze on to create a more opaque look. However, you can also wipe off the glaze right away to create a more antique look. If you like that vintage jewelry look than glazing will be your favorite painting or coloring method.
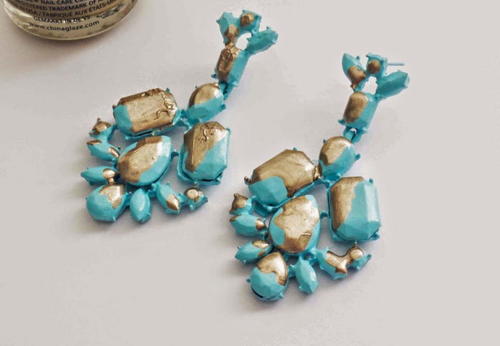
Check out these beautifully glazed Tom Binns Inspired Drop Earrings for you to fall in love with.
Read NextHow to Make an Eye Pin Loop
Your Recently Viewed Projects
Thanks for your comment. Don't forget to share!
ankushraosanket 44 78754
Jan 04, 2021
Hey there! I enjoyed reading this post and the way you educate us is fantastic. I had also learned Kalamkari Painting On Jewellery from the best courses of Penkraft's Kalamkari. The best thing about this course is they not only provide Art Kits but, also they're very good at teaching the art courses.
Report Inappropriate Comment
Are you sure you would like to report this comment? It will be flagged for our moderators to take action.
Thank you for taking the time to improve the content on our site.