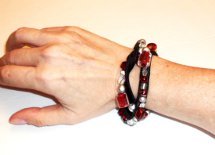
Live, Love, Laugh Charm Bracelet

Make a beaded charm bracelet that celebrates the important things in life with this Live, Love, Laugh Charm Bracelet tutorial. Adorable, easy, and fashionable, this jewelry piece is everything you could want from a charm bracelet. This DIY charm bracelet would make a lovely handmade gift for your mother, your best friend, or just for yourself. It would be especially great from a Mother's Day or graduation gift. You can also make this lovely piece for yourself, and wear it as a cute reminder to enjoy life every day.
Project TypeMake a Project
Bead TypeMiscellaneous
Time to CompleteUnder an hour
Bead Project TypeBracelet

Materials:
- 6 headpins
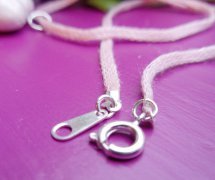
- 1 toggle clasp set
- 11 jump rings
- 3 charms
- 6 beads
- chain
- 2 chain nose pliers
- round nose pliers
- wire cutters
Instructions:
- Open a jump ring by placing each side in a pair of chain nose pliers. Holding the left side steady, bring the right side towards you, creating an opening.
- Add one end of the chain and one side of the toggle clasp to the jump ring.
- Close the jump ring by placing each side in each of your pliers; twist the right side away from you and then back to you while pushing in slightly. Do not add too much pressure or the jump ring could become misshapen.
- Repeat for the other side of the toggle so that you now have the chain attached to both sides of the toggle clasp.
- Thread each accent bead onto a headpin and snip off excess wire, leaving approximately ½ inch of wire above the bead.
- Use your round nose pliers to form a loop and continue until the loop is closed. Repeat for each accent bead.
- Attach a jump ring to each loop and leave open.
- Attach a jump ring to each charm and leave open.
- Lay out your chain on a flat surface and space out your beads as you would like.
- Attach each bead and charm to the bracelet, closing the jump ring as earlier.
- You’re done! Enjoy your new creation.
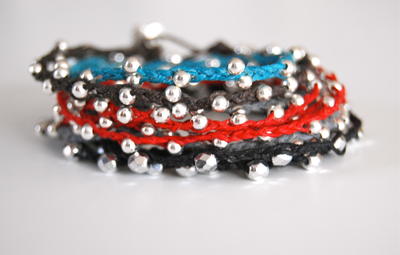
Read NextIrish Linen Wrap Bracelet
Your Recently Viewed Projects
Thanks for your comment. Don't forget to share!
dowabisabi 8562156
Apr 26, 2013
Excellent video! I've been afraid to start jewelry making, but after viewing this I'm ready to start my Mother's Day bracelet and more for Christmas Gifts. Thank you so much.
Report Inappropriate Comment
Are you sure you would like to report this comment? It will be flagged for our moderators to take action.
Thank you for taking the time to improve the content on our site.