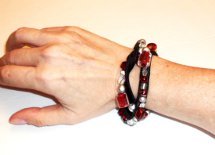
How to Attach Fold-Over Crimp Ends

Need tips on making beaded jewelry for beginners? This video will walk you through the proper technique for How to Attach Fold-Over Crimp Ends when working with cord in your necklace or bracelet projects. It's really a very simple process, but it's one of the important fundamentals to master when making your own jewelry!
Project TypeLearn a Technique
Time to CompleteUnder an hour

Materials:
- fold-over crimp cord ends (Determine if the size of your cord ends will fit the cord you are using. I am using 1mm cord ends.)
- a clasp
- two jump rings
- cording (I am actually using ribbon yarn, but you can use any type of cording. I usually like to use hemp, cotton, or leather cording.)
- two pairs of pliers
- strong glue like epoxy
- paper towel
- toothpicks
Instructions:
- Apply a little glue to the crimp cord end. Place the cord in the crimp and fold in one side of the crimp. Carefully fold in the other side of the crimp. (Your fingers will touch the glue, so wash up immediately after you are done.)
- Repeat last step for the other side.
- Trim excess cording if needed.
- Attach the clasp using jump rings.
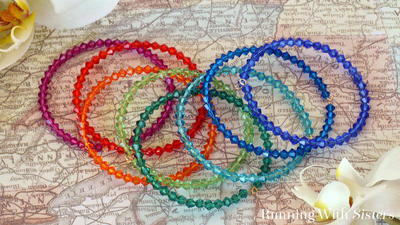
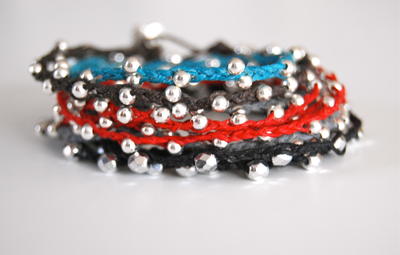
Read NextCrystal Bangle Stacking Bracelets
Your Recently Viewed Projects
Thanks for your comment. Don't forget to share!
mulberrygalprinces s
May 18, 2017
Well, this old dog just learned a new trick. I have used fold over crimps but never used glue with them. That would really help. Especially if I let the glue set so it holds the ford in place while I fold over the sides of the crimp. I always have the bird move forward or back on me. Thank you!
fwanny
Jul 16, 2012
Just the thing I have been looking for. Looks easy. We'll see after I try it!
Report Inappropriate Comment
Are you sure you would like to report this comment? It will be flagged for our moderators to take action.
Thank you for taking the time to improve the content on our site.