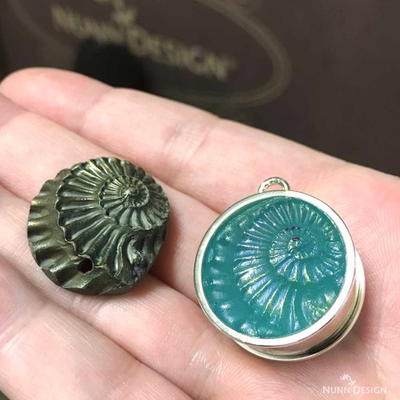
Sculpted Relief Resin Mold in an Open Bezel

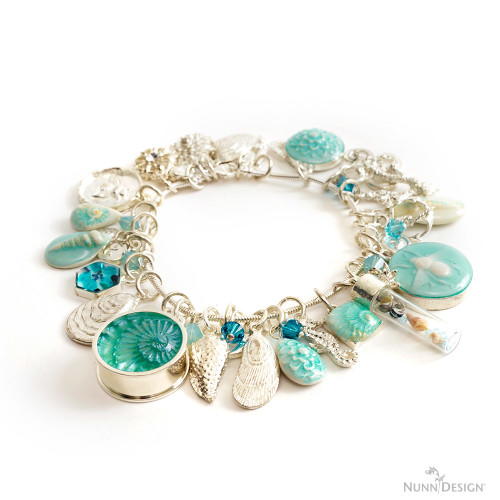
This Sculpted Relief Resin Mold in an Open Bezel tutorial will show you how to create unique elements that you can add to your favorite DIY jewelry pieces. Or, they may inspire you to create an entirely new design! Resin jewelry making techniques like this one require some training and step-by-step instructions, but the payoff is worth the extra effort. Make oceanic DIY bracelets, springtime DIY necklace pendants, and so much more when you learn how to make jewelry with these simple tutorials. This tutorial shows you the entire process of creating a sculpted relief resin mold with a unique, deep, open bezel for a finished project that is sure to get comments and compliments!
NotesThis technique is ideal for the Nunn Design Open Bezel Deep Channels and the Open Frame Pendants. Because these bezel pieces are machined from brass and then plated, there are no irregular edges. Cast bezels do work, but the resin can seep out from underneath the rim of the bezel while it is in the mold. This causes additional clean up, but does look great!
Project TypeLearn a Technique
Bead TypeMiscellaneous
Time to CompleteWeekend project
Bead Project TypeBracelet, Necklace, Other

Materials List
- Easy Mold Silicone Putty
- Brass Metal Stamping
- Nunn Design 2-Part Resin Kit
- Castin’ Craft Opaque Pigments
- PearlEx Mica Powder
- Q-Tip
- Wet wipes
- Toothpicks
- Business cards
Make the Silicone Mold
-
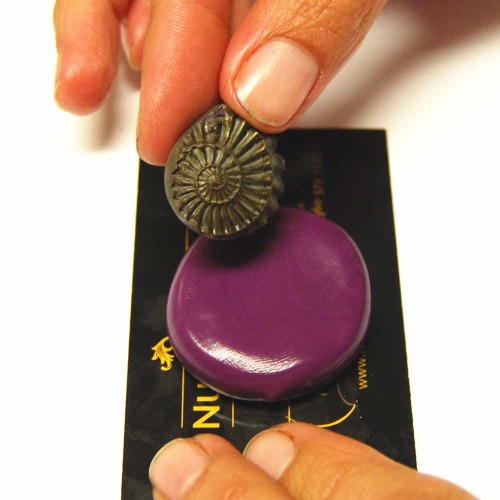
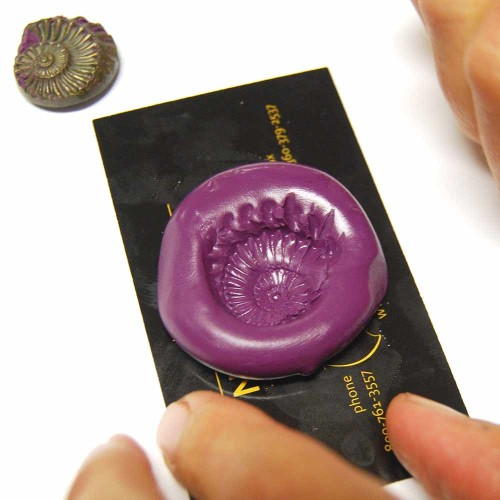
Select a Nunn Design Brass Stamping or a found object such as the fossil I am using in this tutorial. Brass Stampings or found objects with a lot of relief make the best sculpted relief molds.
-
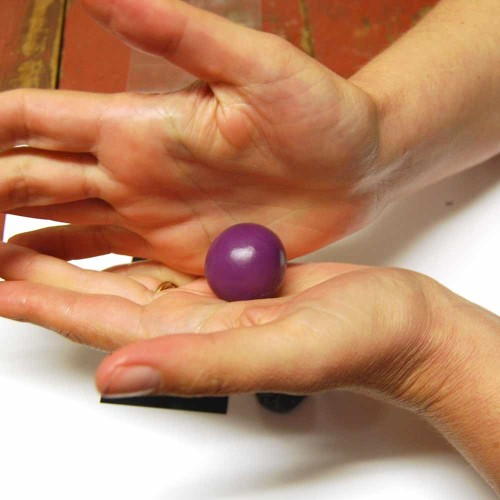
Pinch off two equal sized balls of Part A and B of the Easy Mold Silicone Putty. Getting the knack for mixing just the right amount of putty will take some practice. You might mix too much or too little putty the first time. Try your best to guess how much putty you will need to have approximately 1/8” putty around the outside edge of your bezel’s rim. You will also want the thickness of the silicone putty to be approximately 1/4".
-
The Easy Mold Silicone Putty has a 3-minute working time before it begins to harden and not take the impression. Knead both part A and part B together until the putty is blended completely and has a uniform color.
-
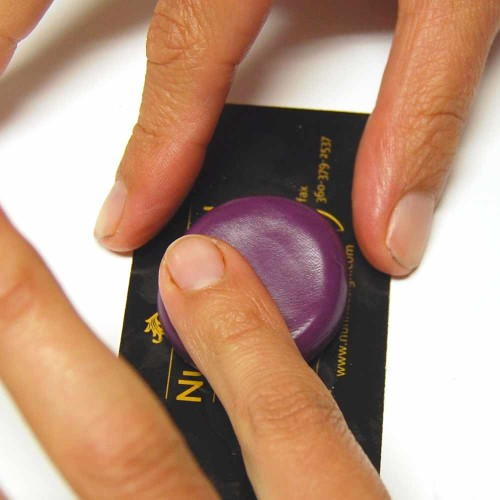
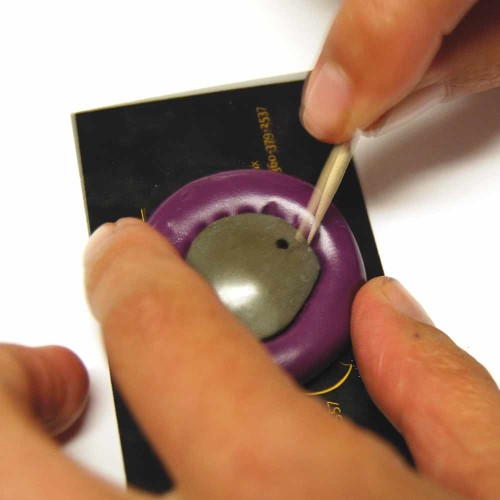
Roll the fully mixed Easy Mold Silicone Putty into a round ball and flatten slightly. Make sure the putty is smooth and not wrinkled. Press your brass stamping or found object into the silicone putty, but not so far into the putty that you hit the bottom.
-
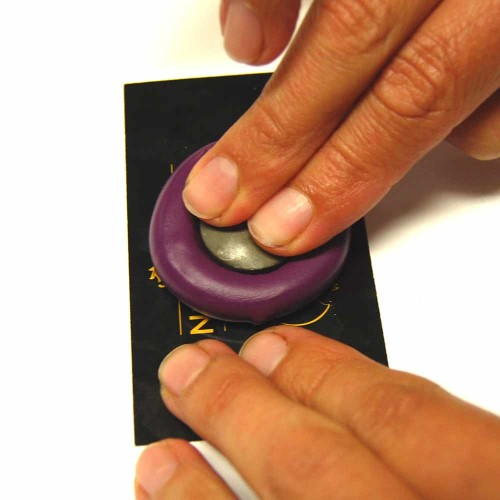
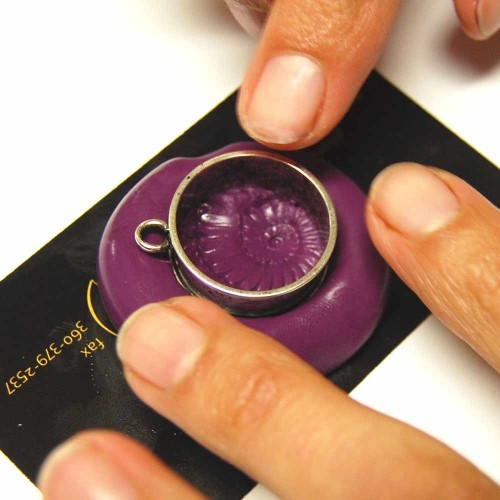
Quickly remove the brass stamping or found object and press in your Open Back Bezel in a position that frames the brass stamping impression. Be sure to double check that your bezel is level in the mold. Let the Easy Mold Silicone Putty set for 25 minutes. Tip: To prevent your mold from sticking onto your work surface, use a glossy business card or a Ziploc bag.
Mixing and Colorizing the Nunn Design 2-Part Resin
-
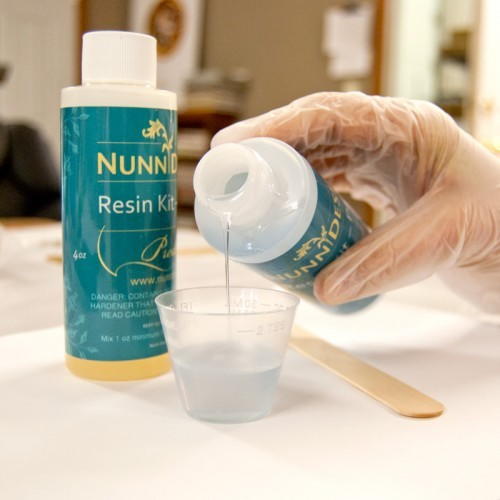
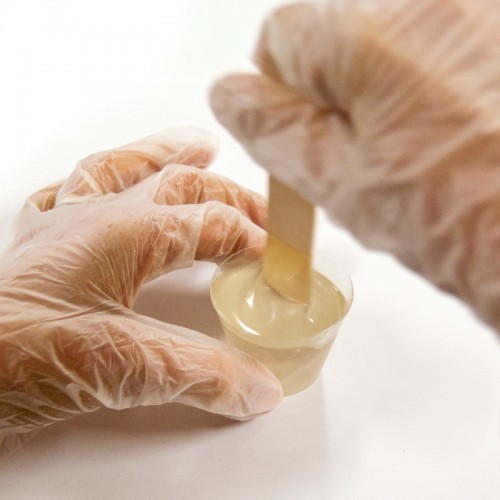
Place one cup (included in the Nunn Design Resin Kit) onto your table. For curing purposes, it is very important that the resin be an exact 1 to 1 ratio of Part A and Part B. I suggest getting your eyes level with the resin so you can see the lines on the measuring cup. Pour Part A of your resin kit up to the1/2 fluid ounce mark on your measuring cup. Pour Part B of your resin kit into the same cup until it is filled to the 1 fluid ounce mark.
-
Set your timer for 2 minutes. Using the stir stick from the Nunn Design Resin Kit, slowly and carefully stir your resin scraping the sides as you stir. Stir for the full 2 minutes. After 2 minutes, scrape both sides of your stir stick on the edge of your resin filled cup. Set the mixture under a warm lamp for 5 minutes. This aids the air bubbles in the resin to rise to the surface and pop.
-
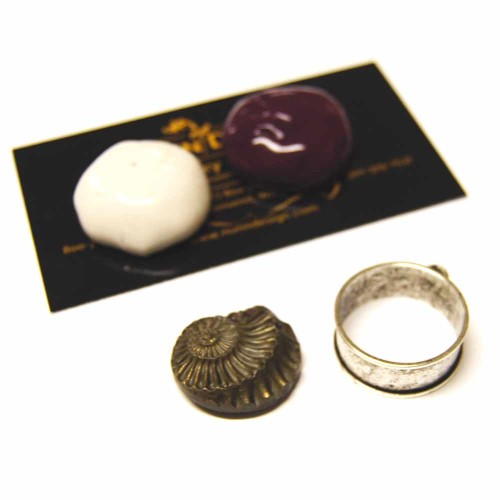
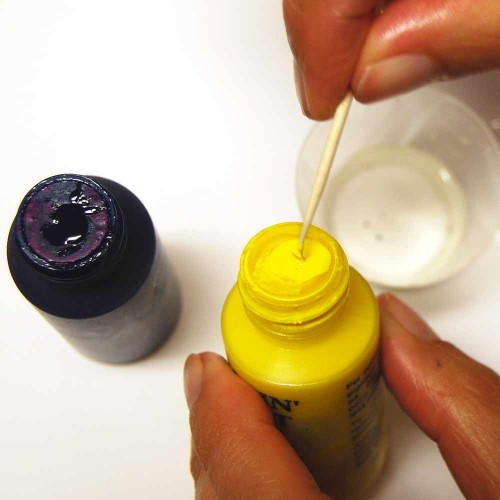
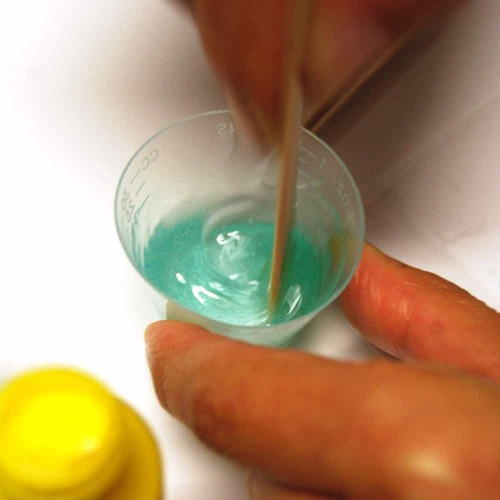
After your resin has been under the lamp for 5 minutes, pour a small amount of the mixed resin into a second measuring cup. Add in a toothpick tip worth of the Castin’ Craft Opaque Pigment Yellow and Castin’ Craft Opaque Pigment Blue to create the teal color show here. You can mix the full 1 fluid ounce measuring cup of resin if you want, but I transfer the resin into smaller cups because it is easier to stir and less messy to move around when less full. Tip: Be sure that the colorant does not equal more than 10% of your resin as having more than 10% could cause issues with curing!

Pour Mixed Resin into the Silicone Mold
-
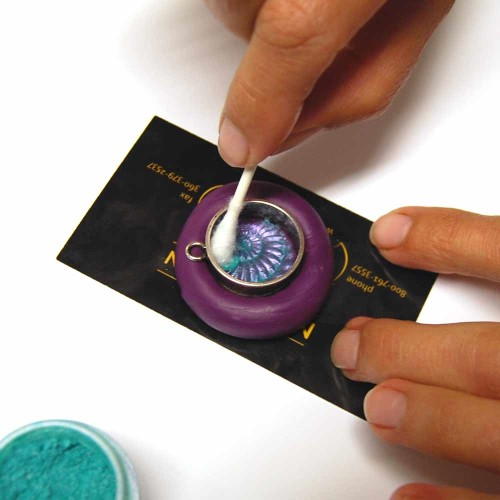
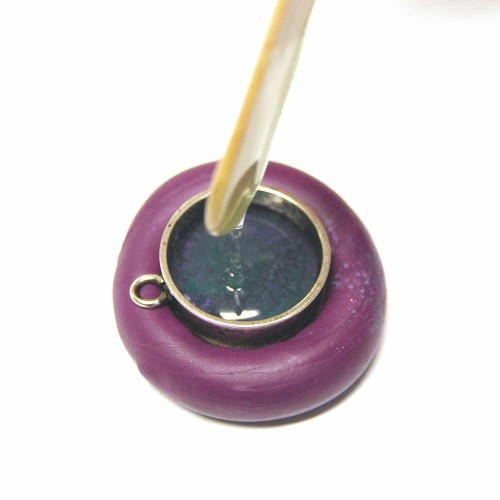
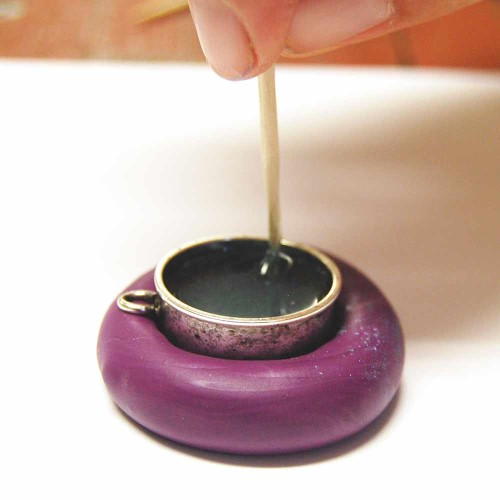
Using a Q-Tip, rub some PearlEx Mica Powder into the crevices of the silicone mold. Place back into the mold the Open Back Bezel before pouring in the colorized resin. Using your stir stick, drizzle the colorized resin into the bezel. Before the bezel is filled to the flush level of the bezel, take a toothpick and gently move around the resin to see if there are any air bubbles trapped in your mold or along the edge of the bezel. If any air bubbles are within the resin, they will rise to the surface from the agitation. Move the bubbles to the edges to pop, or breathe on them. The hot air from your breath will make the air expand and the bubble will pop.
-
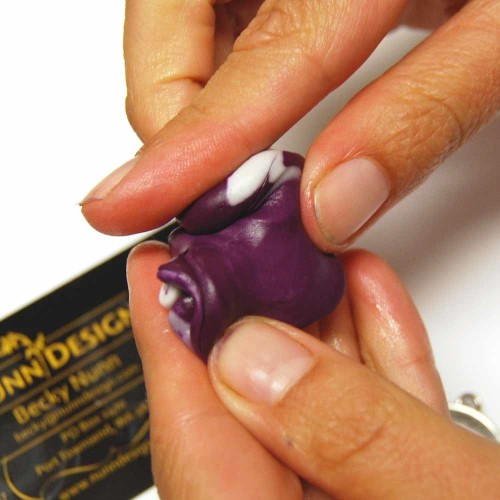
Let your resin cure for 24 hours. Once cured, slightly bend back the edges of the silicone mold to release the resin and bezel.
-
Attach your new bezel to your favorite jewelry piece and wear!
Read NextJasper & Pearl Long Mala Necklace