Jump Rings 101: DIY Jewelry Making Guide

While opening and closing jump rings, or creating jump ring jewelry, may seem like a simple task to complete, it is a crucial jewelry making technique to master. This Jump Rings 101: DIY Jewelry Making Guide is the perfect guide to take you to the next level of being a master at opening jump rings.
There are so many different DIY jewelry patterns that require the usage of jump rings, which is why it is so important to know how to properly open and close your jump rings so they are not losing their shape when making your handmade bracelets or DIY earrings.
A fantastic example is if you are working on creating chainmaille jewelry. It is so crucial to properly open and close your jump rings to keep your jewelry design from becoming a weird or lopsided shape. Needless to say, it is very important to properly work jump rings when creating different jewelry patterns. For extra tips, and a powerful visual, be sure to take a peak at the jewelry video about how to work with jump rings!
How to Work with Jump Rings
Jump Ring DIY Jewelry Guide
-
Materials: As per usual, using the right tools and utensils can make all the difference when it comes to learning a DIY jewelry technique. For jump ring patterns, be sure to use flat nosed pliers when you are opening and closing your jump rings.
These specific pliers can help you to get the best grip with the least amount of wear and tear on the jump rings. However, chain nose pliers also work very well for opening and closing jump rings.
If you would like to learn how to create your own jump rings be sure to check out this DIY jump ring tutorial! -
NO NO: Here are a couple of big no nos when it comes to working with jump rings. You want to really avoid squeezing the jump ring too tightly. This can cause indents and wear and tear on your jump rings.
More importantly however, you really want to avoid grabbing the ends of your jump ring and pulling them apart. This will cause your jump ring to lose their shape. Thus, it makes it very difficult for you to recreate a perfect circle with your jump ring.
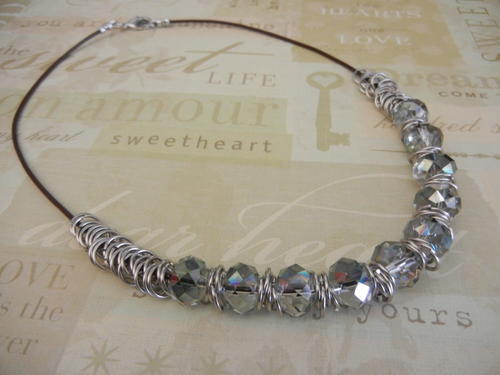
For a super awesome jump ring necklace tutorial check out this Easy Jump Ring and Crystal Necklace. -
Grab it: The key to opening and closing your jump rings properly is all in the twist. You are going to want to start by grabbing your jump rings by clamping down on the full side of the jump ring. This will provide you will more control when you are twisting your jump rings, cause less wear and tear on the jump rings, and make them keep their shape better!
-
Twist it: As I stated above openig and closing your jump ring is all in the twist. Instead of pulling your jump ring apart just grab the side and twist it open so that you can fit whatever you need to on it.
Keeping the same motion you are going to twist it closed and you should hear a snap once you have twisted your jump ring back into place.
Adorable Shimmering Jump Ring Bracelet alert. You do not want to skimp out on this super cute jewelry pattern! -
Close the Gap: A common problem with jump rings is that after you twist it open and closed there is still a slight gap that has formed somehow. This is a much easer fix than you would think.
You want to twist your jump ring back open using the steps above, and then, before you close it, you want to ever so slightly push your jump ring past the center a little bit. Then, you want to twist it back into place as you normally would. Super easy right?
Try your new jump rings skills at this gorgeous drop earring pattern!
Read NextBar and Ring Toggle