Pink Decal Glass Necklace

Pink Decal Glass Necklace
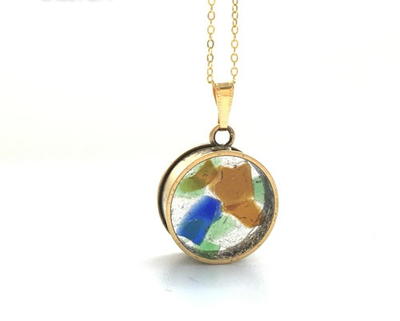
Looking for some interesting and free jewelry making projects that involve fusing glass? Try making this pretty Pink Decal Glass Necklace. It'll be a gorgeous subtle detail to all of your favorite outfits.
Project TypeMake a Project
Bead TypeGlass
Time to CompleteIn an evening
Bead Technique UsedGlass Beadmaking
Bead Project TypeNecklace

This is a Diamond Tech project.
Materials:
- 1” x 1 ¼” White Fuseworks™ Sheet Glass
- 1” x 1 ¼” Clear Fuseworks™ Sheet Glass
- Contempo Fuse Art™ Decal
- 1 - 6” and 1 – 1” Pink FunWire™
- Silver Choker
- Grinder
- Jewelry bit
- Jewelry pliers
- Distilled Water (optional)
Instructions:
- Using a glass cutter cut a piece of clear and white sheet glass to 1” x 1 ¼” rectangle. Clean glass using a paper towel moistened with water. Completely dry the surface of the glass with a lint free cloth.
- Next, cut a 2” X 2” piece of kiln paper. Remove the lid from the Fuseworks™ Kiln. Place the kiln paper on the kiln base.
- Layer the glass on the kiln paper. Place the white 1” x 1 ¼” white rectangle on kiln paper, cover with the clear glass.
- Carefully set the base with glass inside the microwave. Cover with kiln lid.
- Fuse in a microwave kiln for 2 minutes at 100%. PLEASE NOTE: All microwave and kiln combinations will have different firing patterns. Be sure to take careful notes and log all fusing times for future use.
- After time is up, open microwave and, using Hot Mitts, carefully lift the lid enough to inspect the fusing process. Add additional time in 30 second increments until desired results are achieved.
- Remove kiln from microwave using the Hot Mitts and place on a heat resistant surface. Cool the kiln for at least 30 minutes with the lid on. PLEASE NOTE: Removing the lid or peeking under the lid during the cooling will result in your piece cracking. Glass remains hot for a long time and should be handled with great caution.
- Cut the desired decal to fit the surface of the pendant. Place decal in water (preferably distilled) for approximately 30 seconds. The decal should slide off backing-paper easily. Slide decal onto the glass so that the side facing the backing paper is positioned against the glass. Use a paper towel to pat the moisture from the decal and glass. Should air bubbles appear, push them out with your finger. Allow to dry completely.
- Next, cut a 2” X 2” piece of kiln paper. Remove the lid from the Fuseworks™ Kiln. Place the kiln paper on the kiln base.
- Layer the glass on the kiln paper. Place the white 1” x 1 ¼” white rectangle on kiln paper, cover with the clear glass.
- Carefully set the base with glass inside the microwave. Cover with kiln lid.
- Fuse the decal in the microwave for 2 minutes at 50%.
- Check your glass, if the decal appears as a white silhouette; continue fusing at 100%, adding an additional 15 seconds to the time until the decal looses the white appearance. When you are able to see the color and definition of the decal, the fusing process is complete. Remove kiln from microwave and allow to cool 30-40 minutes without removing lid.
- After time is up, open microwave and, using Hot Mitts, carefully lift the lid enough to inspect the fusing process. Add additional time in 30 second increments until desired results are achieved.
- Remove kiln from microwave using the Hot Mitts and place on a heat resistant surface. Cool the kiln for at least 30 minutes with the lid on. PLEASE NOTE: Removing the lid or peeking under the lid during the cooling will result in your piece cracking. Glass remains hot for a long time and should be handled with great caution.
- Once the glass has cooled, use a jewelry bit to create a groove around the perimeter of the fused piece. Place the fused piece in the center of the 6” wire. Wrap the Pink FunWire™ around the fused glass. Keep the wire in the groove.
- Twist the ends together at the top where they meet. Gently twist to tighten wire down to the glass. Fold both ends to the back of the pendent; creating a double loop.
- Take the 1” wire and wrap it around the base of the loops 4 times to create a coil. Compress the coil with jewelry pliers to complete the wiring. Slide on a choker or necklace.
Read NextJust Dreaming Pendant