Tips and Tricks for Crafting Clay DIY Jewelry Projects
Craft your best clay projects after applying some of these innovative techniques!

Working with clay jewelry may not always seem like the easiest task. However, these numerous tips and tricks will take you start to finish on the best way to work with clay when making jewelry. Whether you are working on crafting jewelry out of polymer clay or a sculpting clay, these different tips can help you create the best DIY jewelry you ever have.
Plus, these different technique tweaks can give you some great inspiration for your next DIY necklace or bracelet that you decide to make. Also, if you are new to jewelry making and are looking for some beginner jewelry projects, these tips can help you easily become a master of clay in no time! No matter what DIY jewelry look you are going for, clay jewelry can always be a go-to material!
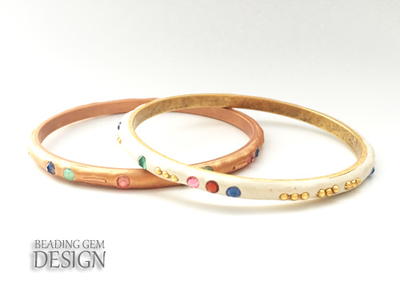
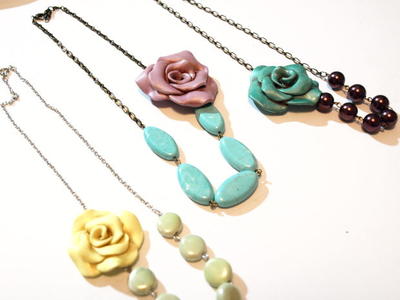
It may seem very intimidating working with clay, or it may already seem like an easy task for you, but no matter where your starting point is these tips can really help out anyone who is looking to create a clay DIY jewelry pattern. The best part about working with clay is you can mold it into anything you want it to be. You can create metallic clay jewelry or multi-colored clay jewelry, like these gorgeous Casablanca Beads.
Tips and Tricks for Clay Jewelry
How to Make Clay Jewelry
-
Getting Started - So besides the general material gathering that you need to do to craft whatever kind of DIY jewelry piece you are looking to make, there are a few extra steps to creating clay jewelry pieces.
Before you even start crafting with your clay you are going to need to warm it up so that it becomes easier to work with. Some good ways to warm up your clay would be by cutting off pieces in the size that you need them and simply rolling them in your hands.
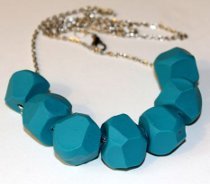
However, you are trying to create a more flat texture like for this Triangle Geometric Necklace, you can also use a rolling pin to flatten it out and a hair dryer or heating lamp to keep it warm and pliable. It will be best to work with your clay on either a ceramic tile or wax paper surface.
Pro Tip: If your clay has gottened too dry and hard, you can cut it into smaller pieces and then use some type of mineral oil to work into the clay. The oil will help it become easier to work with, and rubbing the oil in with your hands will also warm it up.
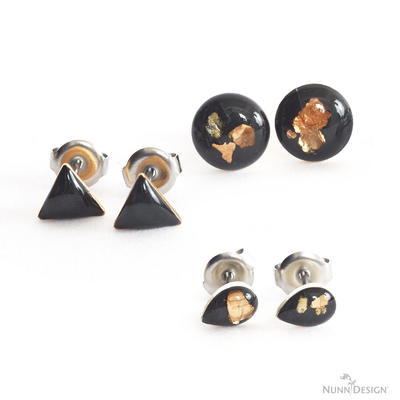
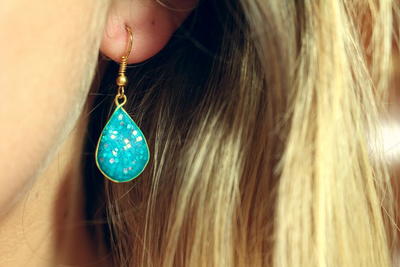
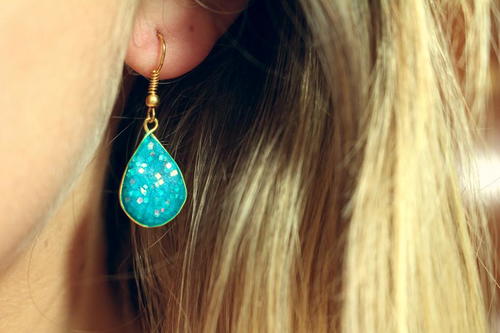
Be sure to test out making these Sparkling Water Clay Earrings, which definitely require a good pliable clay base for an optimal gorgeous finish! -
Colorful Clay - If you are working with clay, I'm going to assume you are going to want to mix it up and throw in some different colors here or there.
When creating marble or swirled beads like these Black and White Swirl Polymer Clay Canes, it is very important to knead your clay the proper amount. If you knead the clay together too much it will morphe together to create one new solid color instead of the marble effect you desired.
It is also important, and best, to start with your lightest colors and move to your darker colors when you are crafting clay jewelry. This Clayful Ombre DIY Necklace is a great example of a DIY jewelry piece where you would have to work with different clay colors for one handmade jewelry piece.
Pro Tip: Use either a baby wipe or wash your hands inbetween each different color clay you work with to avoid mixing or tining the color of the clay.
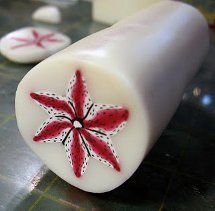
Once you have become confident with your color working skills try out this gorgeous Red Lilly Polymer Clay Cane Tutorial. -
Shaping - When it comes to shaping or texturizing your clay you have a ton of different options for what you could do.
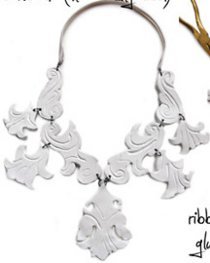
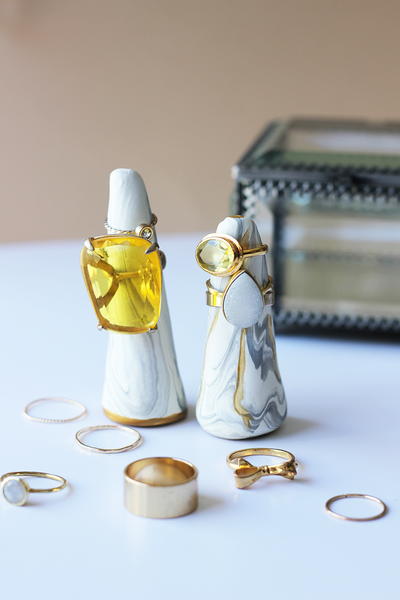
You could choose to use a stamping tool and simply create stamped clay jewelry like this Stamped Clay Dish Jewelry Organizer. When it comes to any kind of shaping you will want to do all of it before you bake your clay.
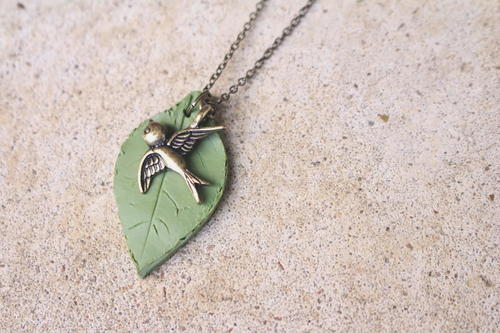
Another easy trick to creating cute shapes out of clay would be to use a mold of somesort like in this Bow and Pearls Earrings tutorial. However, there are tons of other techniques like imprinting into the clay. You could do this by using a textured piece of paper or even a leaf like in this Clay Leaf Necklace Pendant.
Really the possibilities are endless when it comes to shaping your clay. The only thing you want to make sure of when doing any kind of shaping or texturizing is that you clay stays warm and pliable the whole time. Since you can no longer knead it with your fingers without ruining the shape you just created, try using a hair dryer or heated lamp to keep it warm. However, do not make the clay too hot or it will harden!
Pro Tip: When making clay bead make the hole for the wire, string, etc. to go through slightly larger because it will shrink up the tiniest bit once you bake your clay. -
Bake: There are a few very important rules to keep in mind when it comes to baking your clay that will be a standard for any brand or type of clay you use.
For starters, always make sure you are in a well ventilated area because the fumes that clay gives off while it bakes is not good for you. On a similar note, absolutely do not use the baking sheet you put the clay on for baking later.
When it is time for you to bake your clay put a layer of wax paper down on your baking sheet first. Make sure your oven is completely preheated BEFORE you put your clay in there.
In general you can typically bake clay between 250 and 265 degrees and for 30 to 60 minutes, but for more specific instructions always make sure to check your packaging.
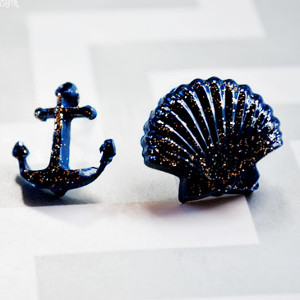
Pro Tip: DO NOT touch the clay until it has completely cooled. This could ruin the shape of your masterpiece if you are making something like thie Under The Sea Bracelet, because while the clay is cooling it is still pliable.
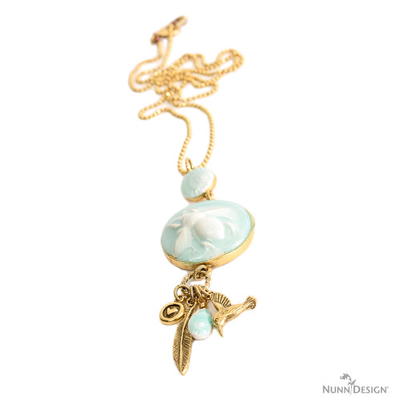
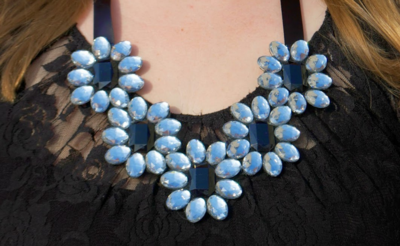
Be sure to test out this Faceted Clay Necklace as well and really put all of your clay making skills to the test!
Read NextMarbled Clay DIY Jewelry Organizer